The other day my SO asked me to build some sort of herbage box for the kitchen. The idea was to put this box on the kitchenette, grow herbage and just pick them as needed.
Well, europaletts...what else. :)
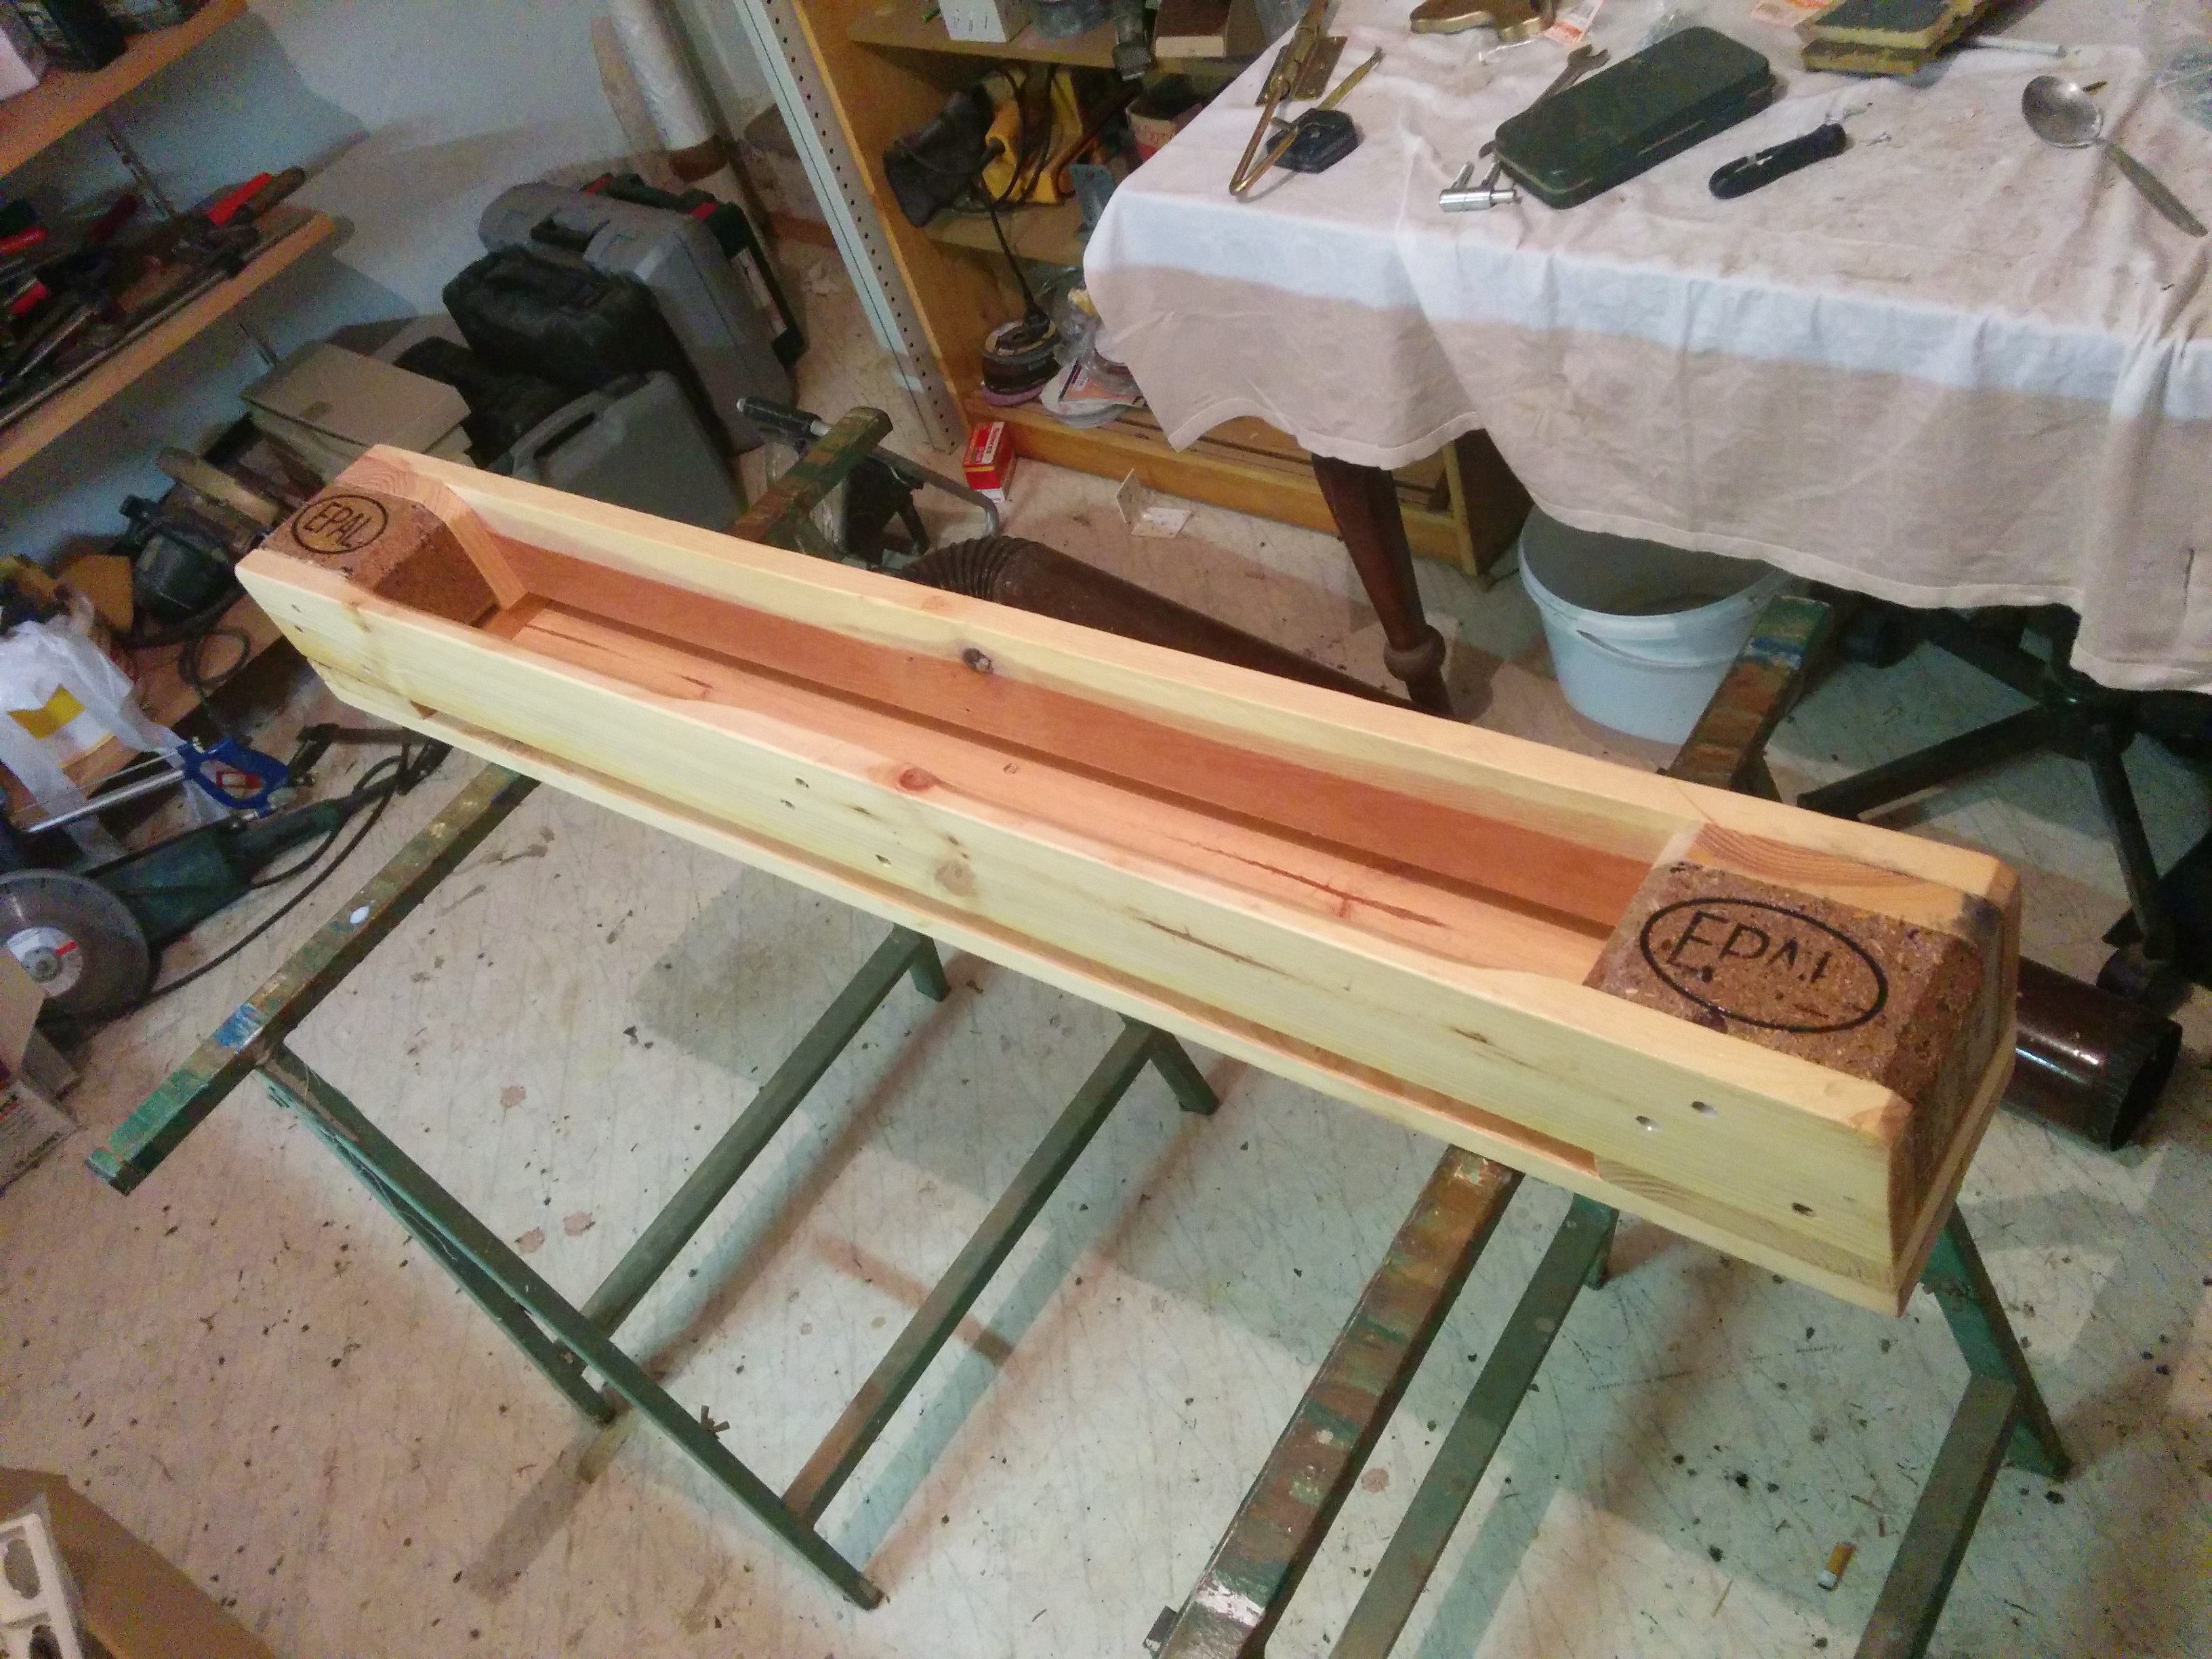
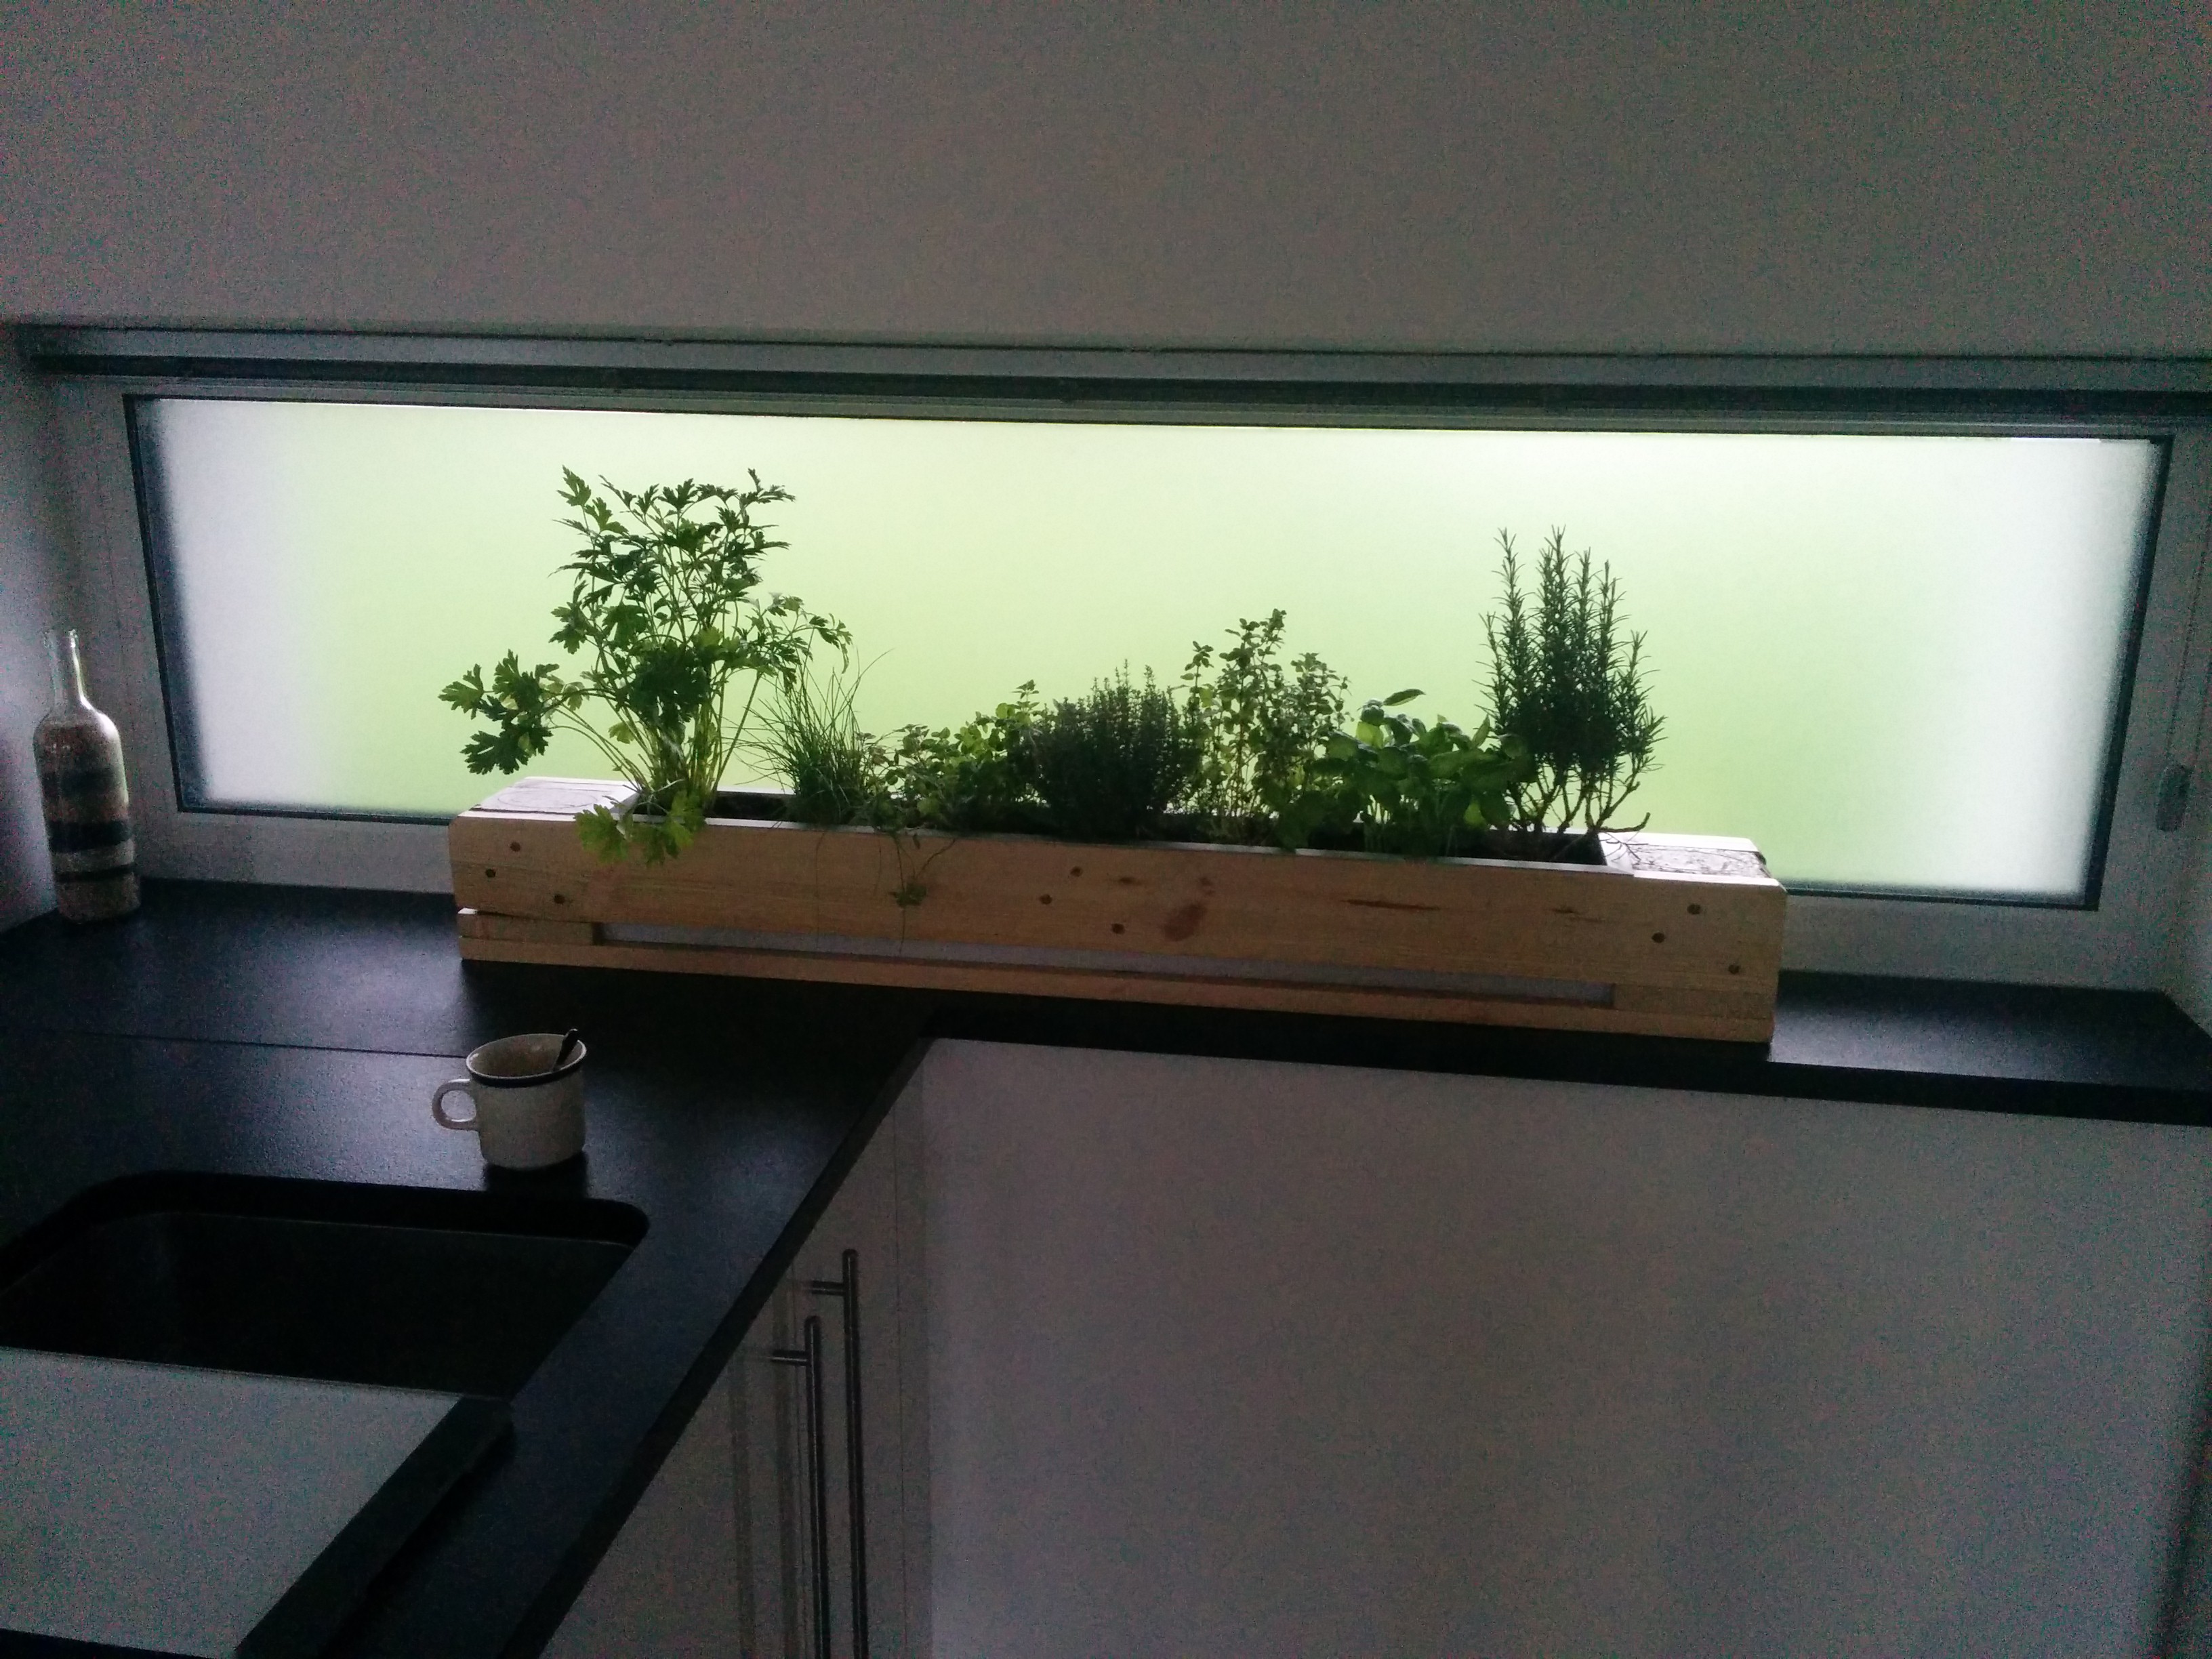
 The final product!
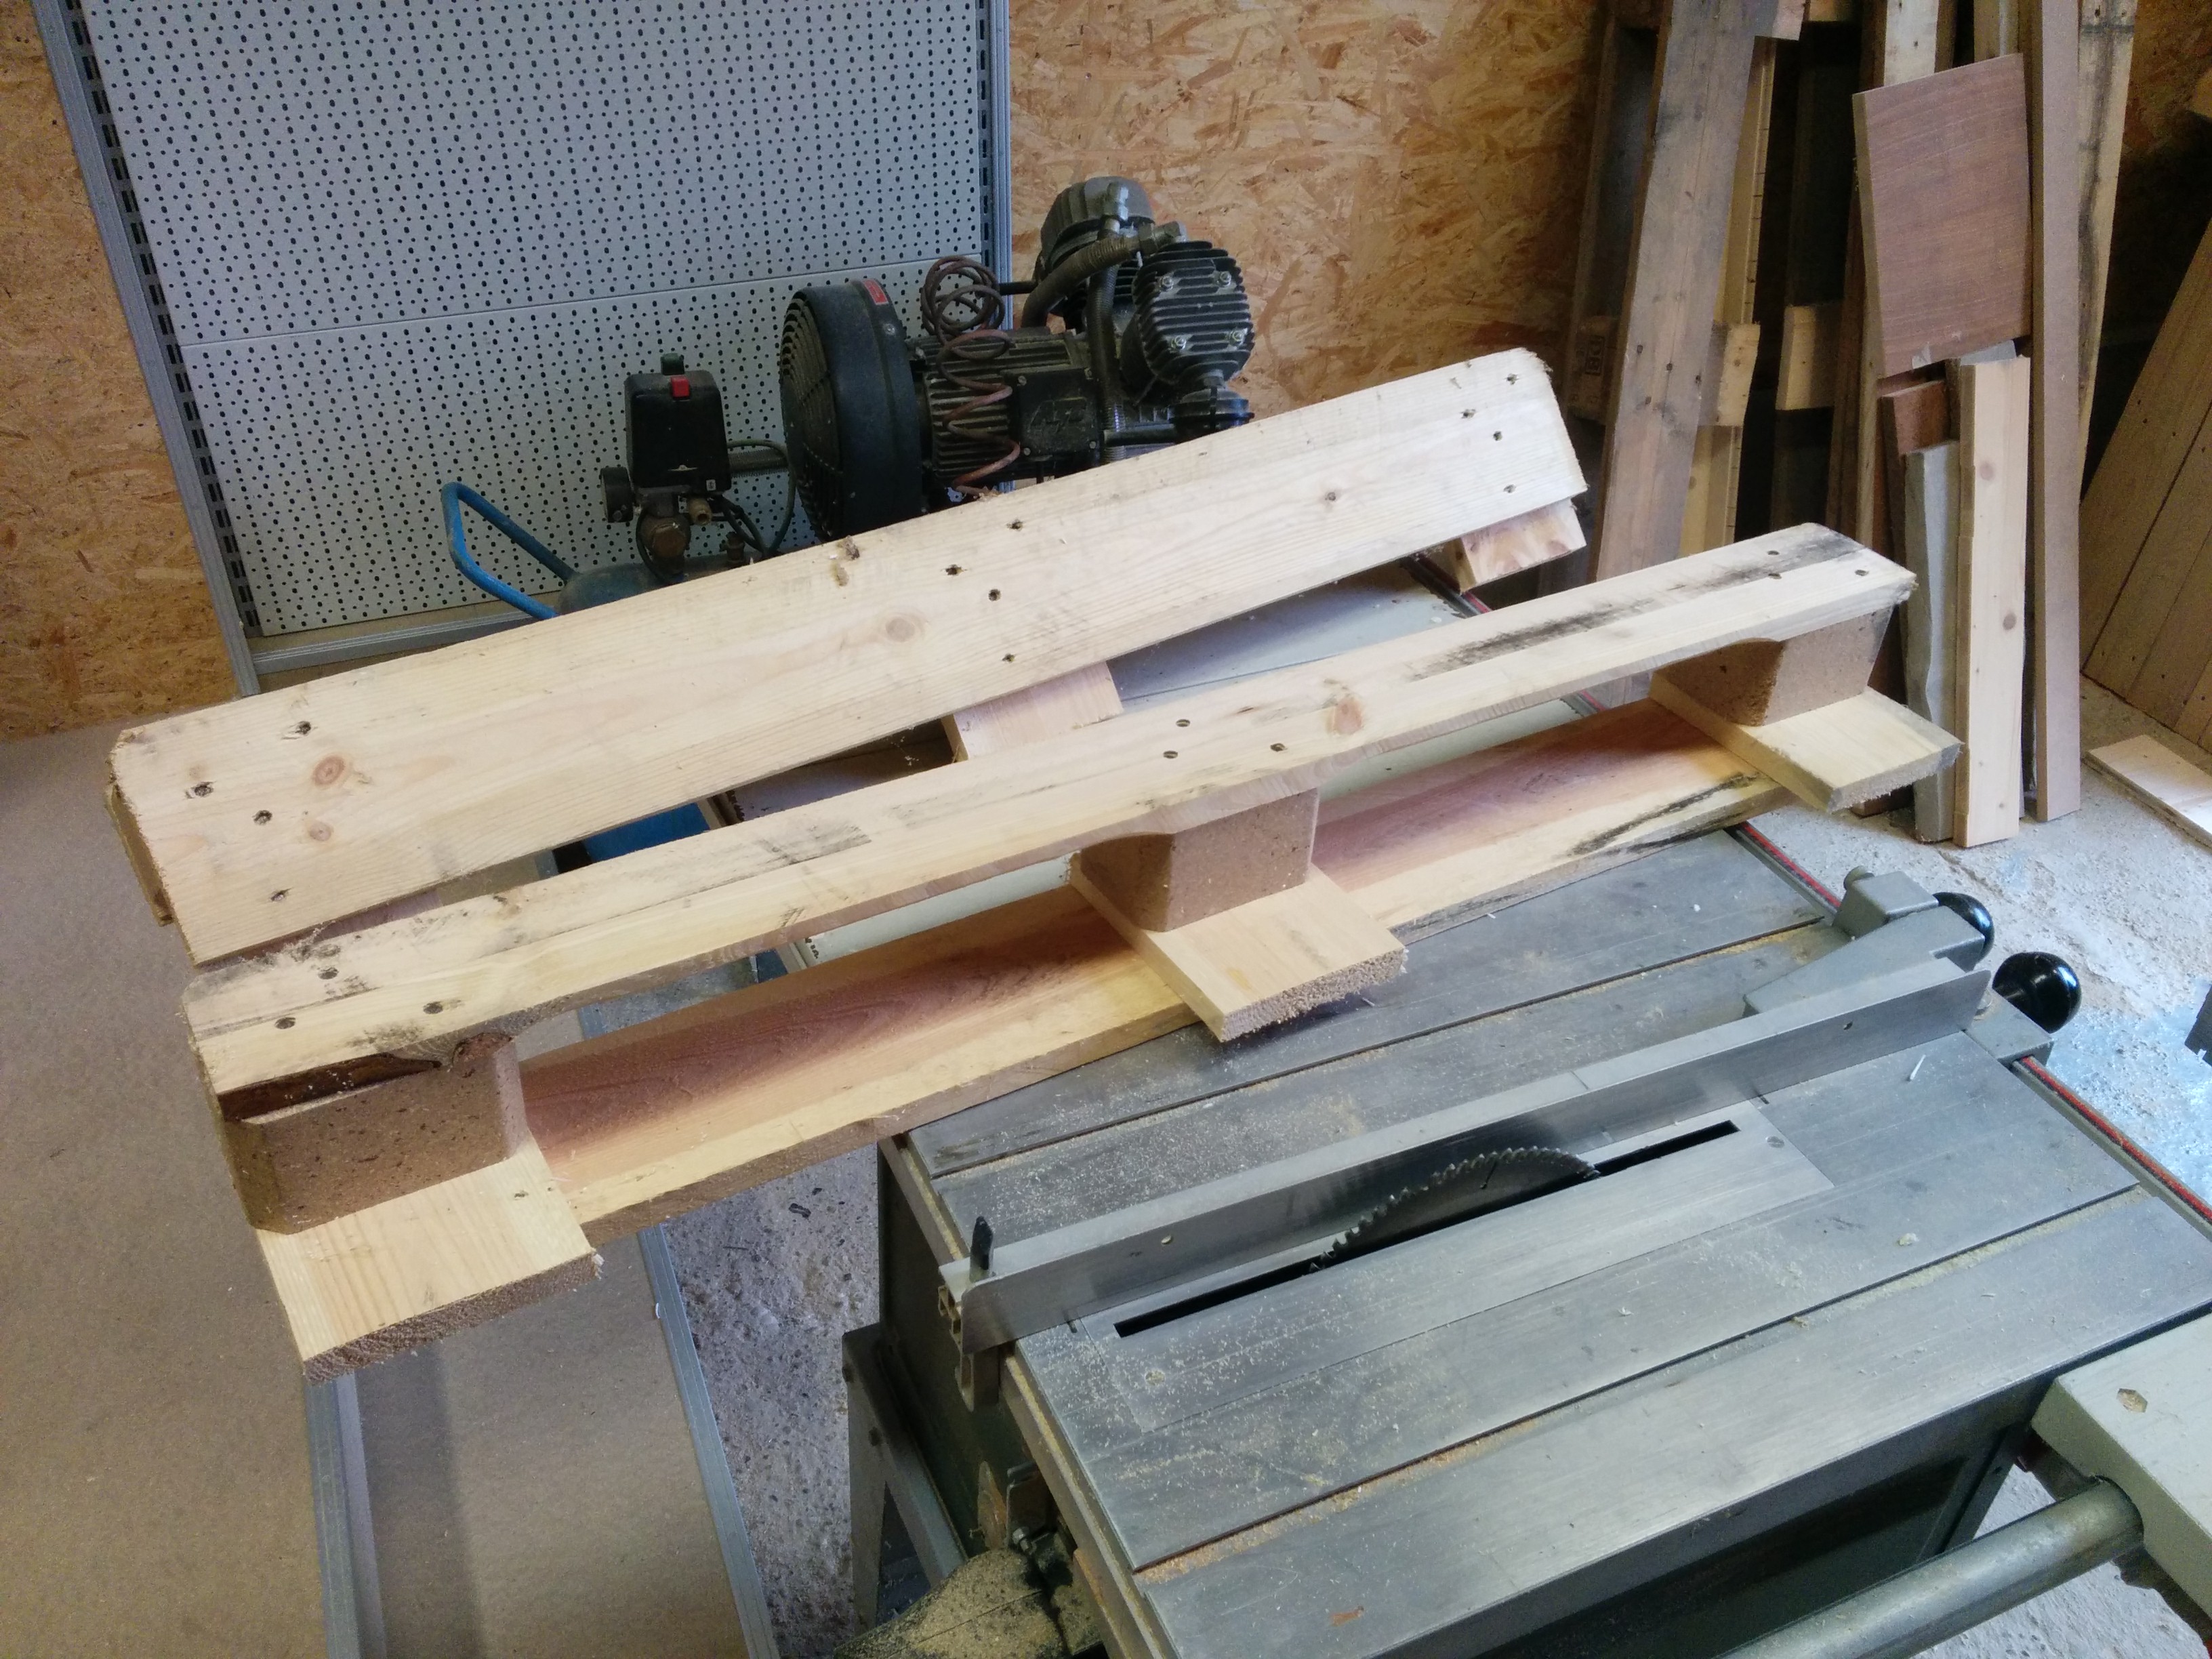
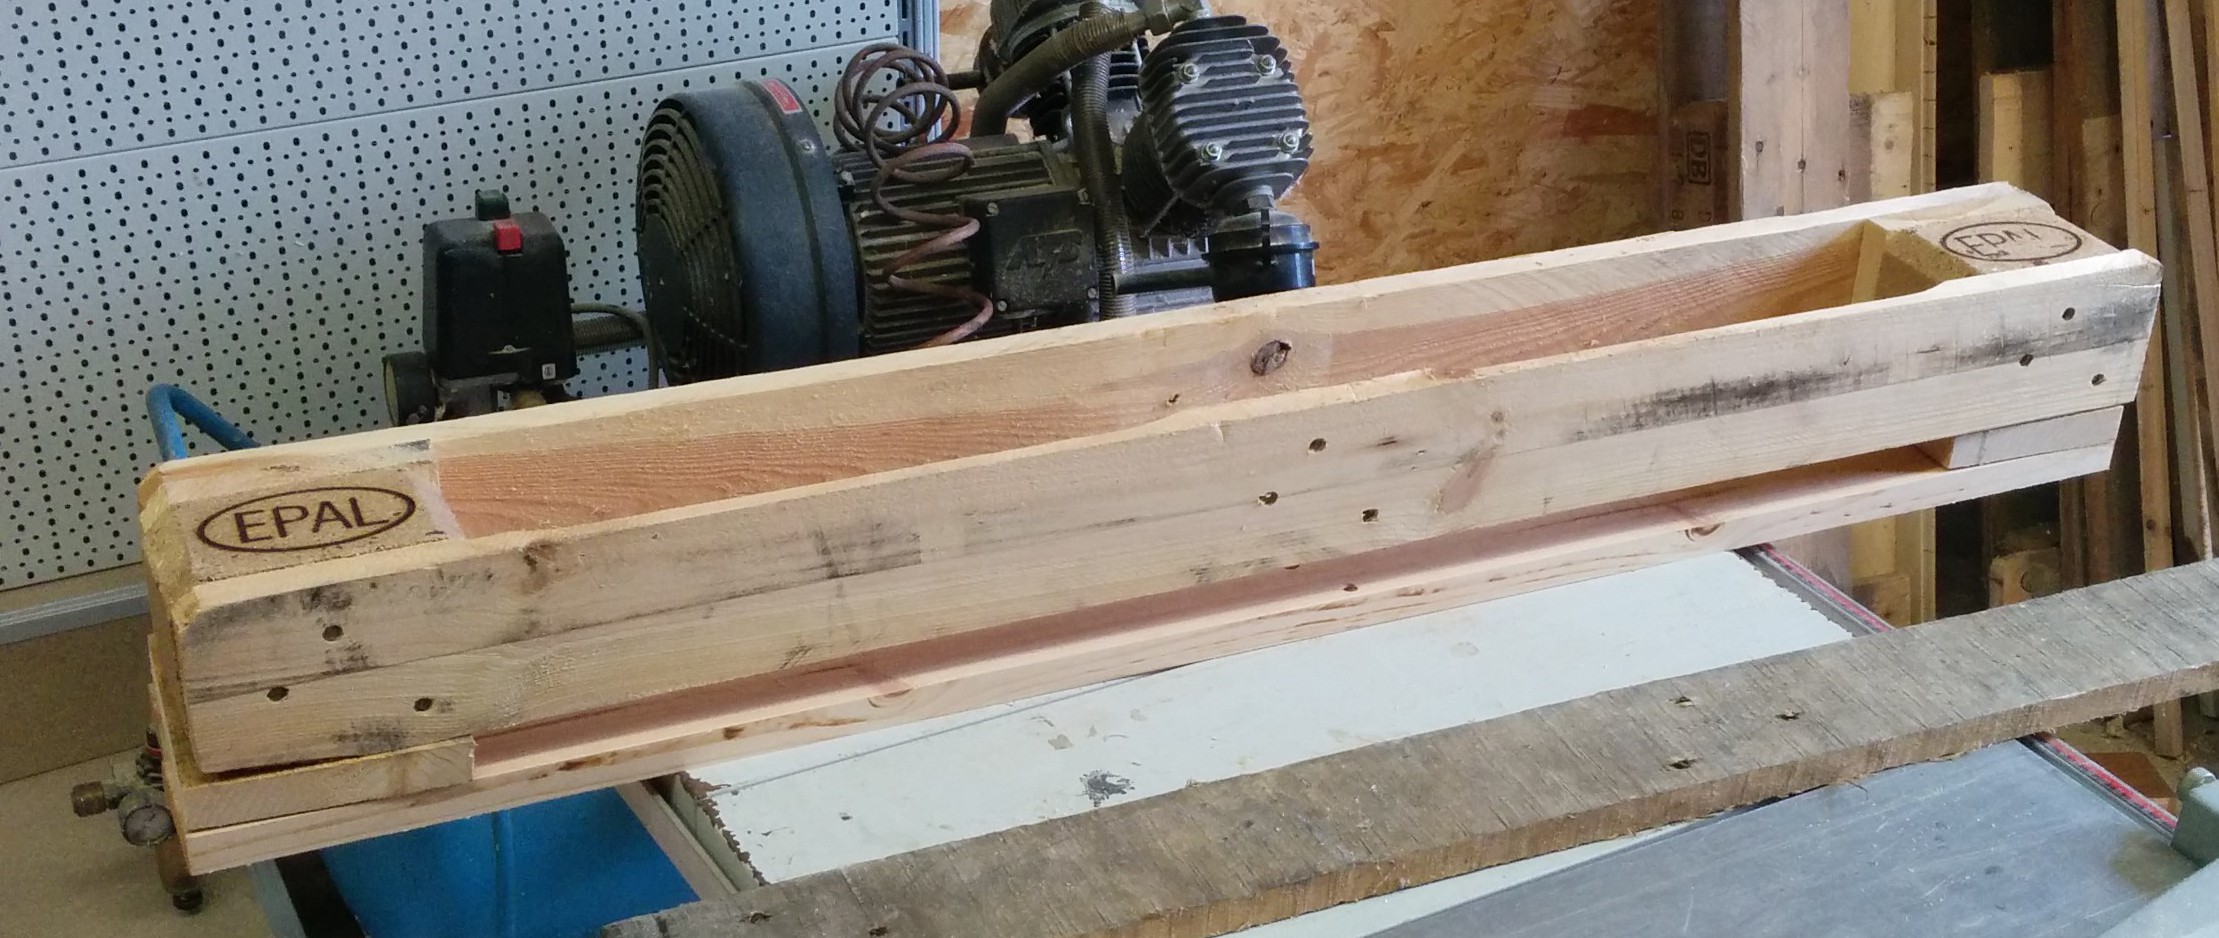
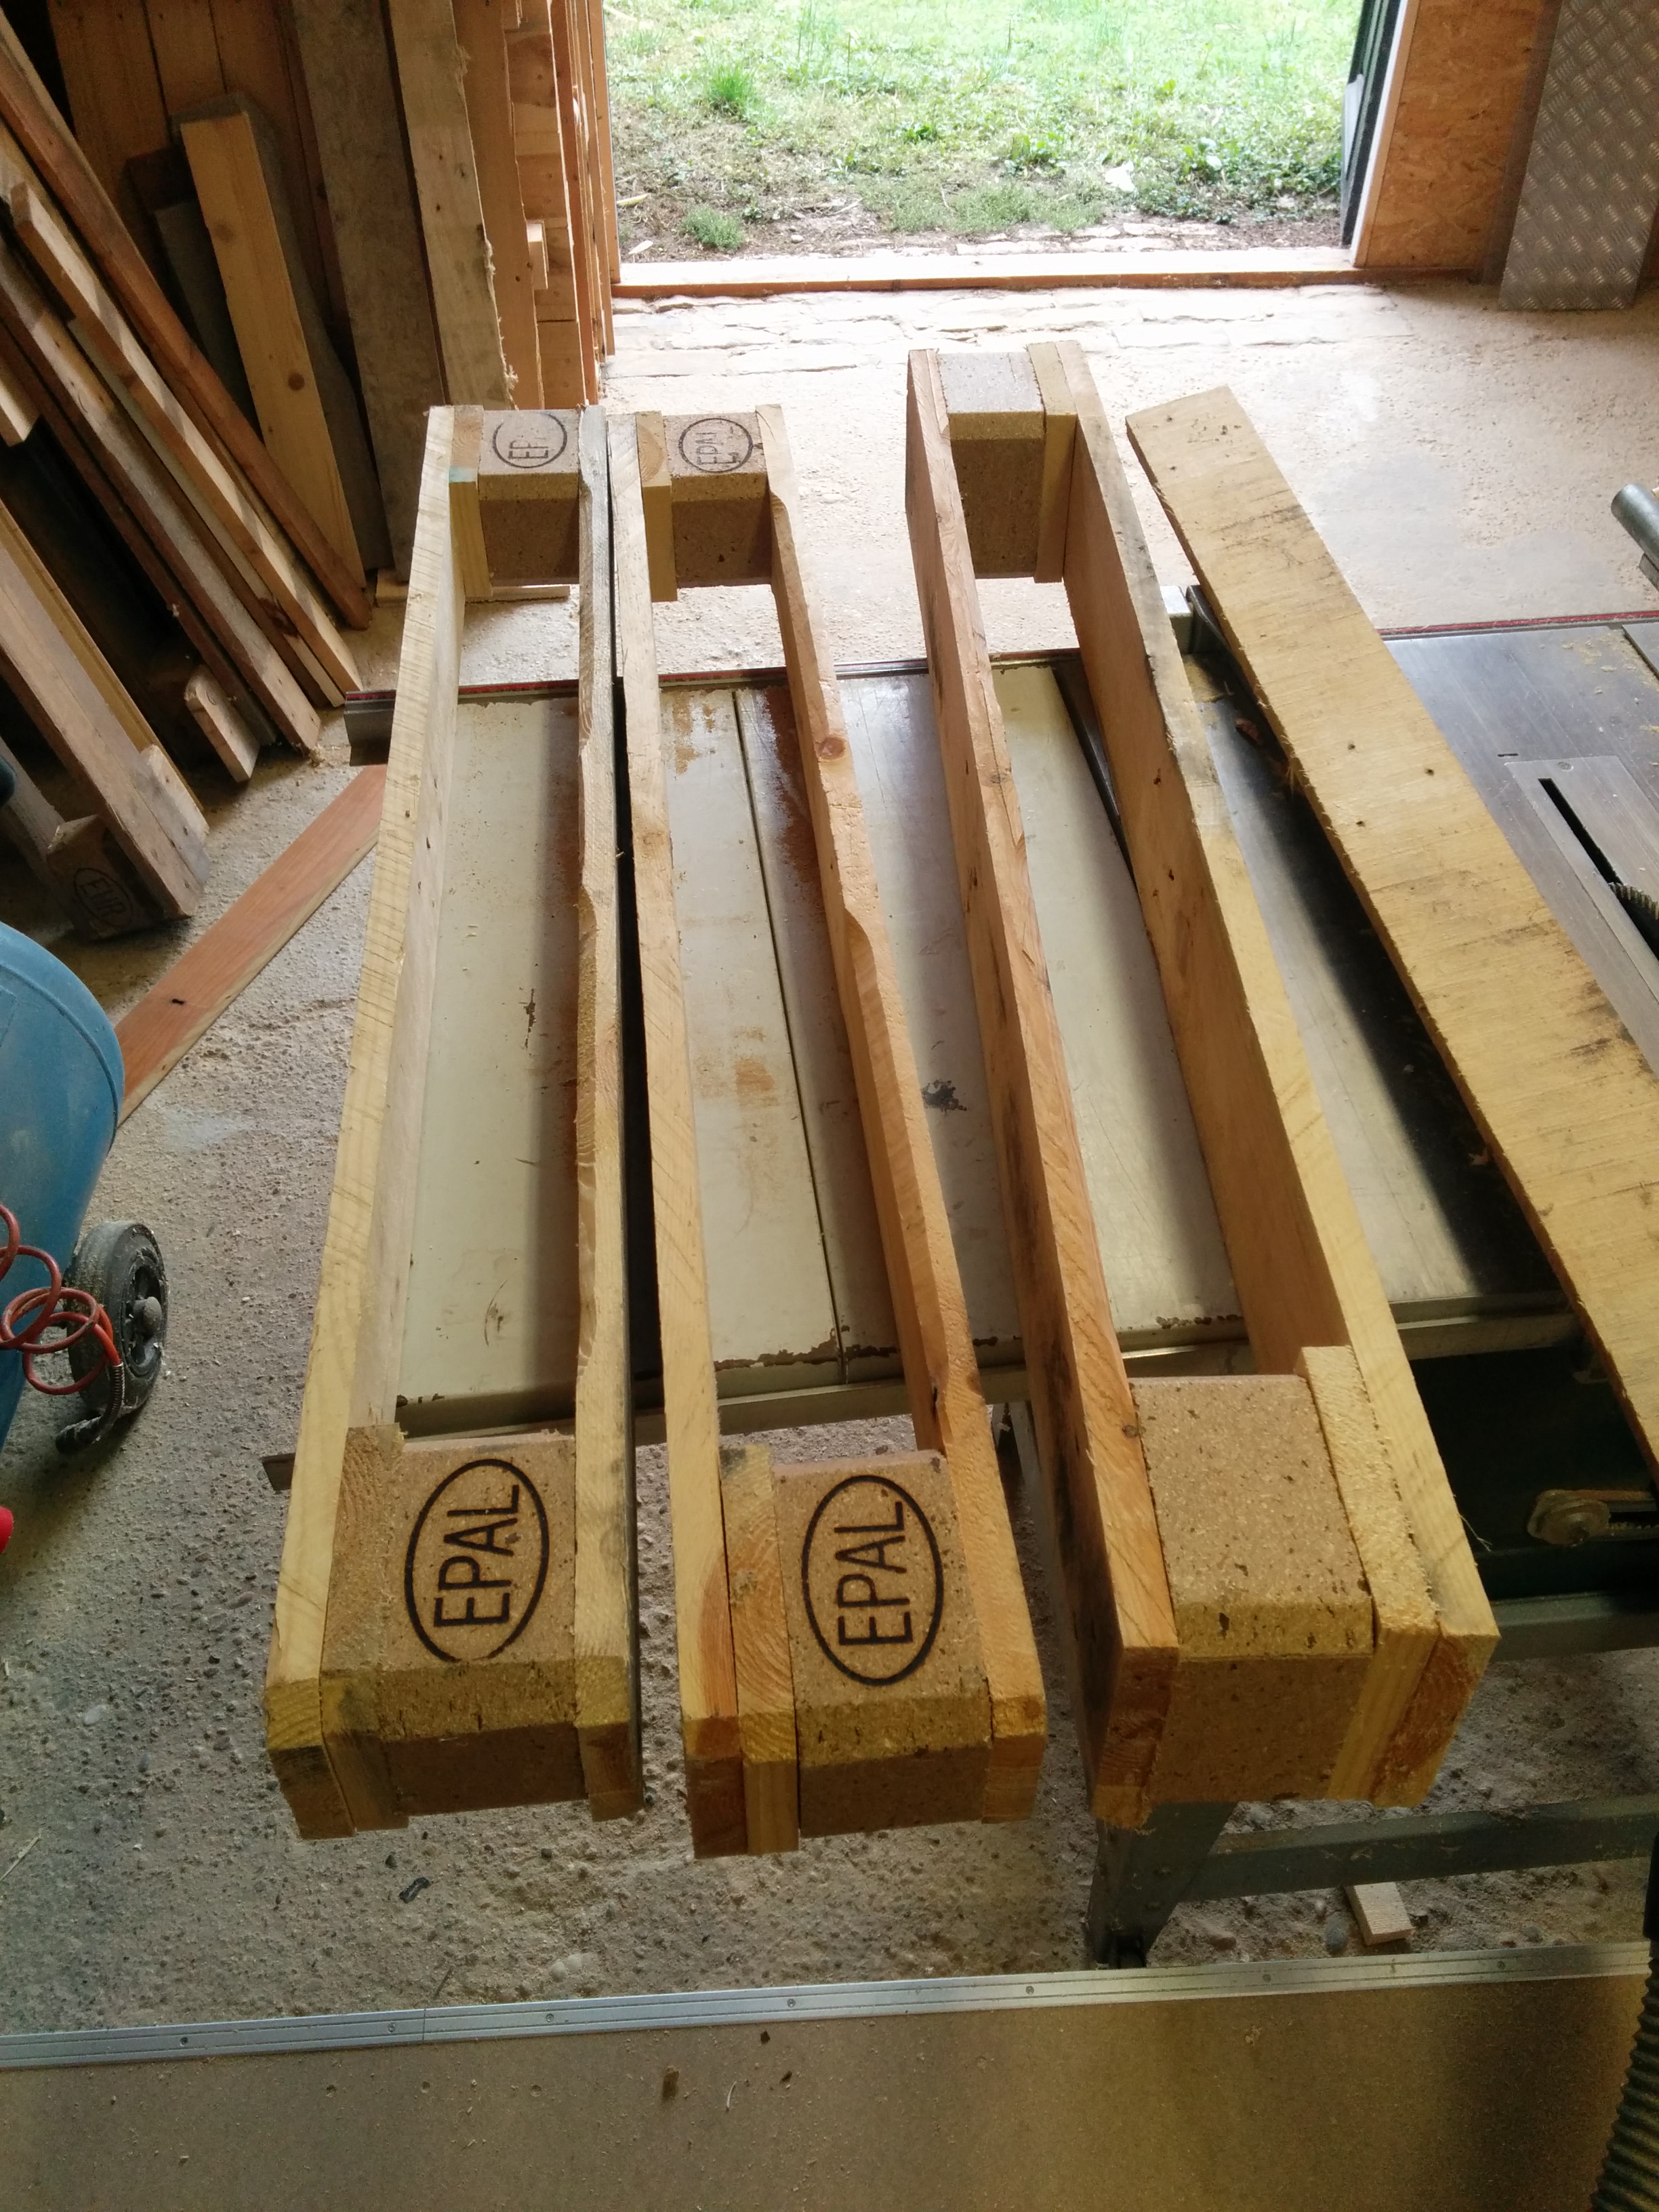 I cut the palett along the long side. Only one part will be used though.
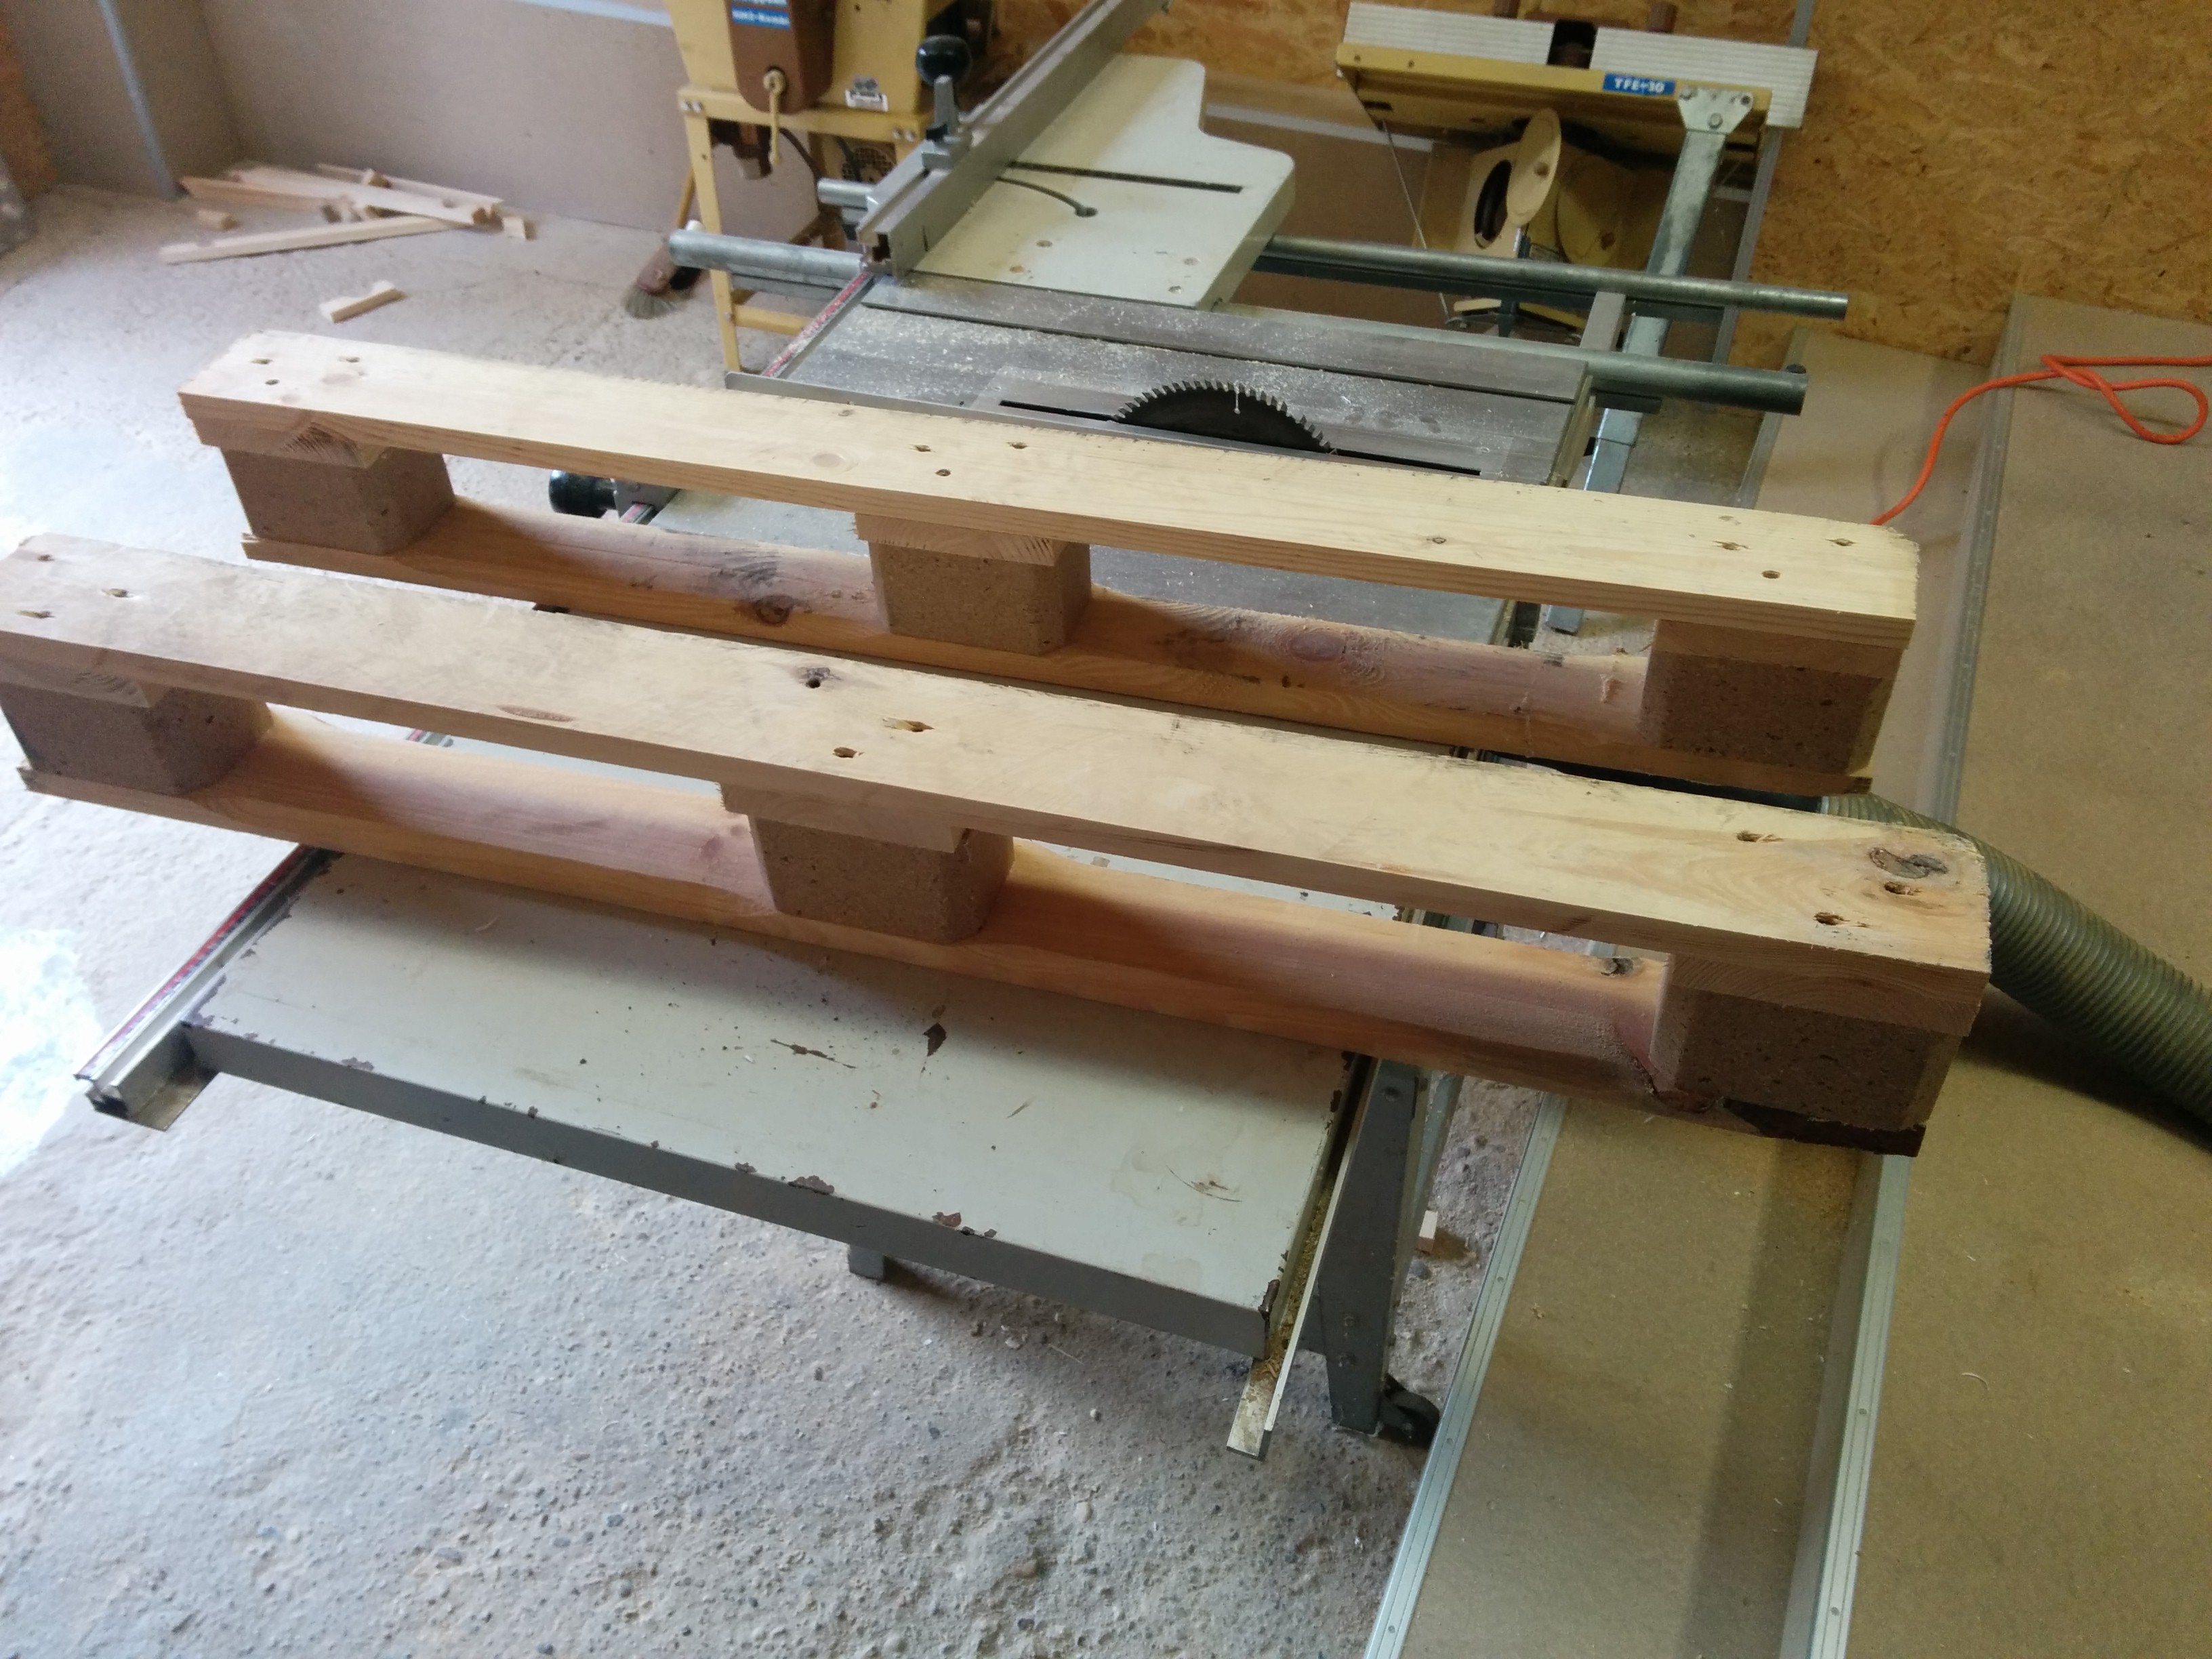
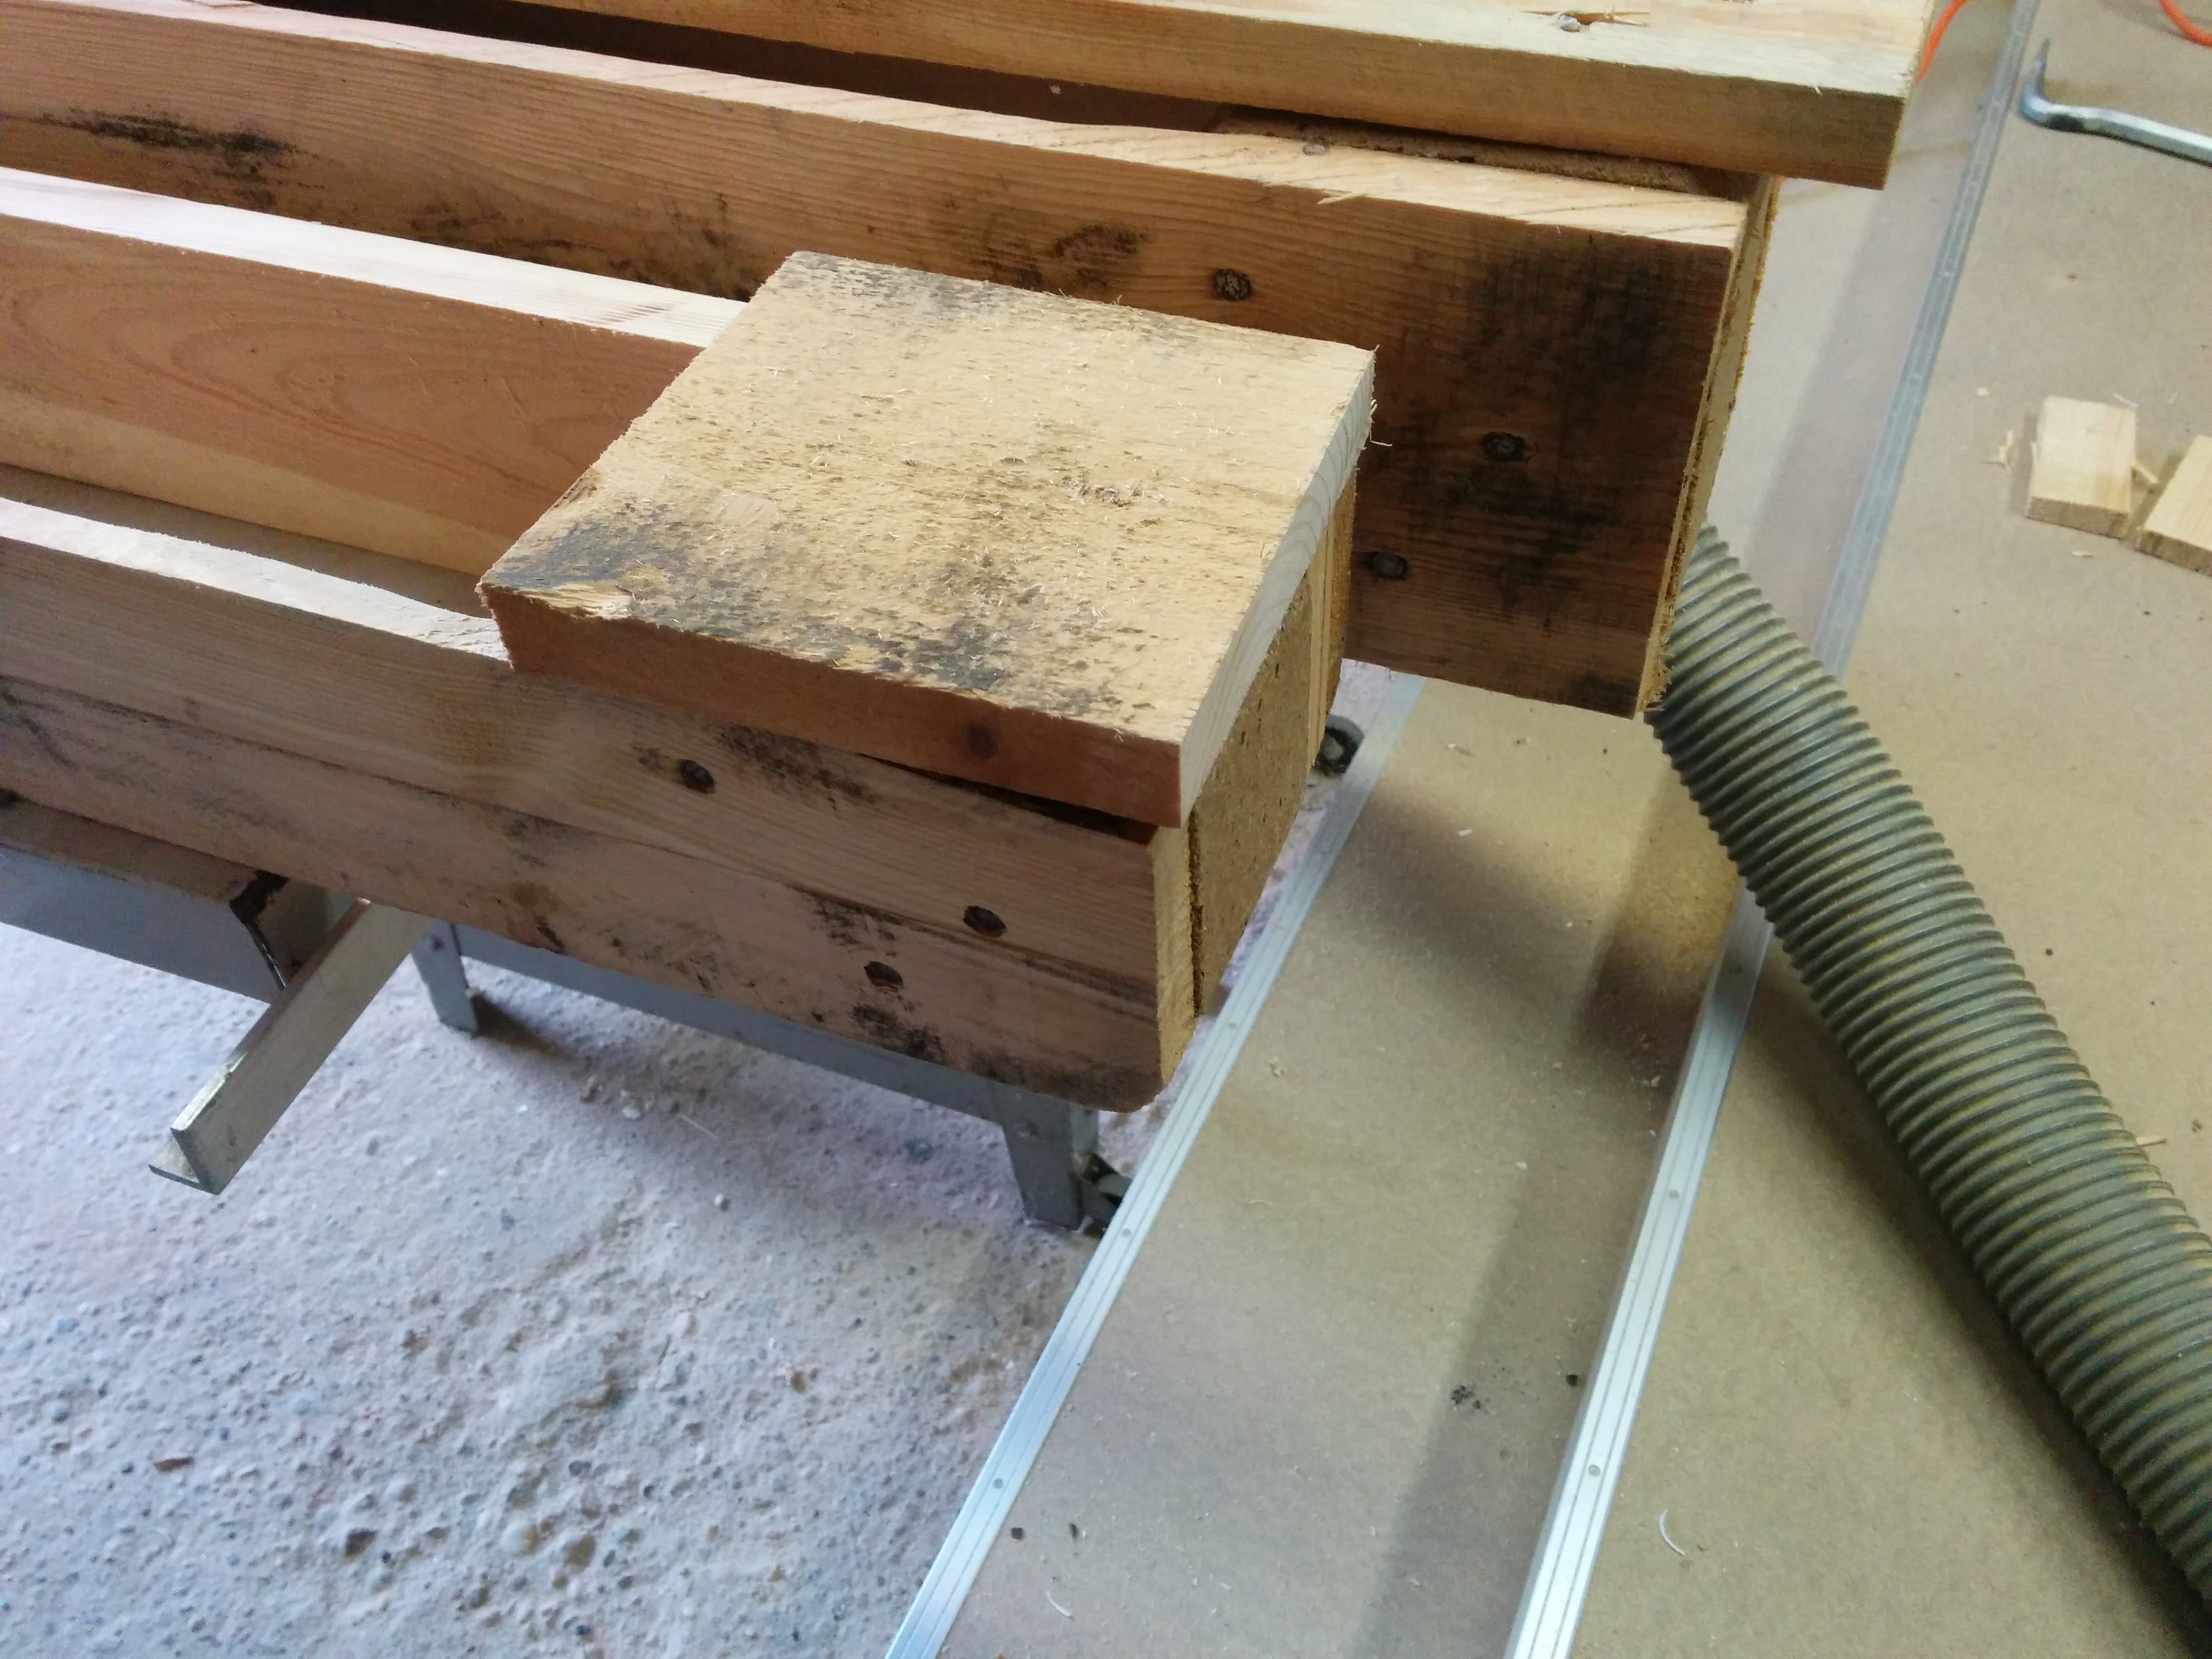 The height of the box was not satisfying. So i decided to add another 2cm.
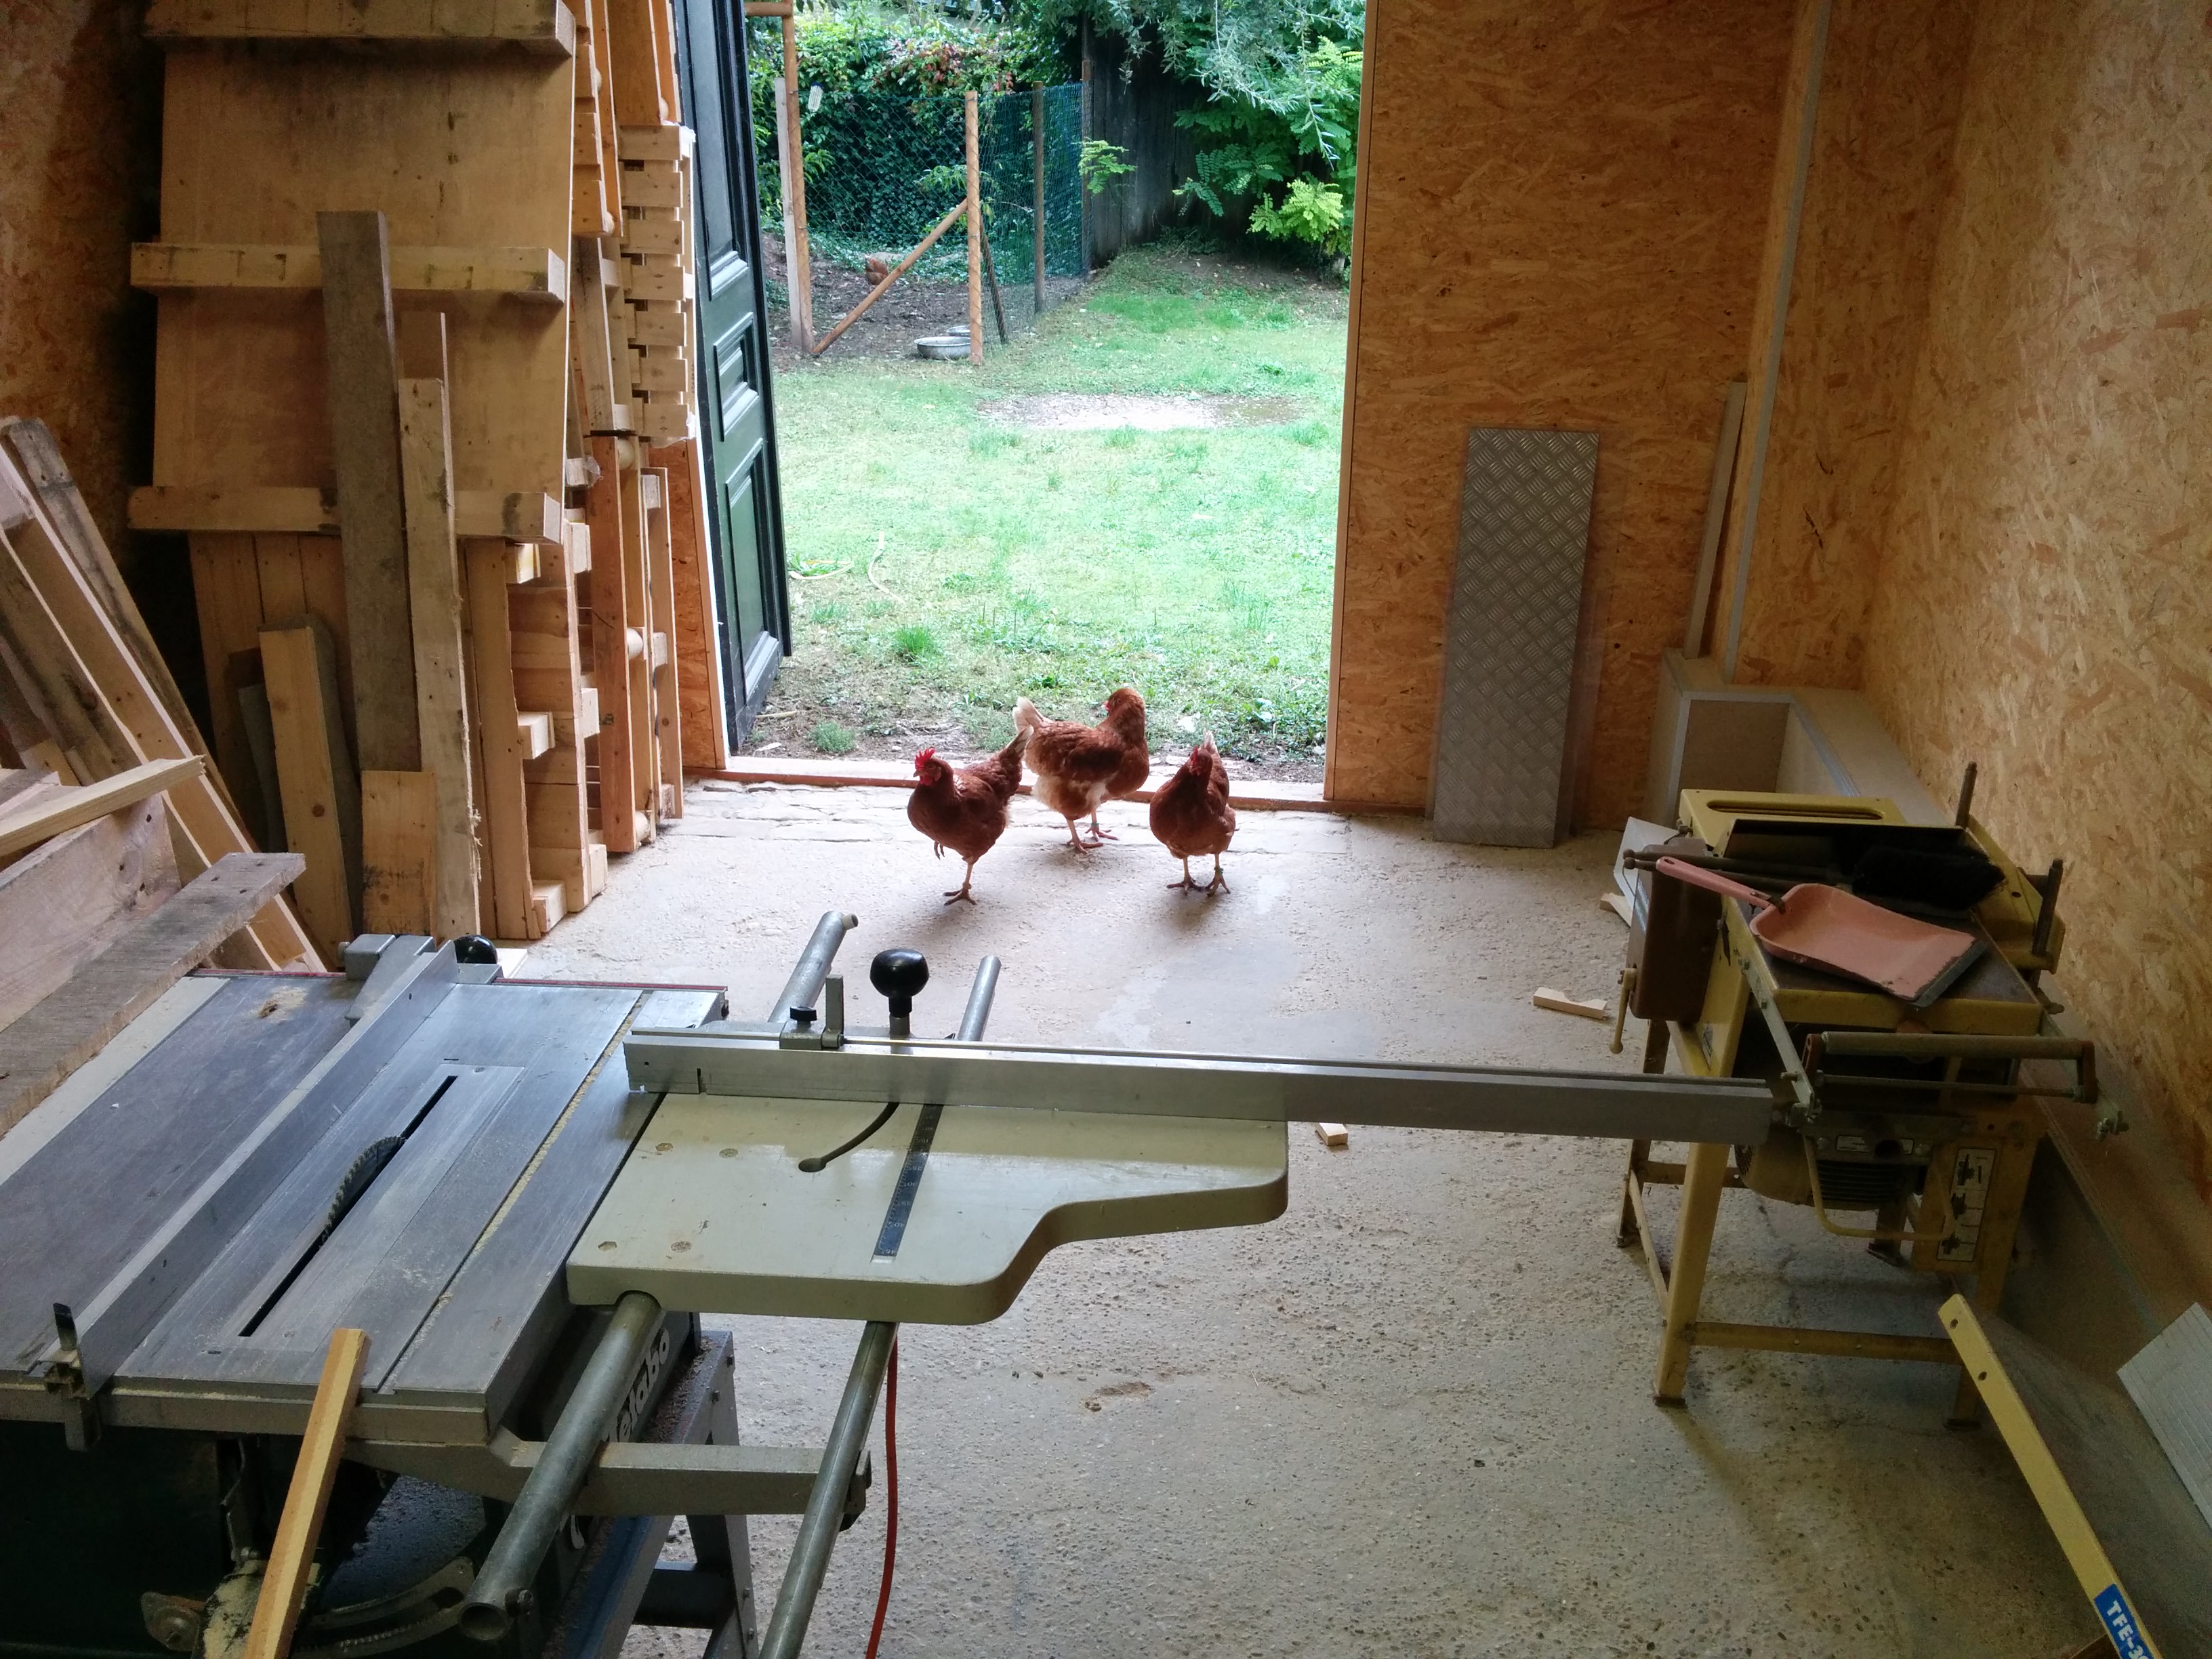 The chicks always come checking me out. ;)
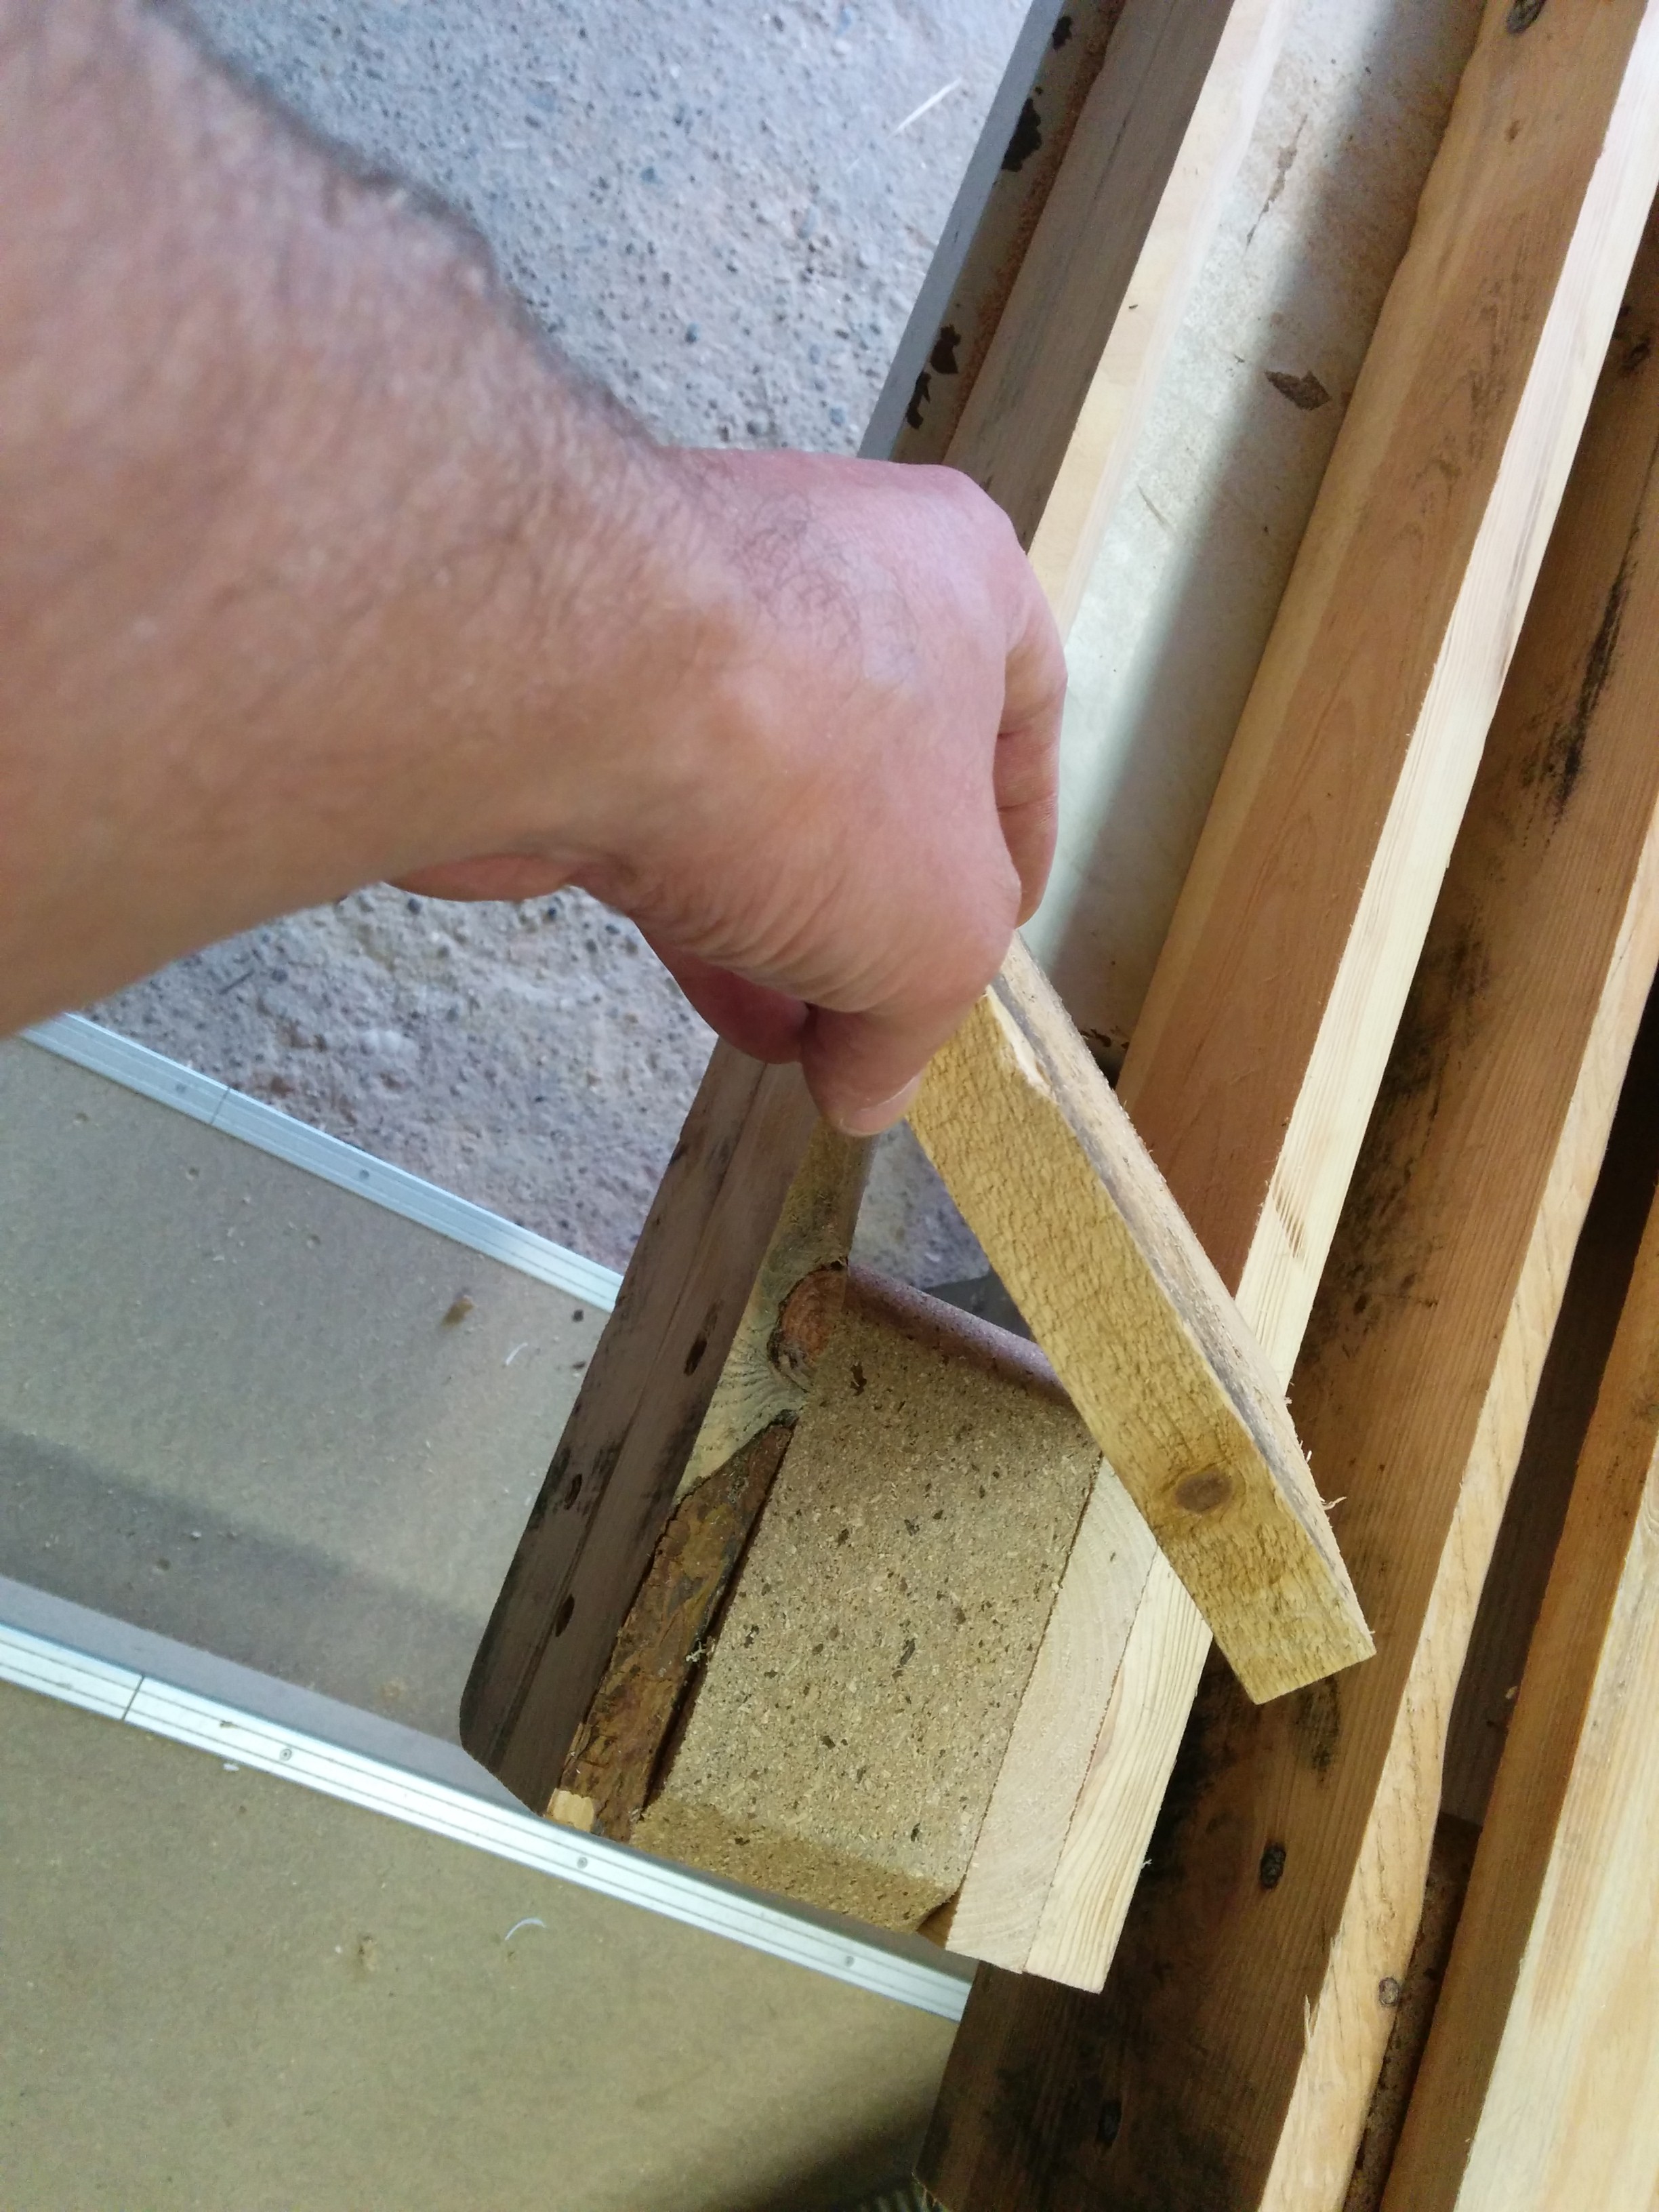
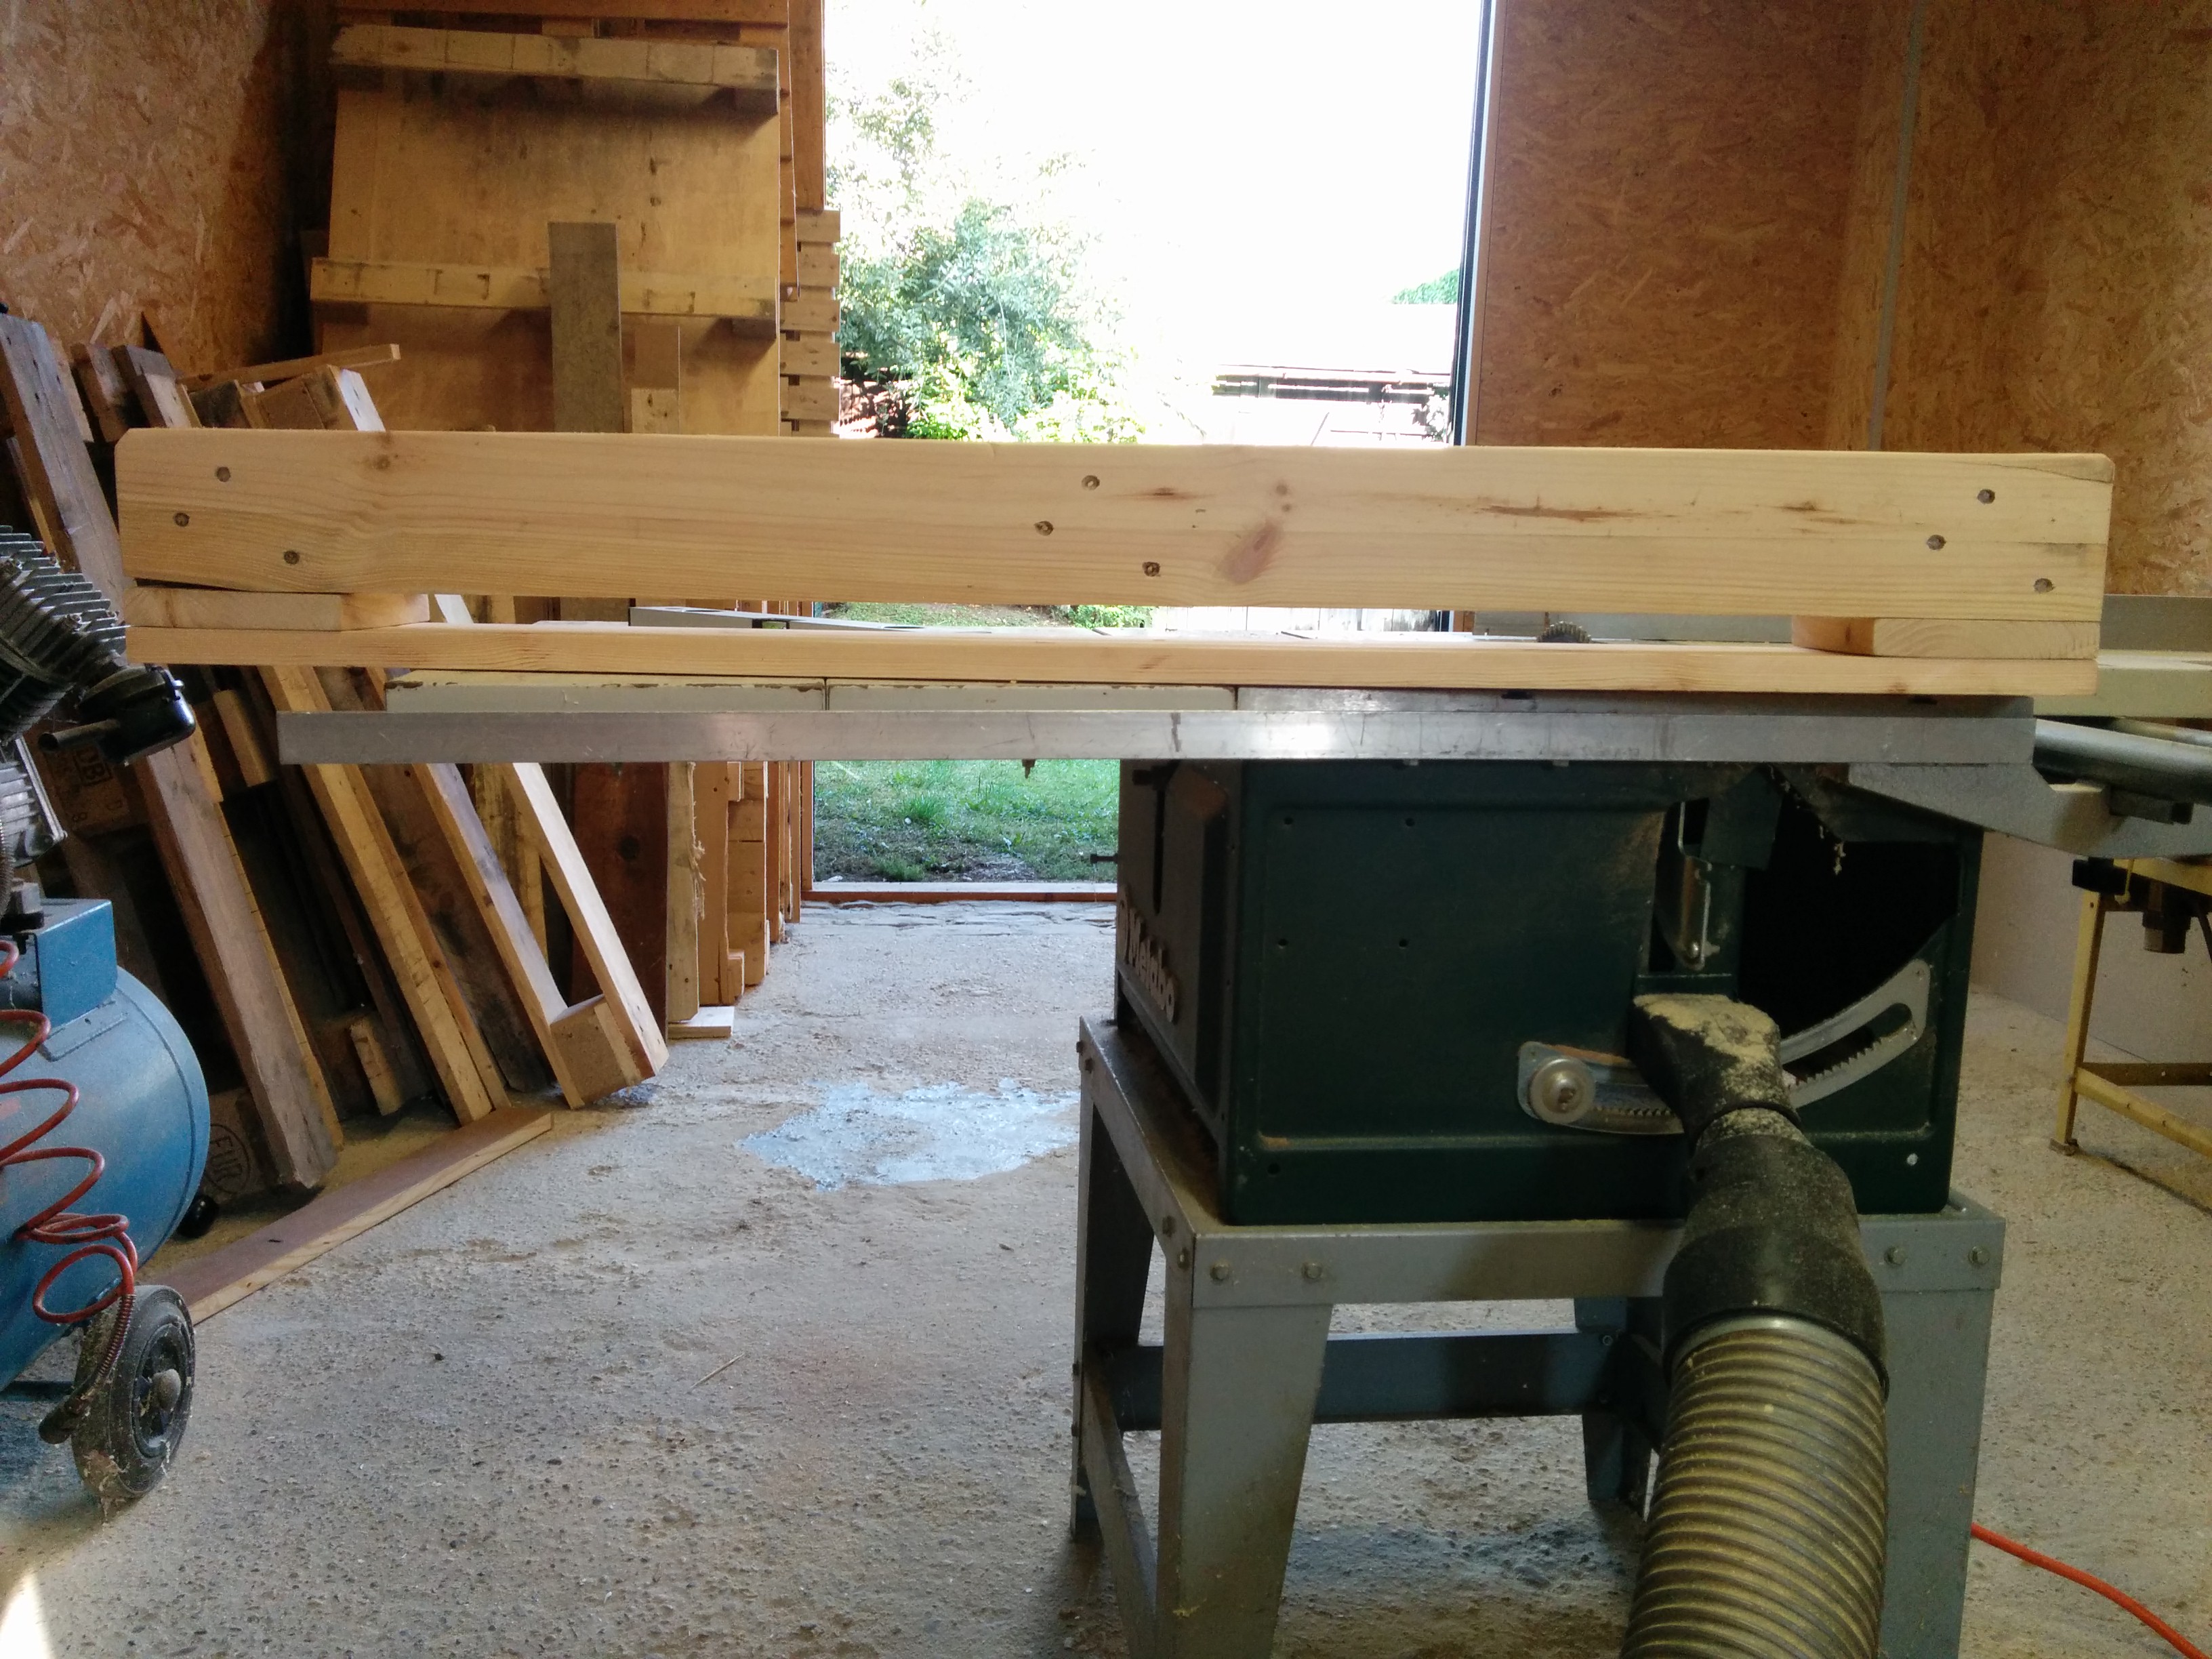
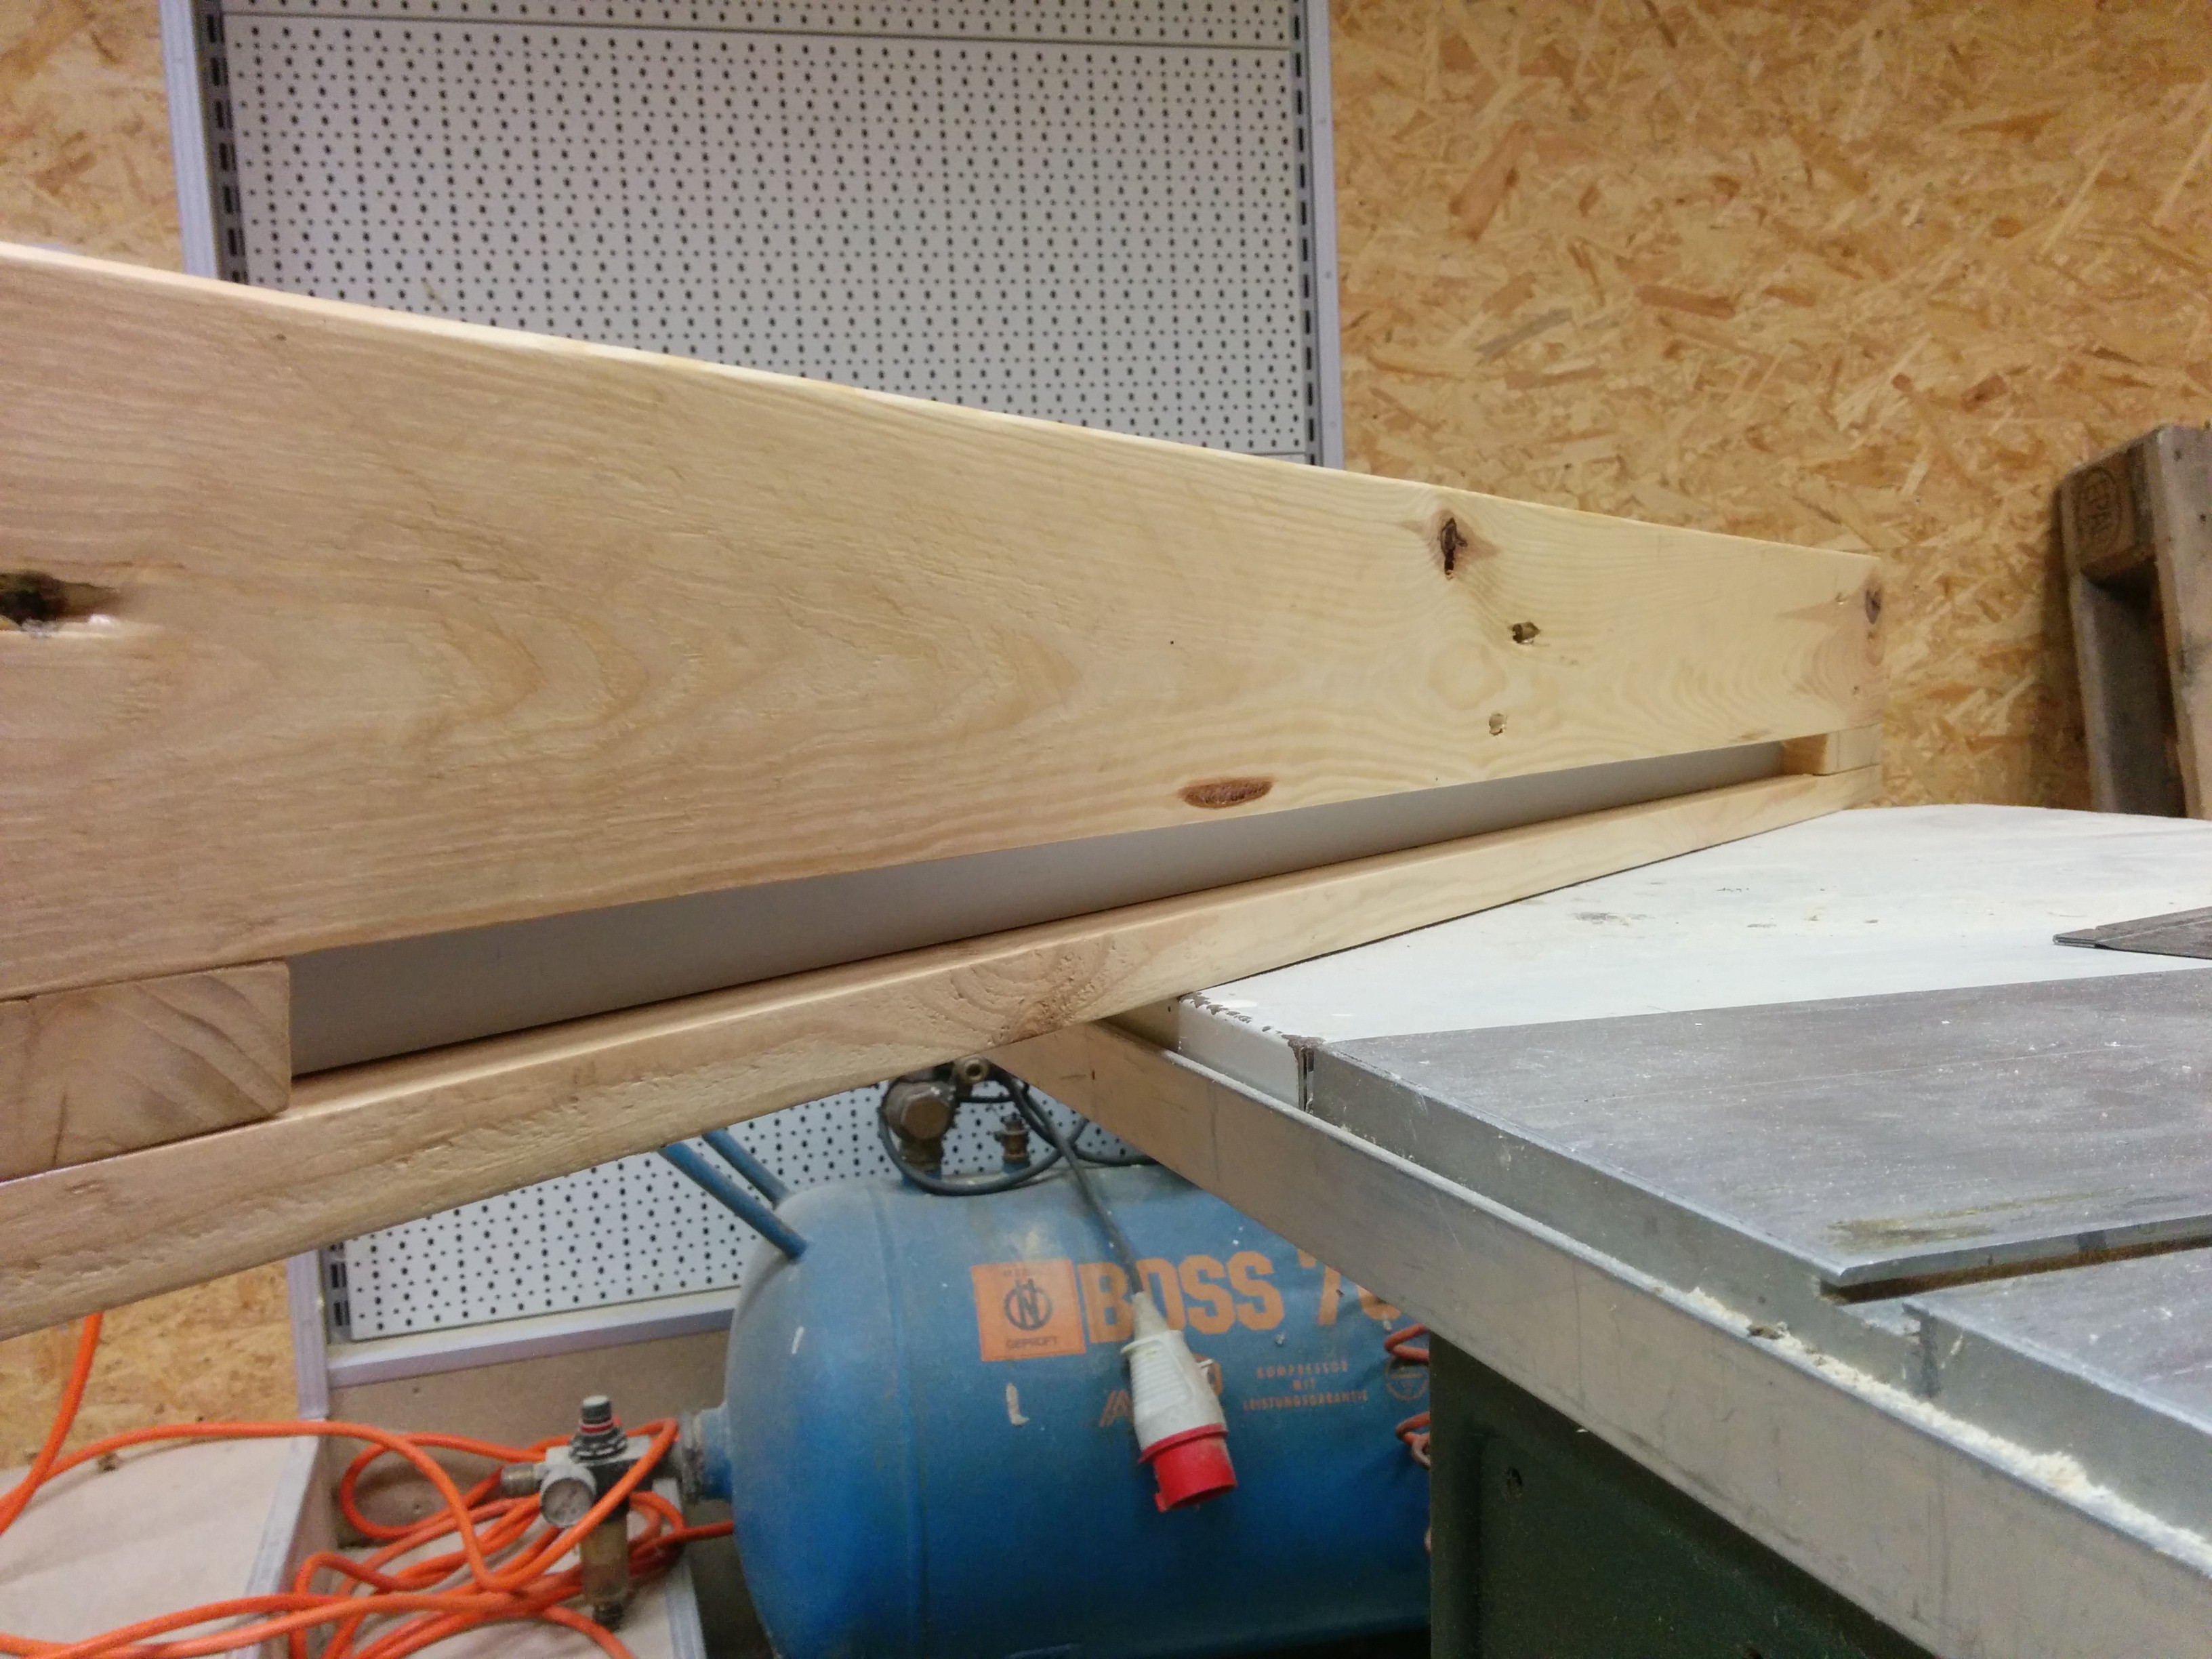
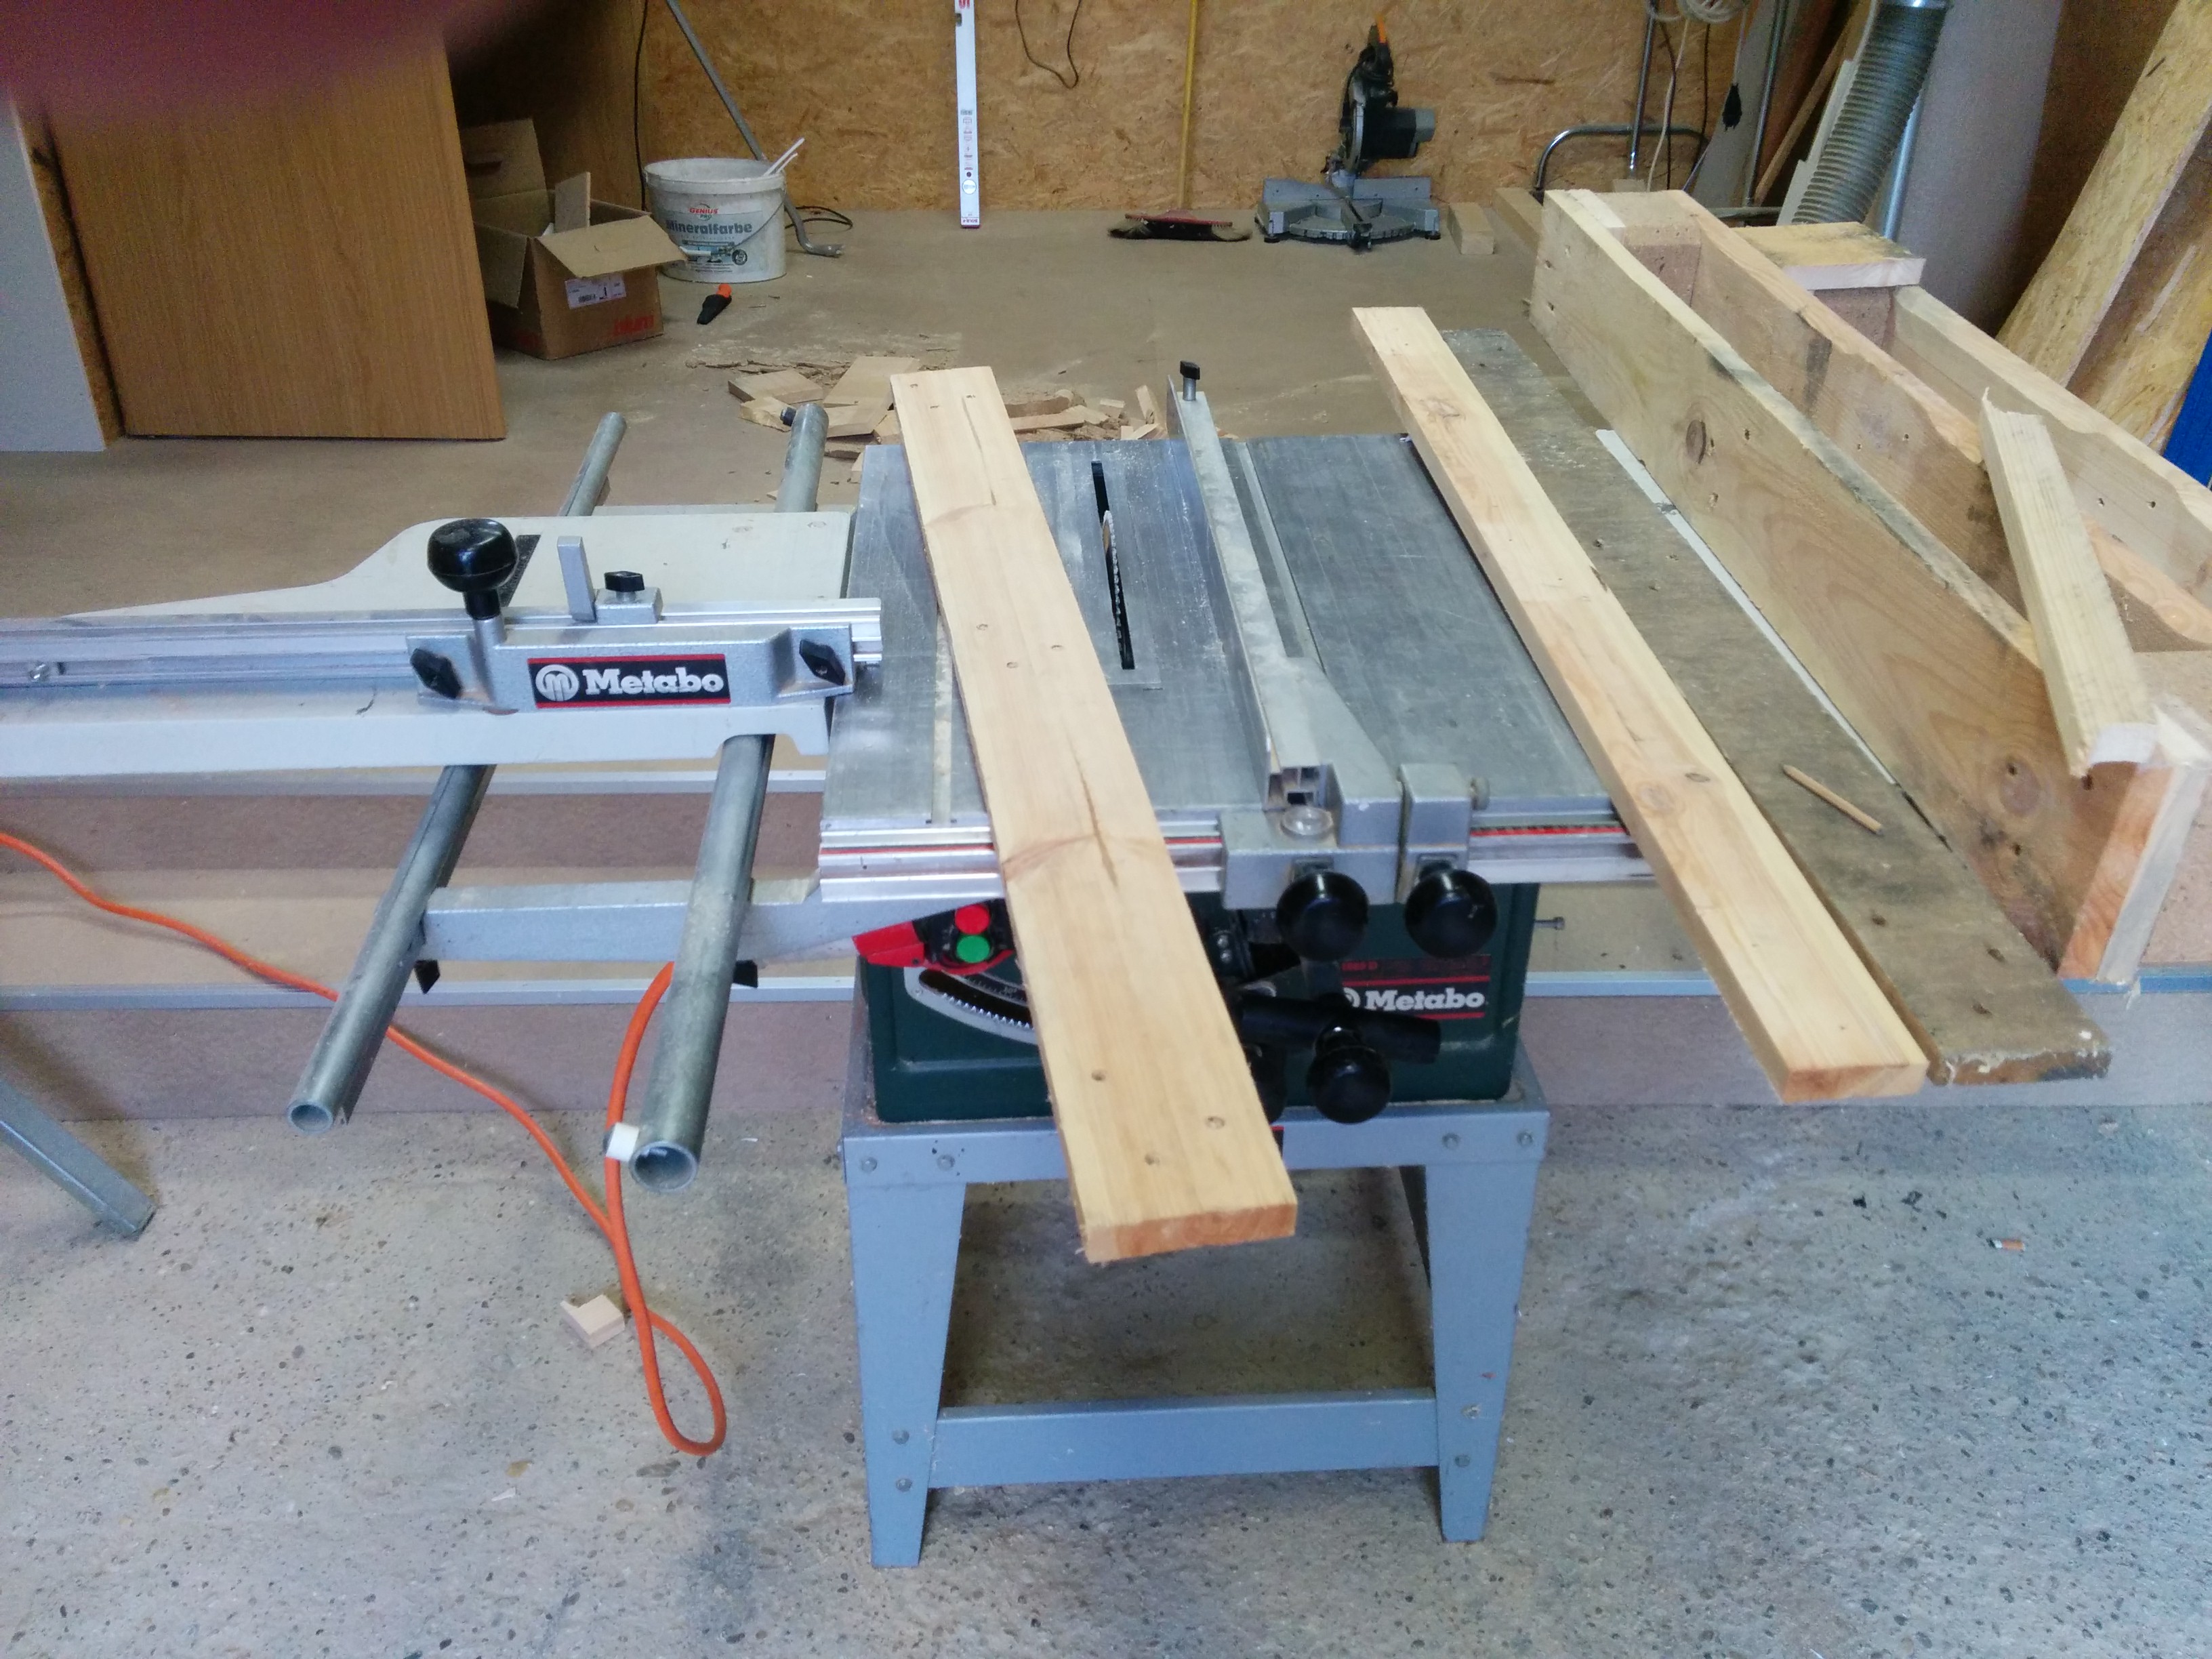 I took 2 boards from the pallet top and sawed them to the right width to circa (give or take a mm) align with the box.
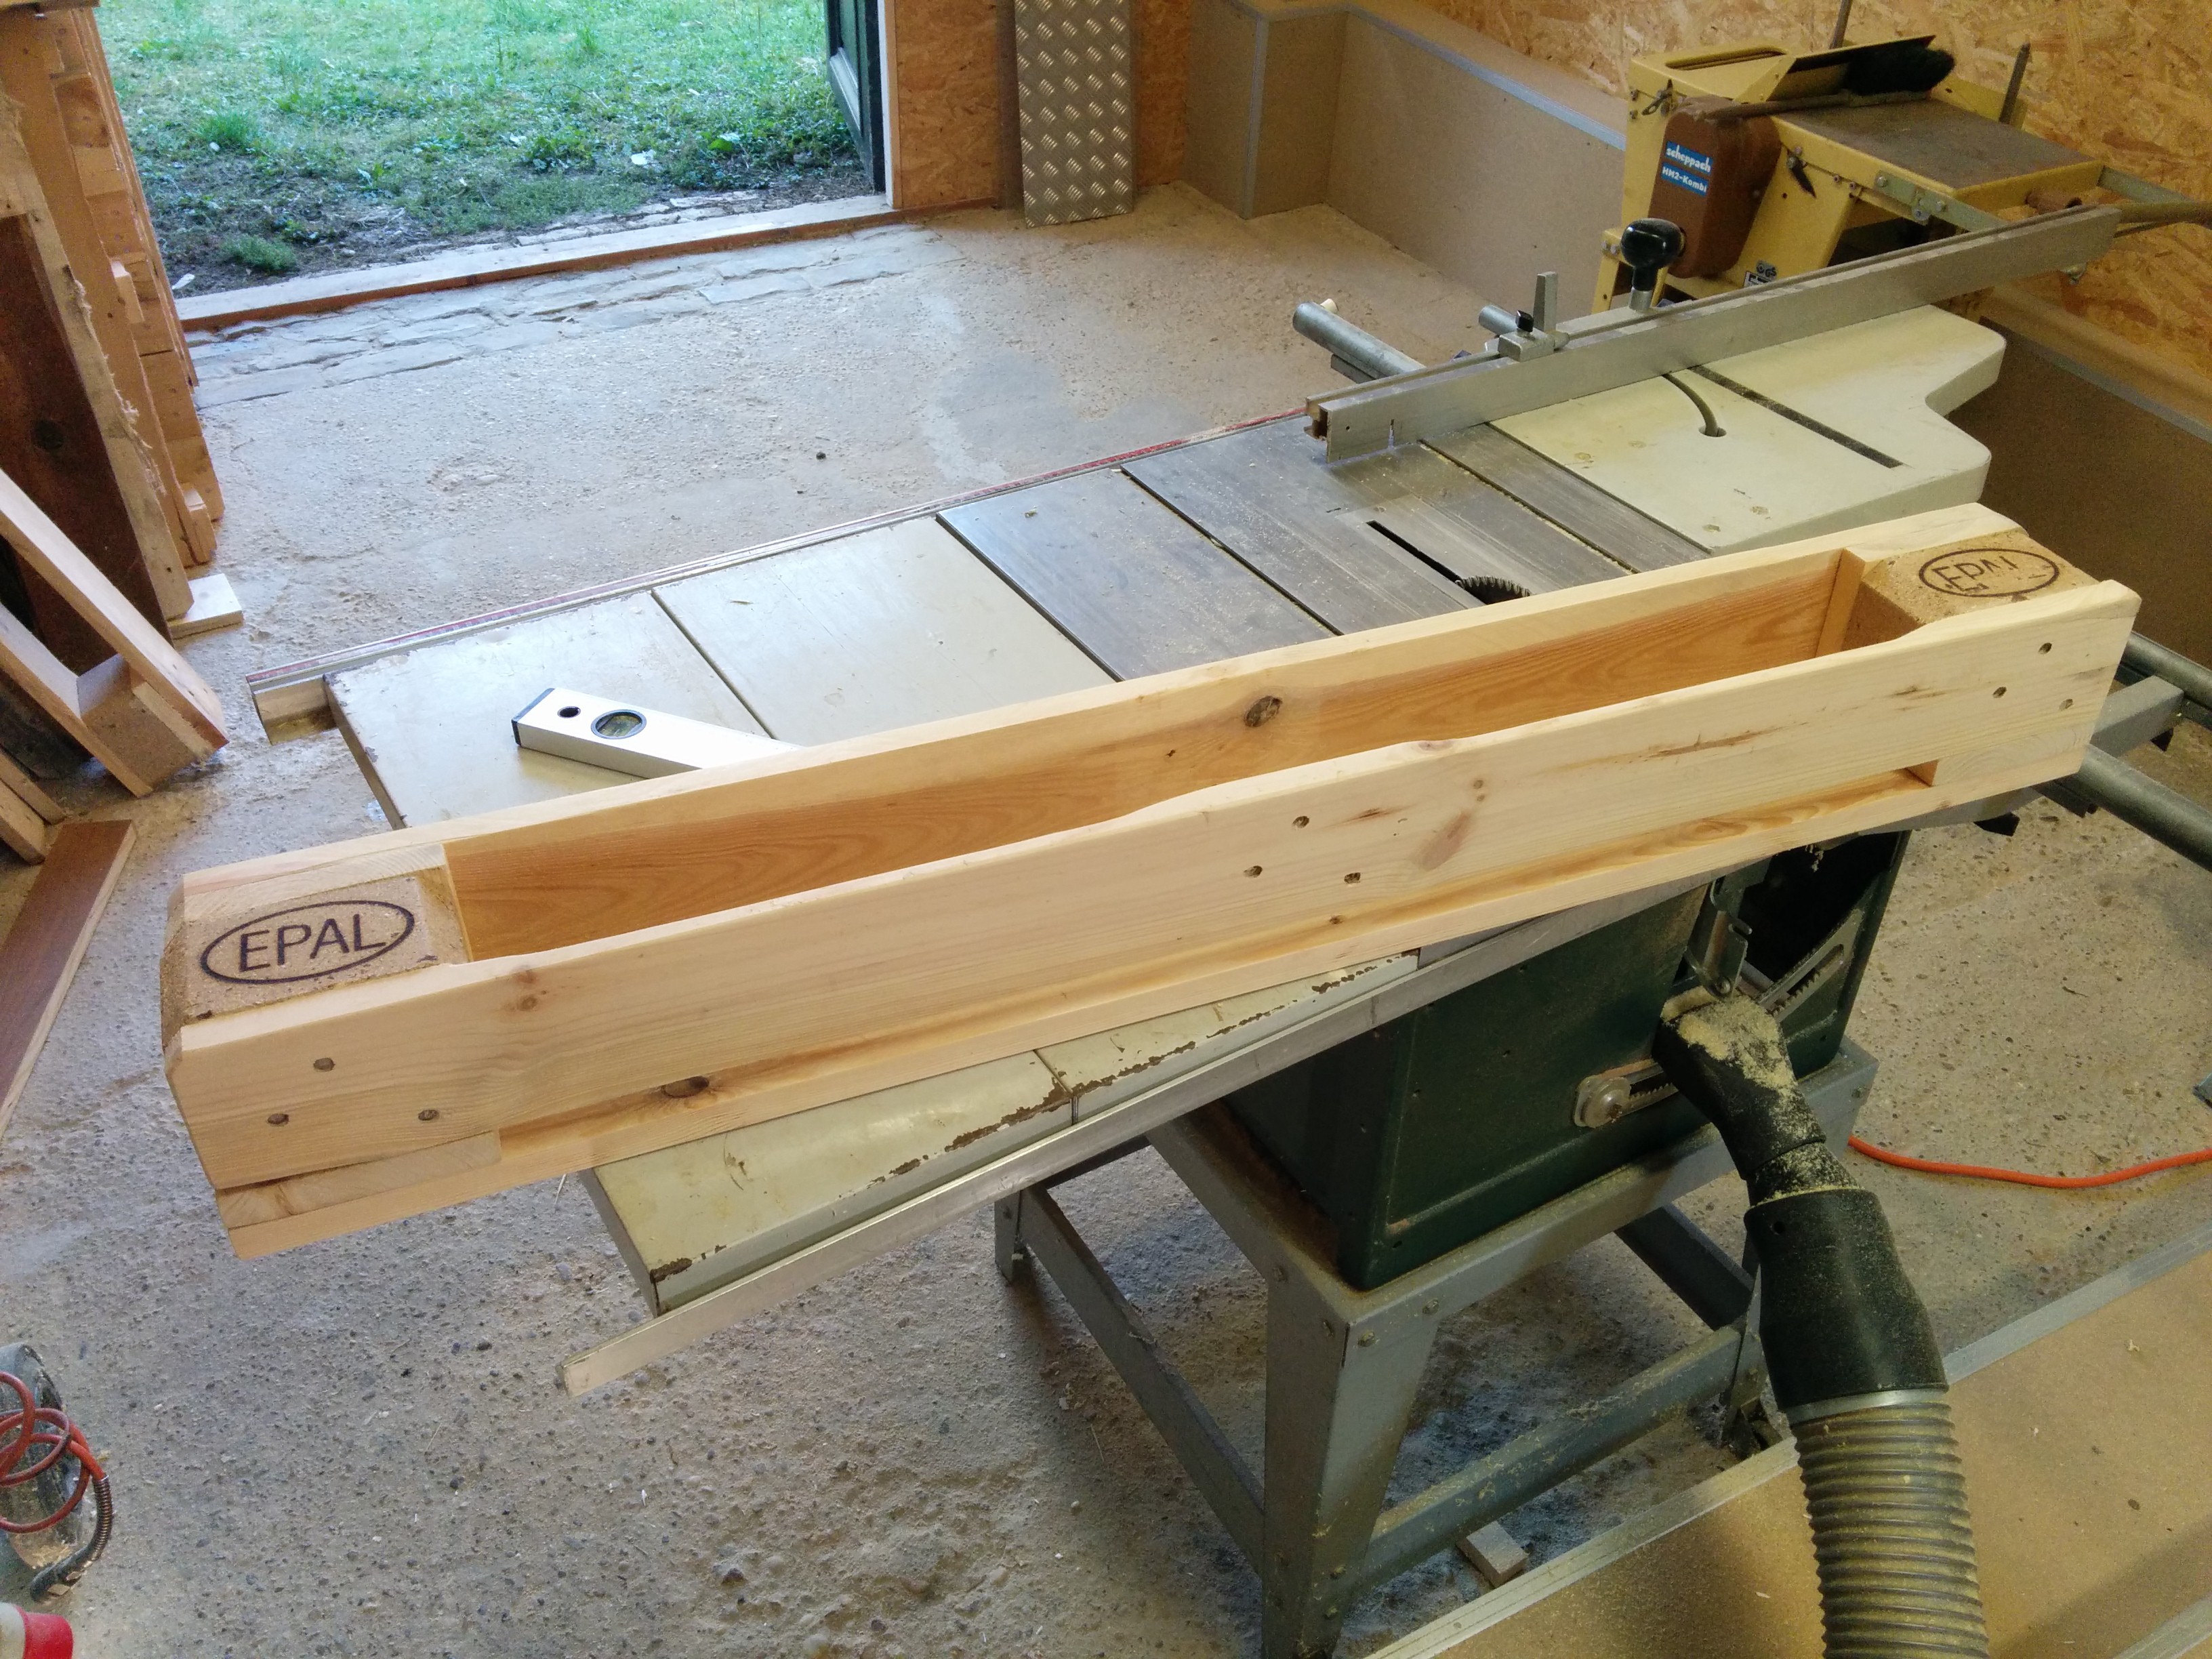
 A test to see if the desired look (dimension, proportions) is what i had on my mind.
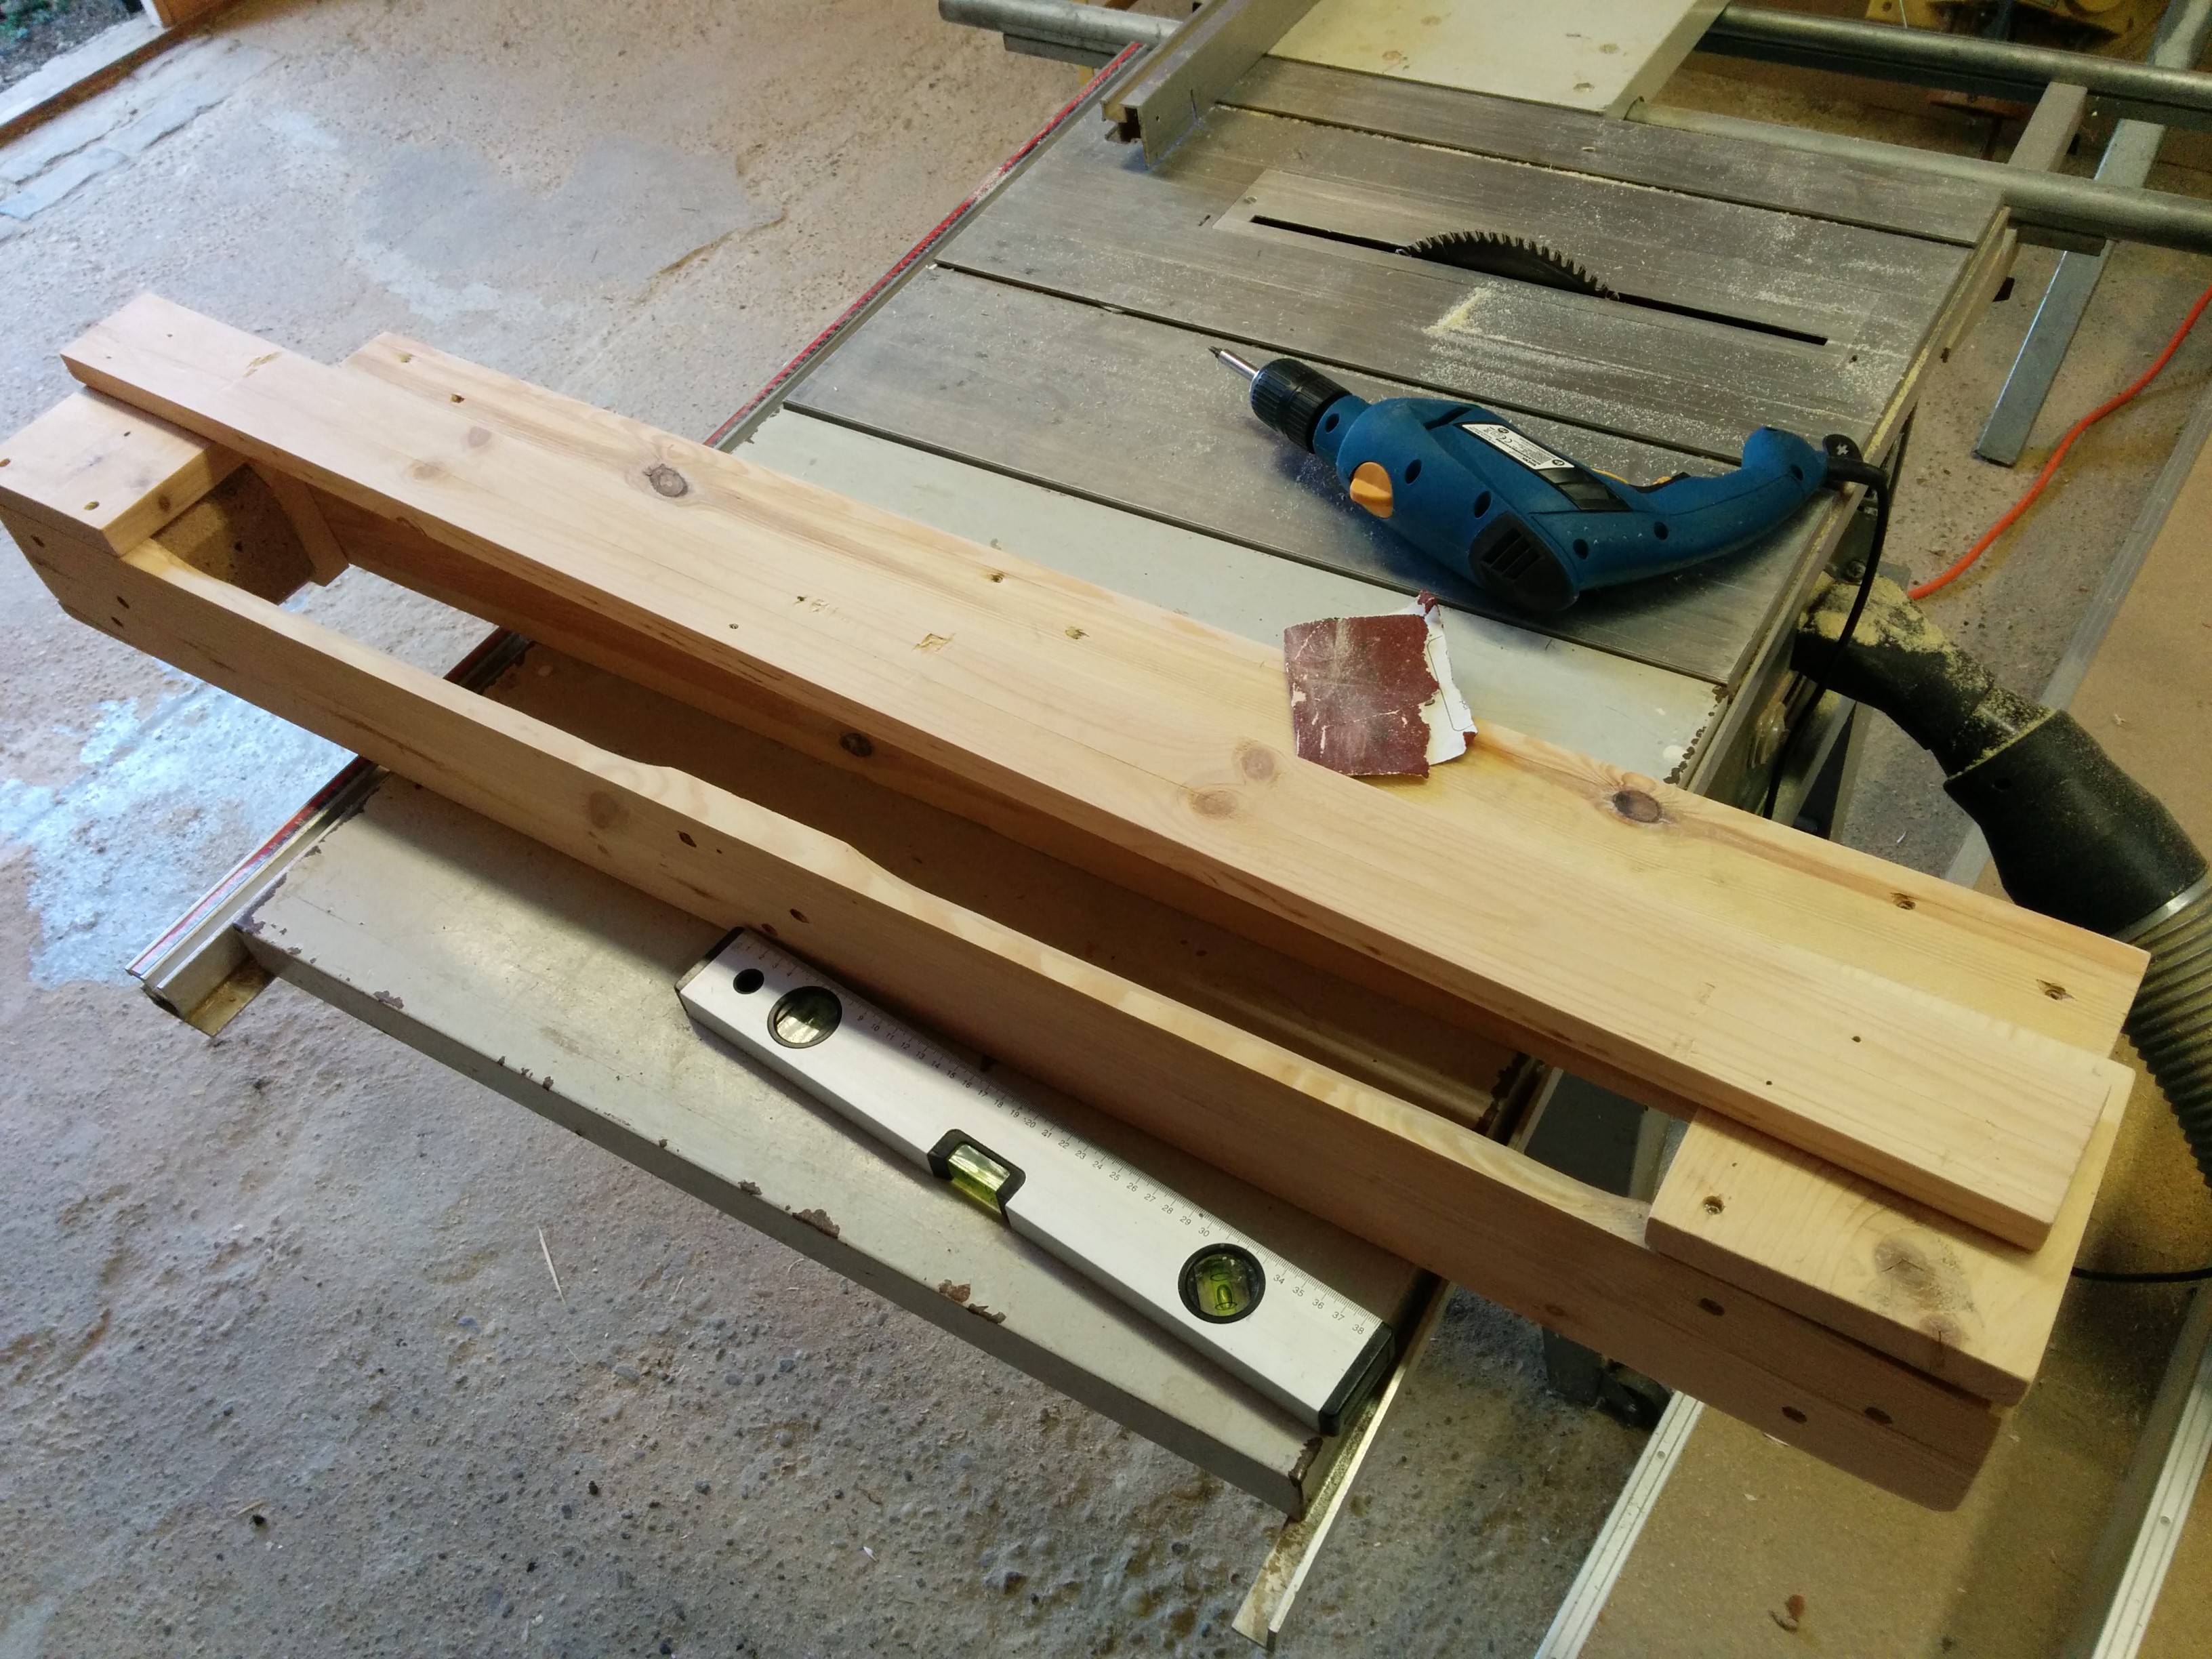
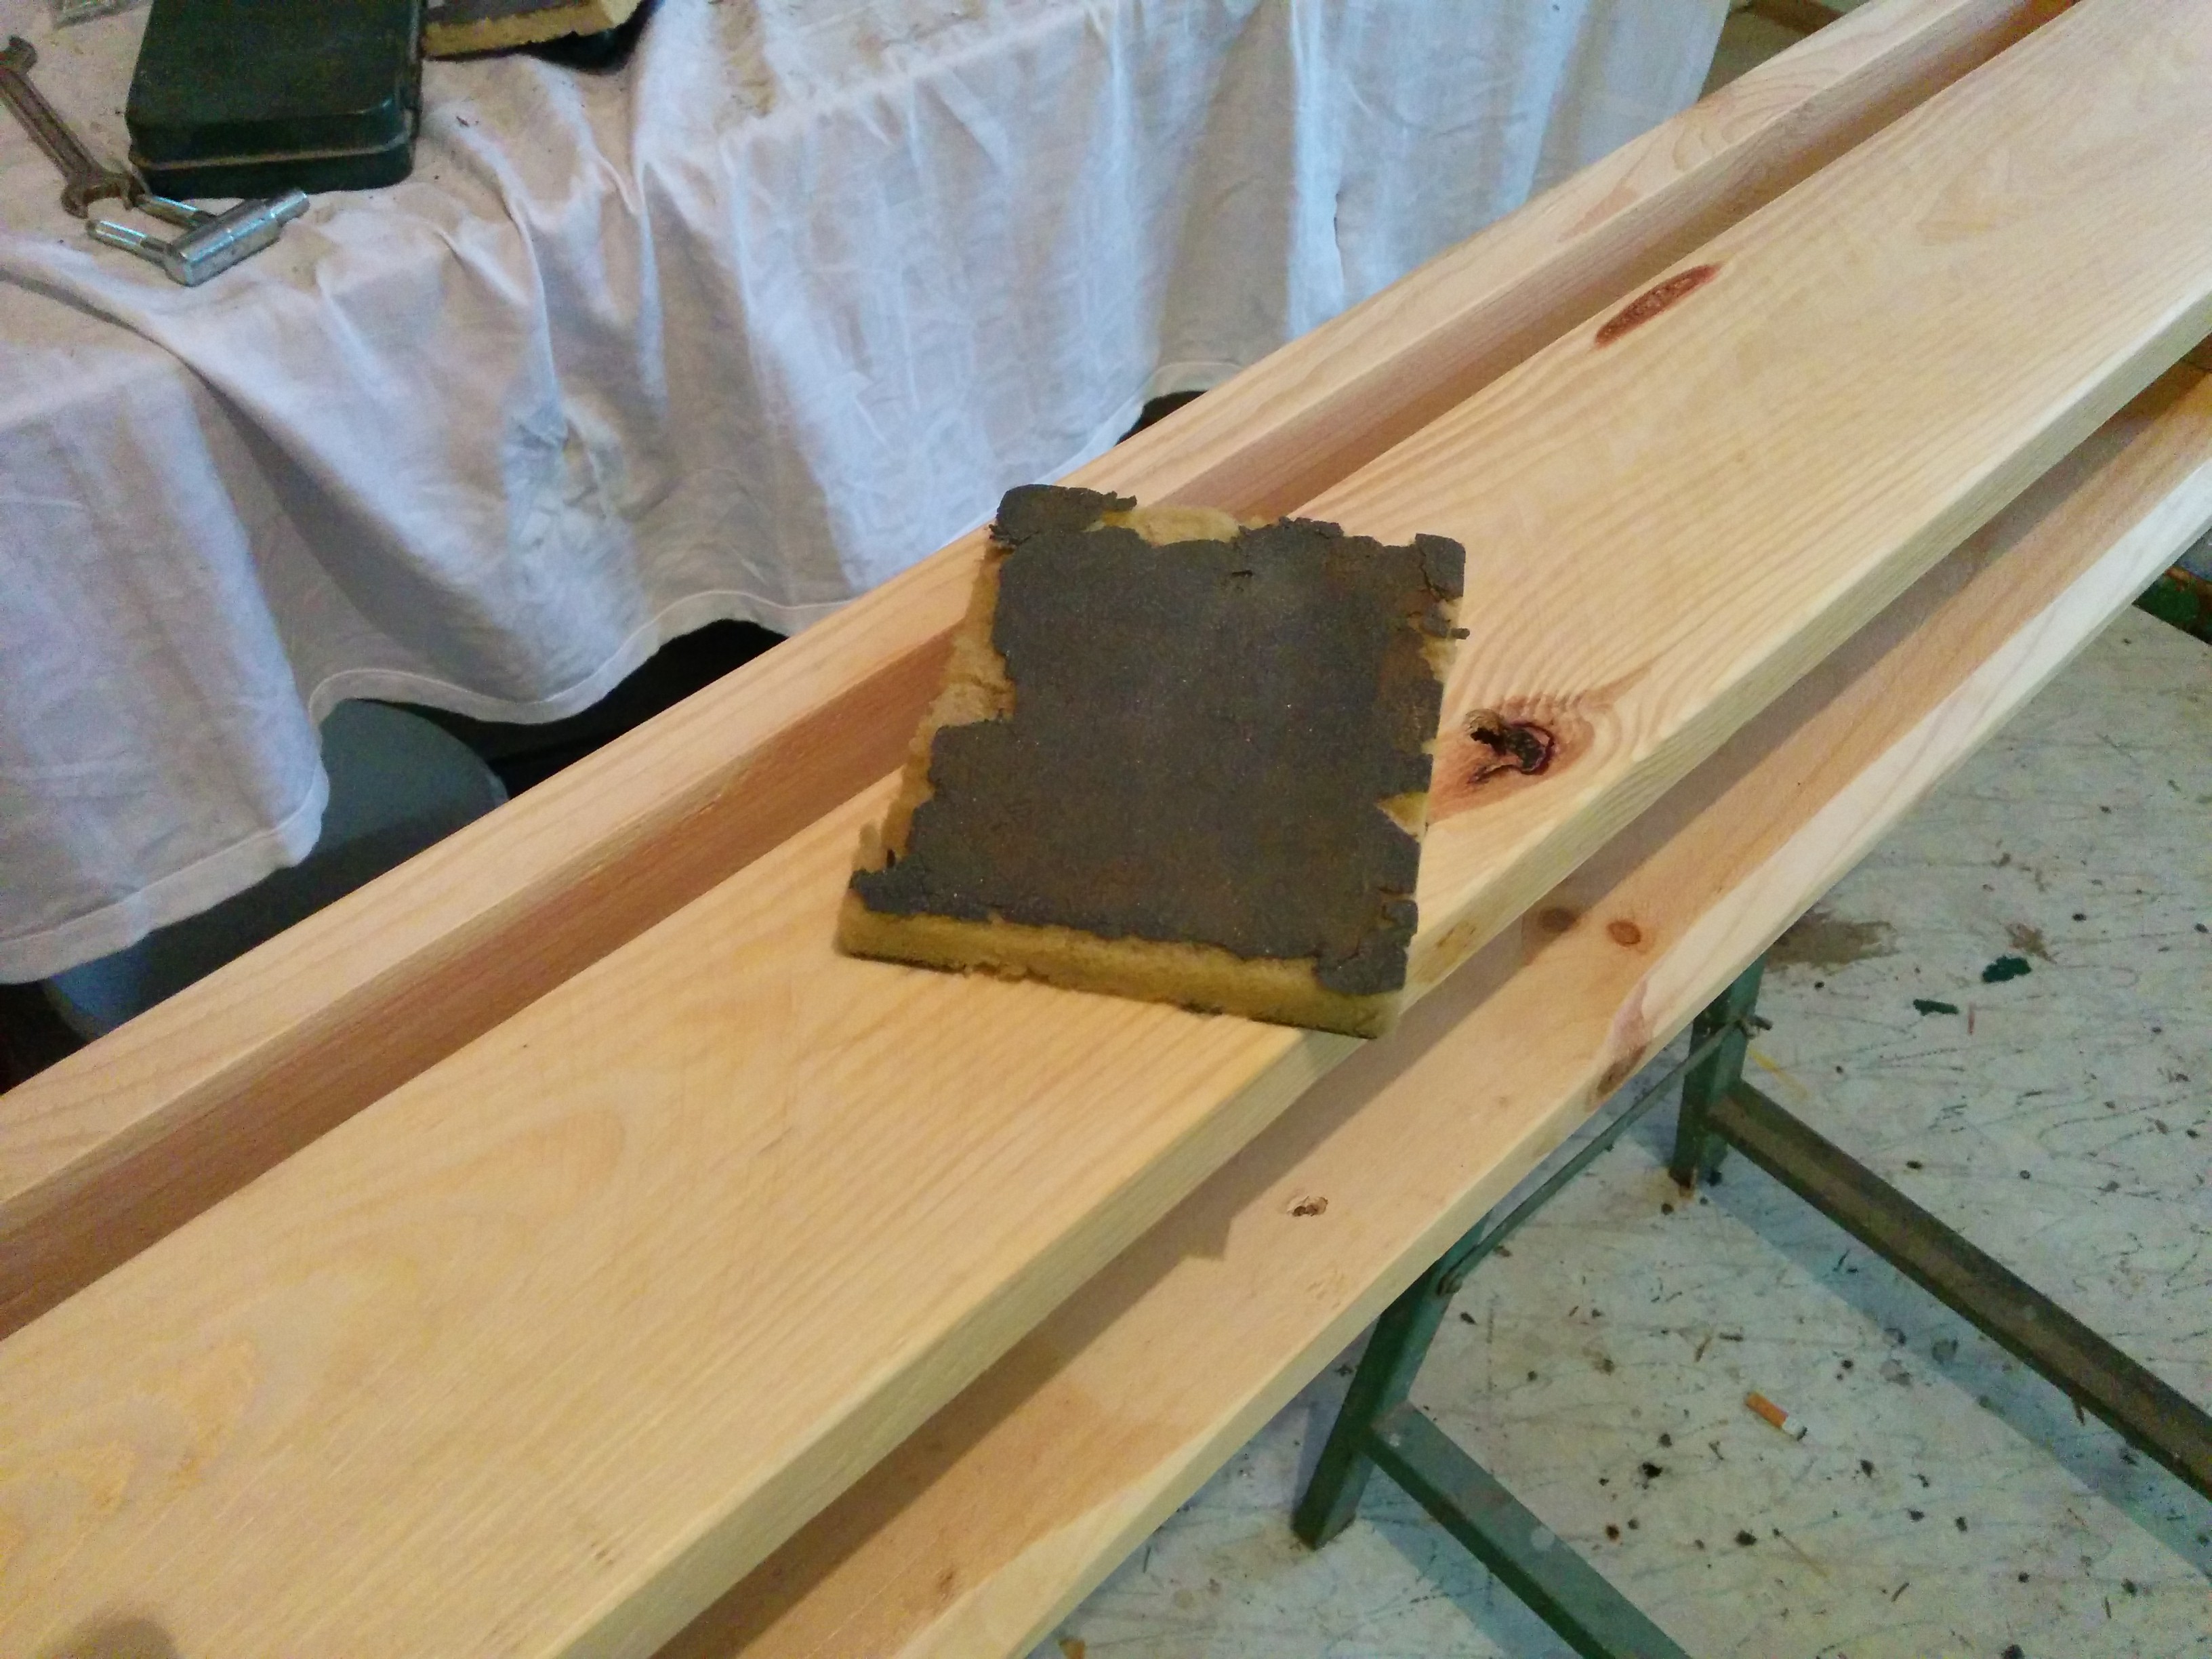
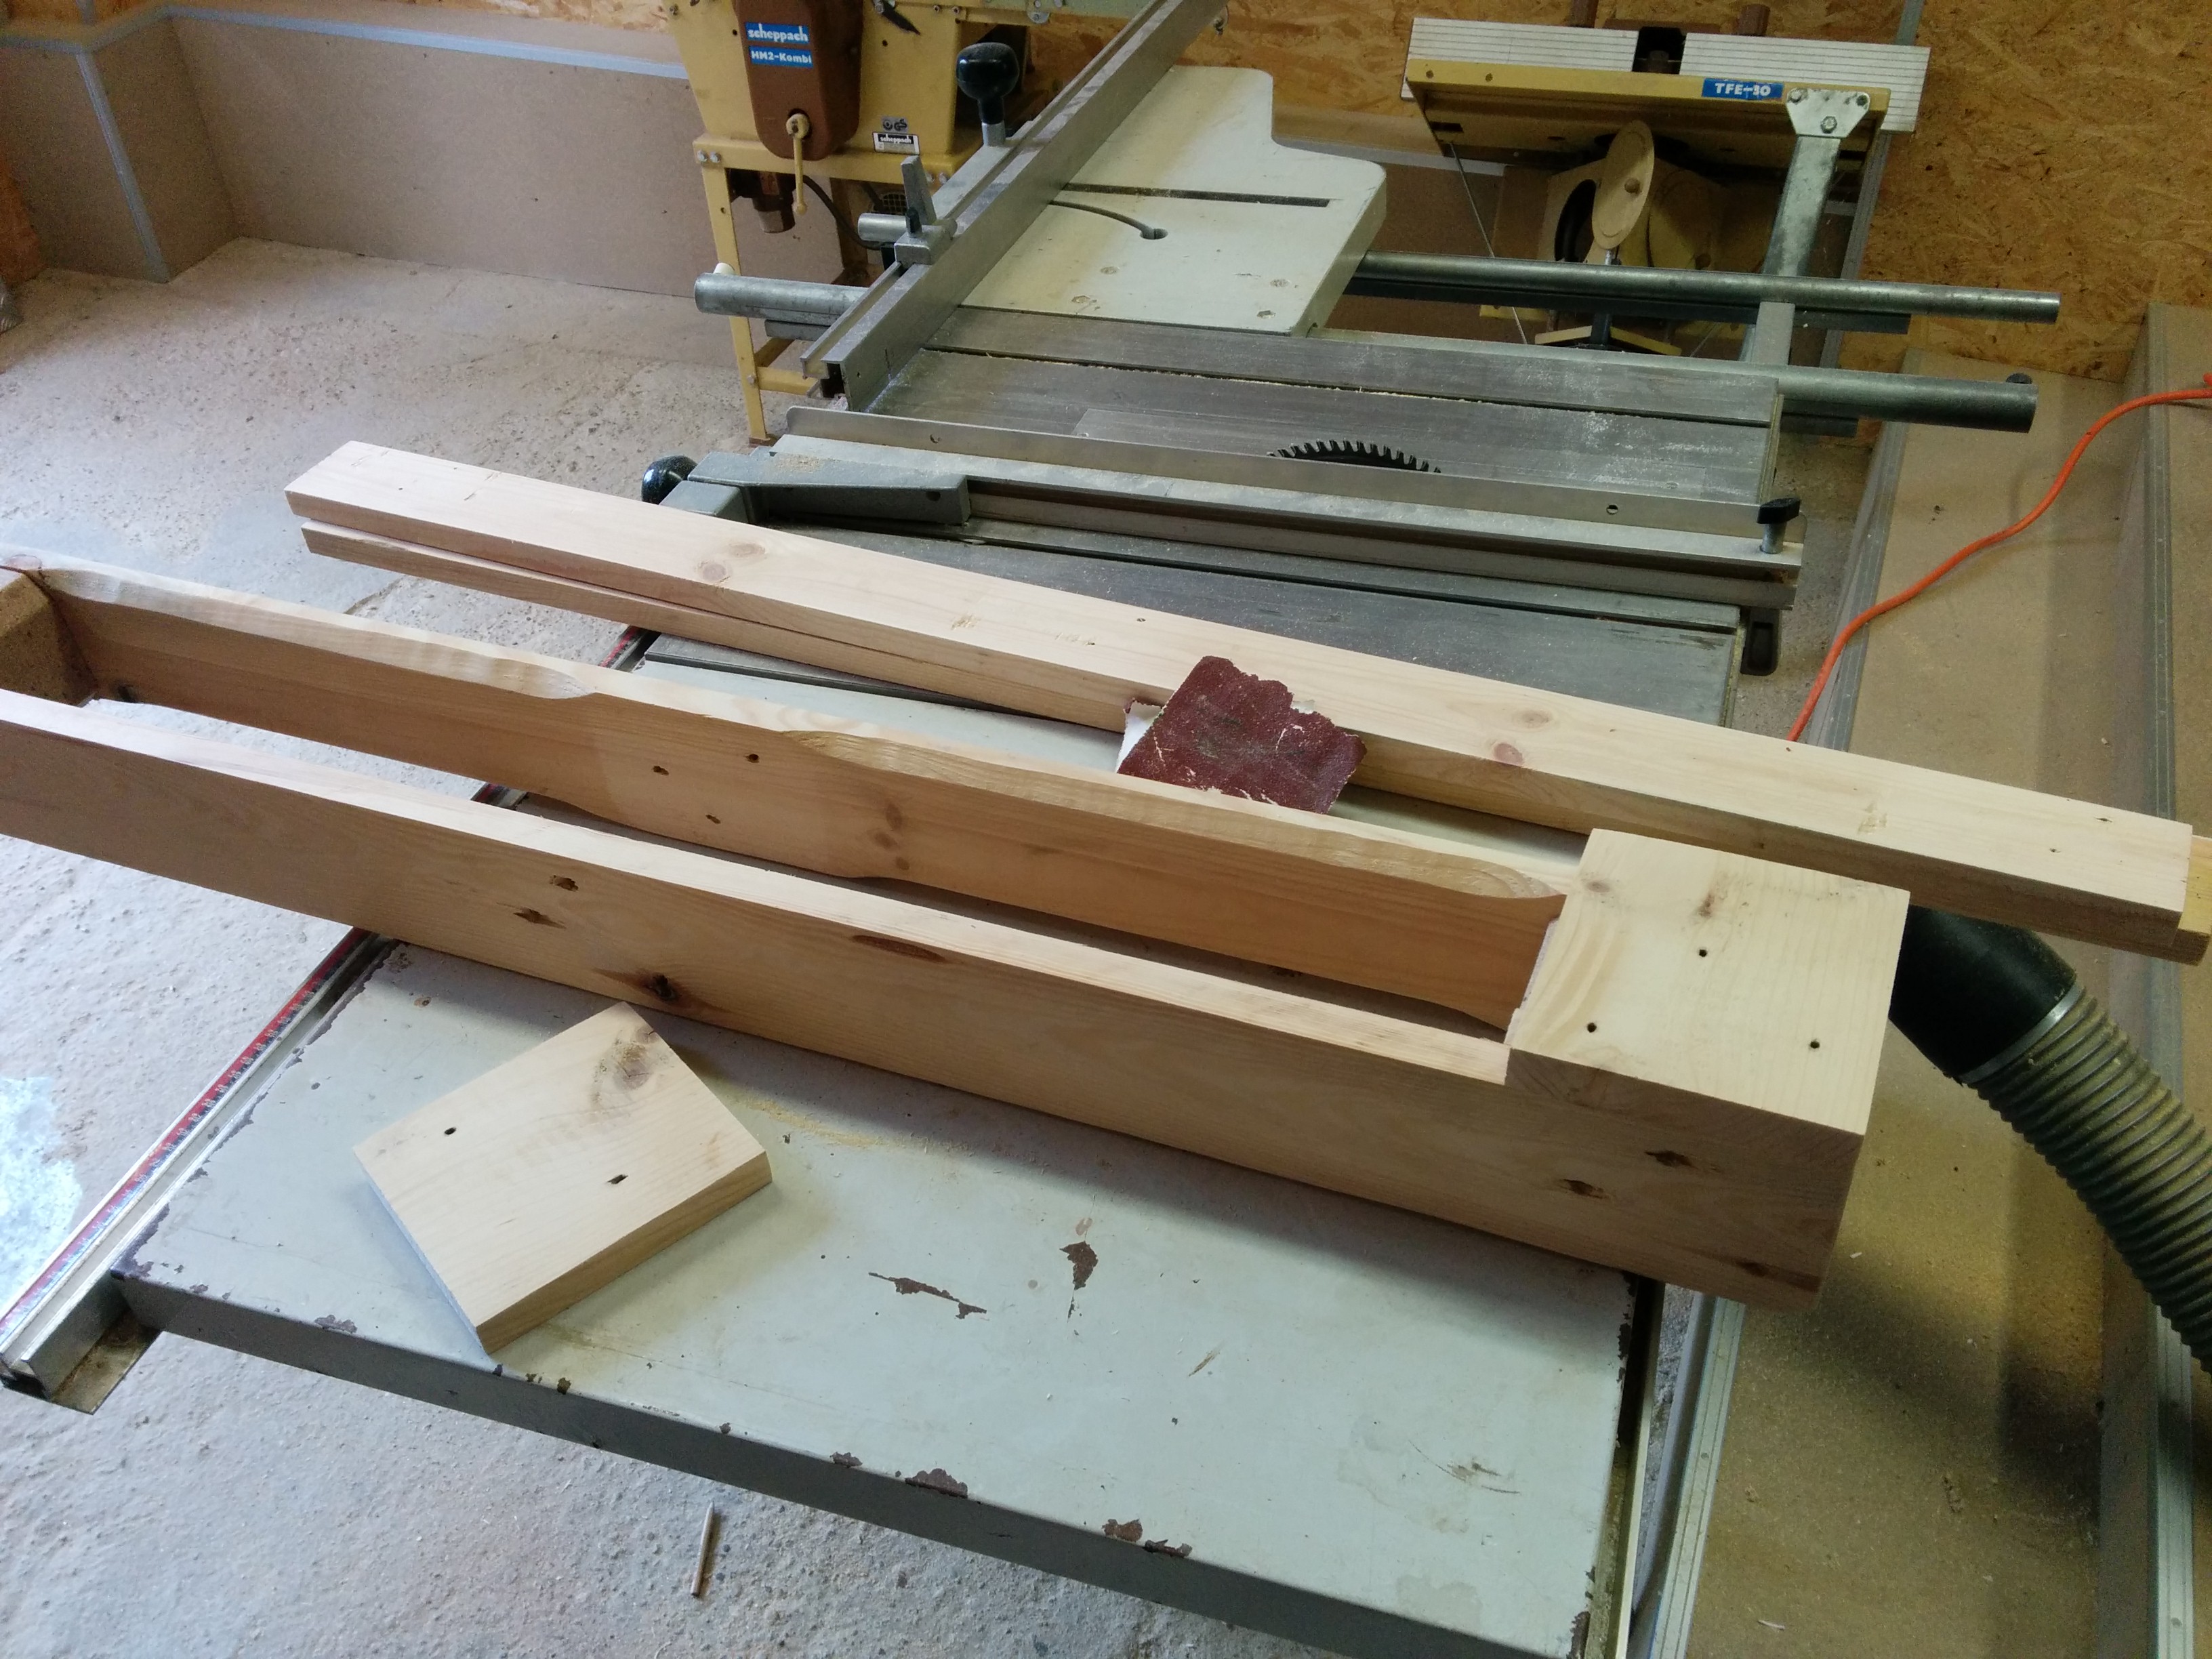 Sanding before it will be assembled.
 I just lined it up edge to edge and used 8 screws to mount it.
Make sure the screws are submerged sufficiently. You don't want to scratch the surface of whatever it is put on later.
I just lined it up edge to edge and used 8 screws to mount it.
Make sure the screws are submerged sufficiently. You don't want to scratch the surface of whatever it is put on later.
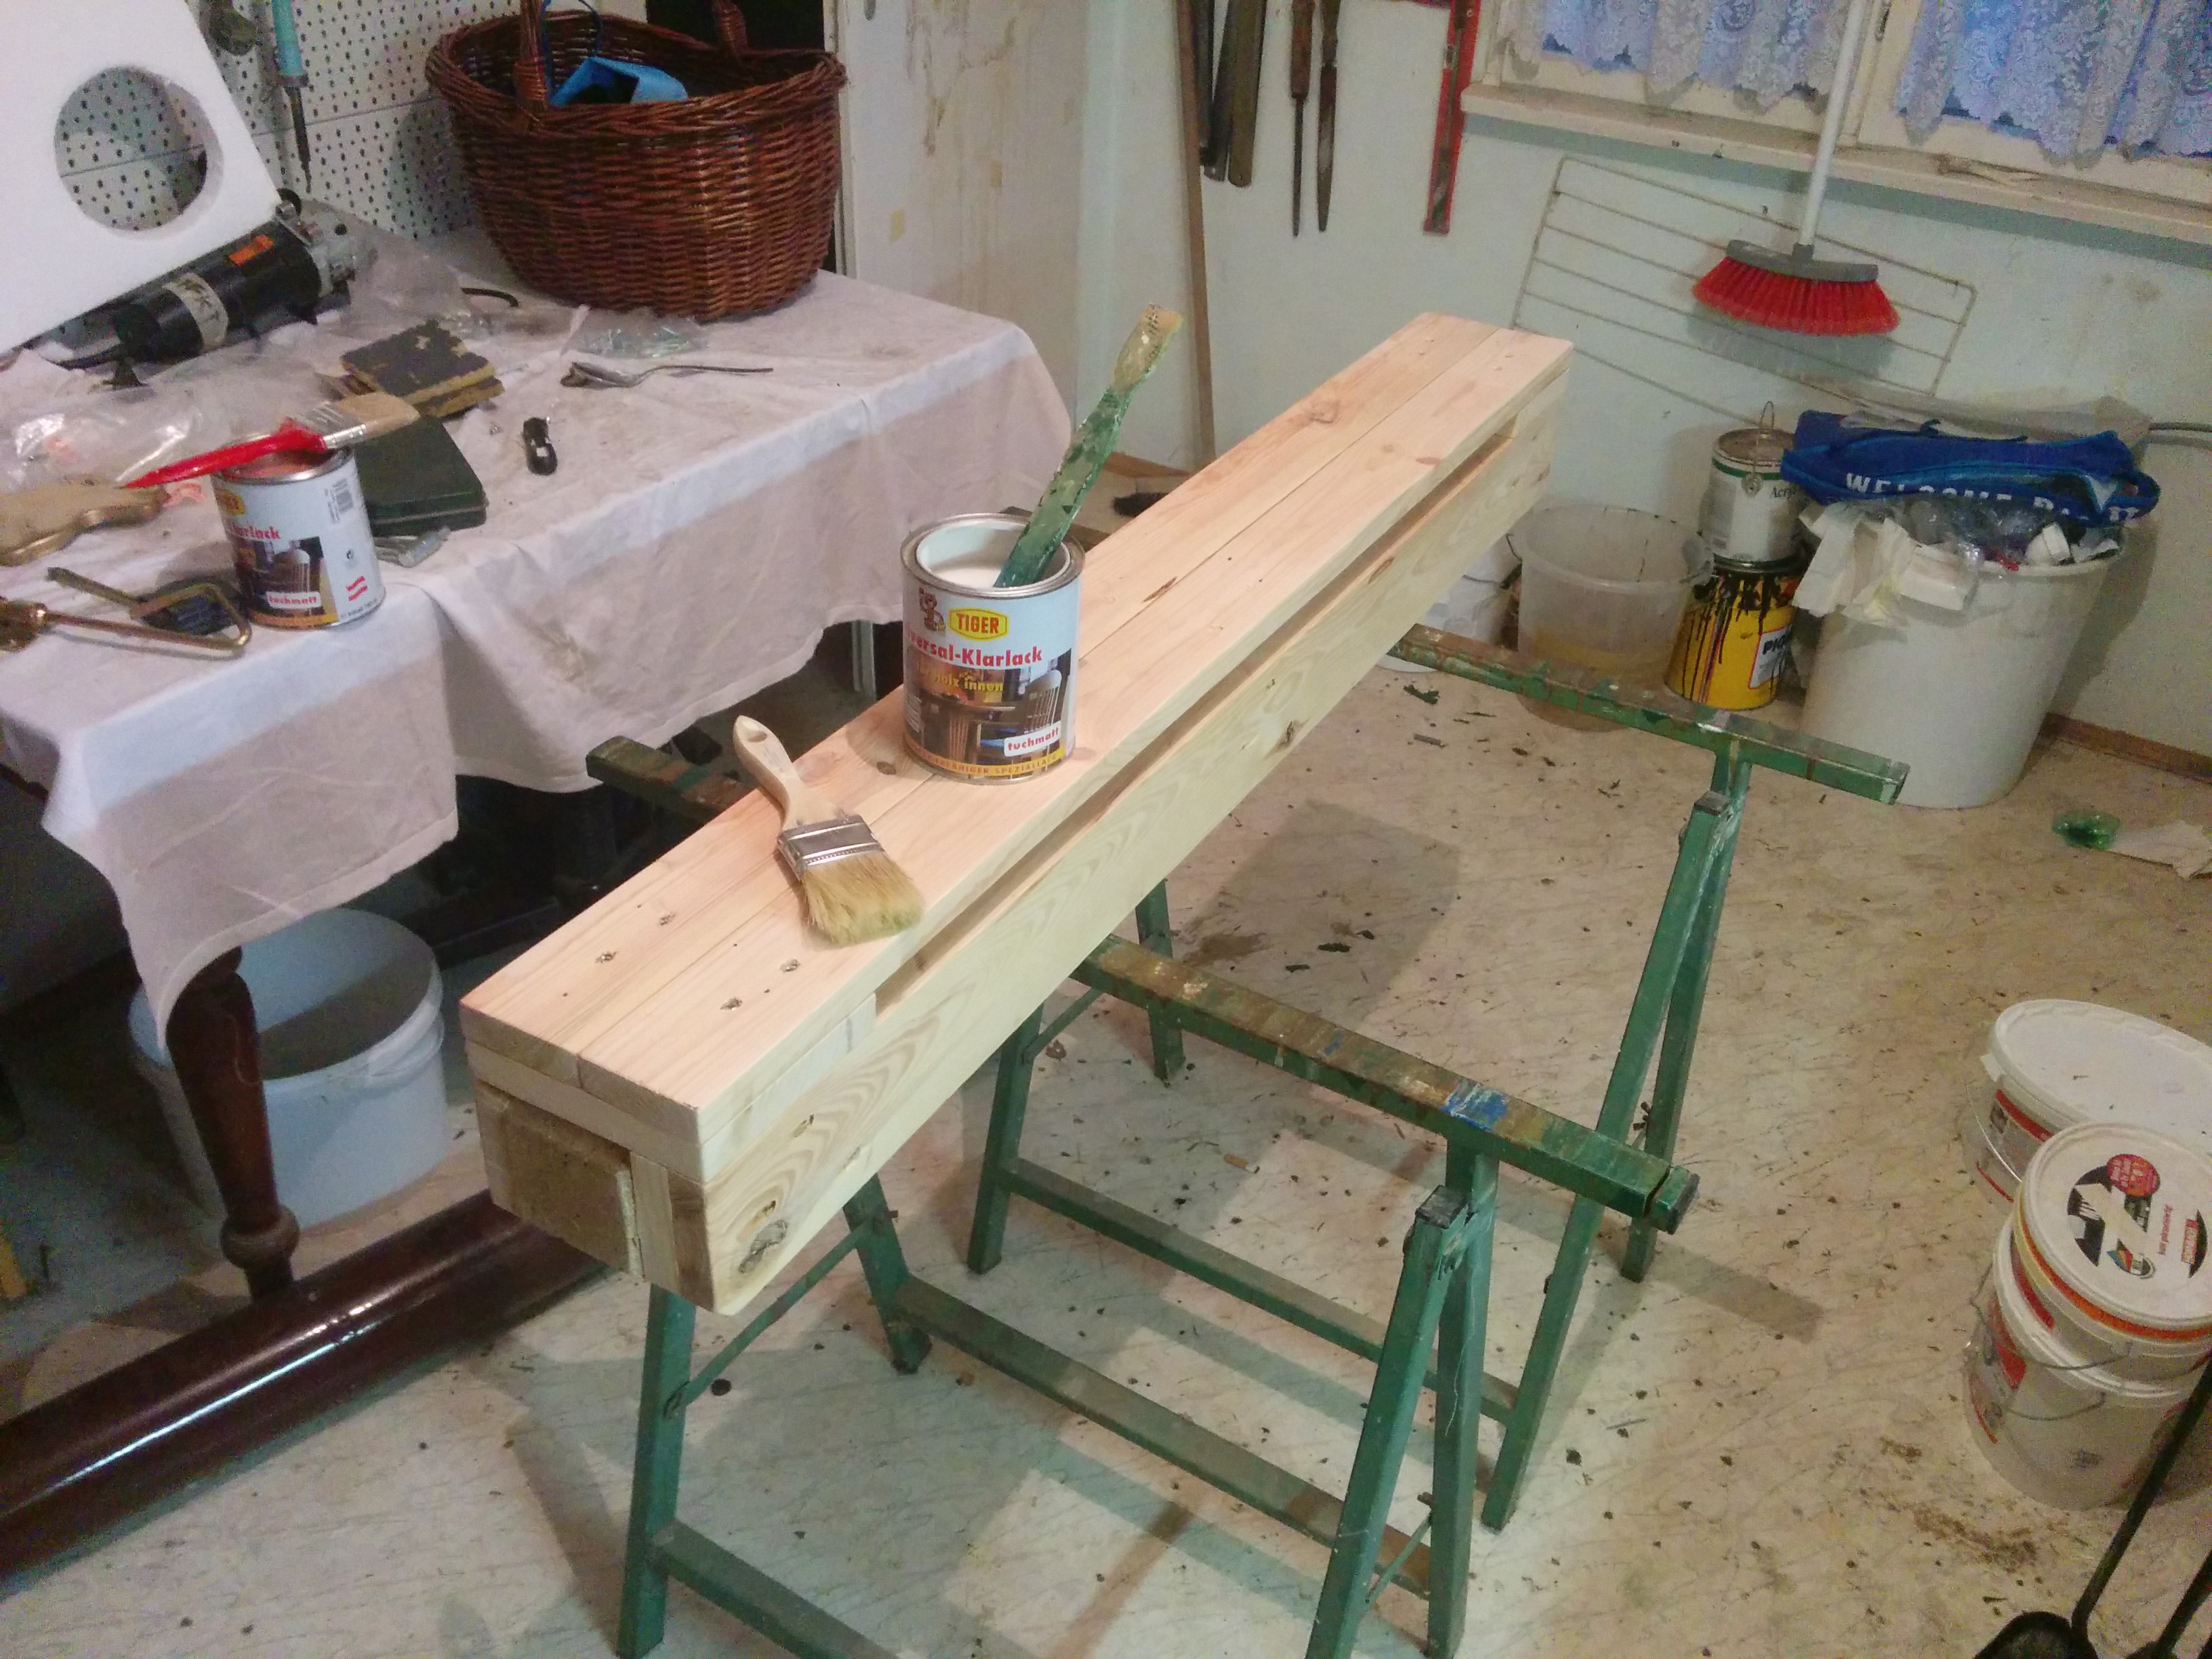
 Time for the first layer of transparent (mate) paint.
 Used fine sandpaper pads in between the layers of paint.
Ended up adding a total of 3 layers of paint.
Used fine sandpaper pads in between the layers of paint.
Ended up adding a total of 3 layers of paint.
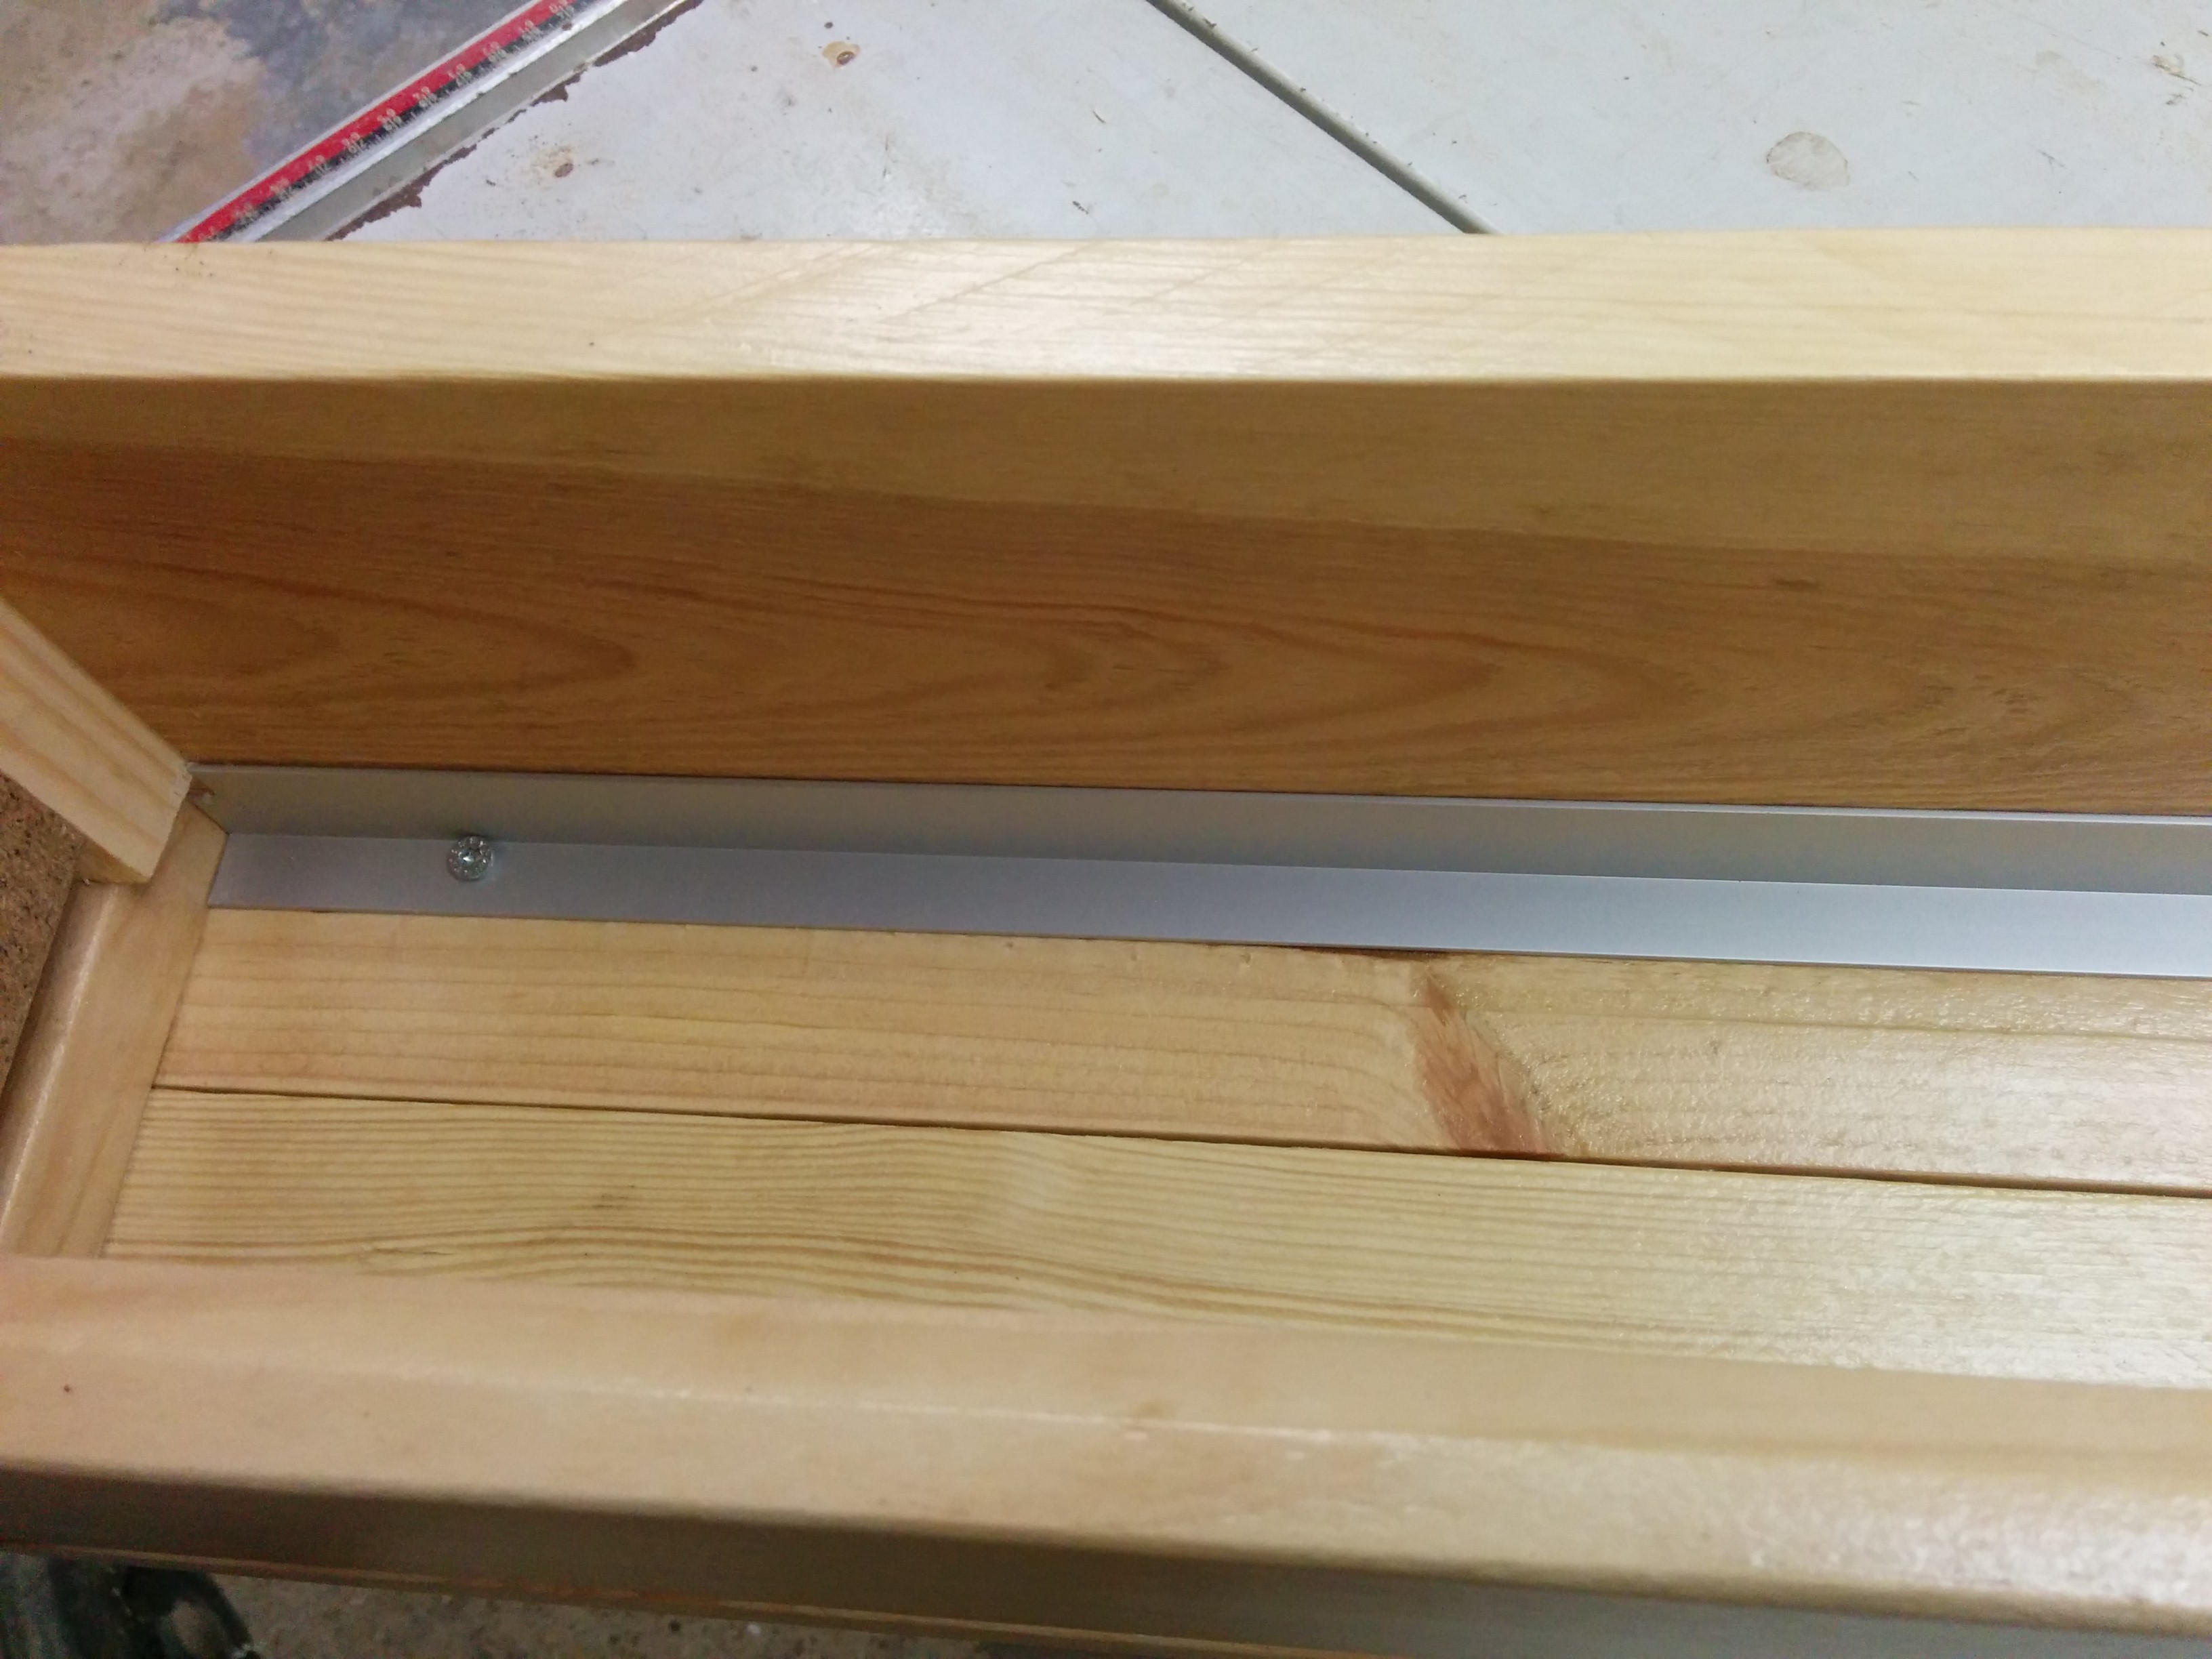
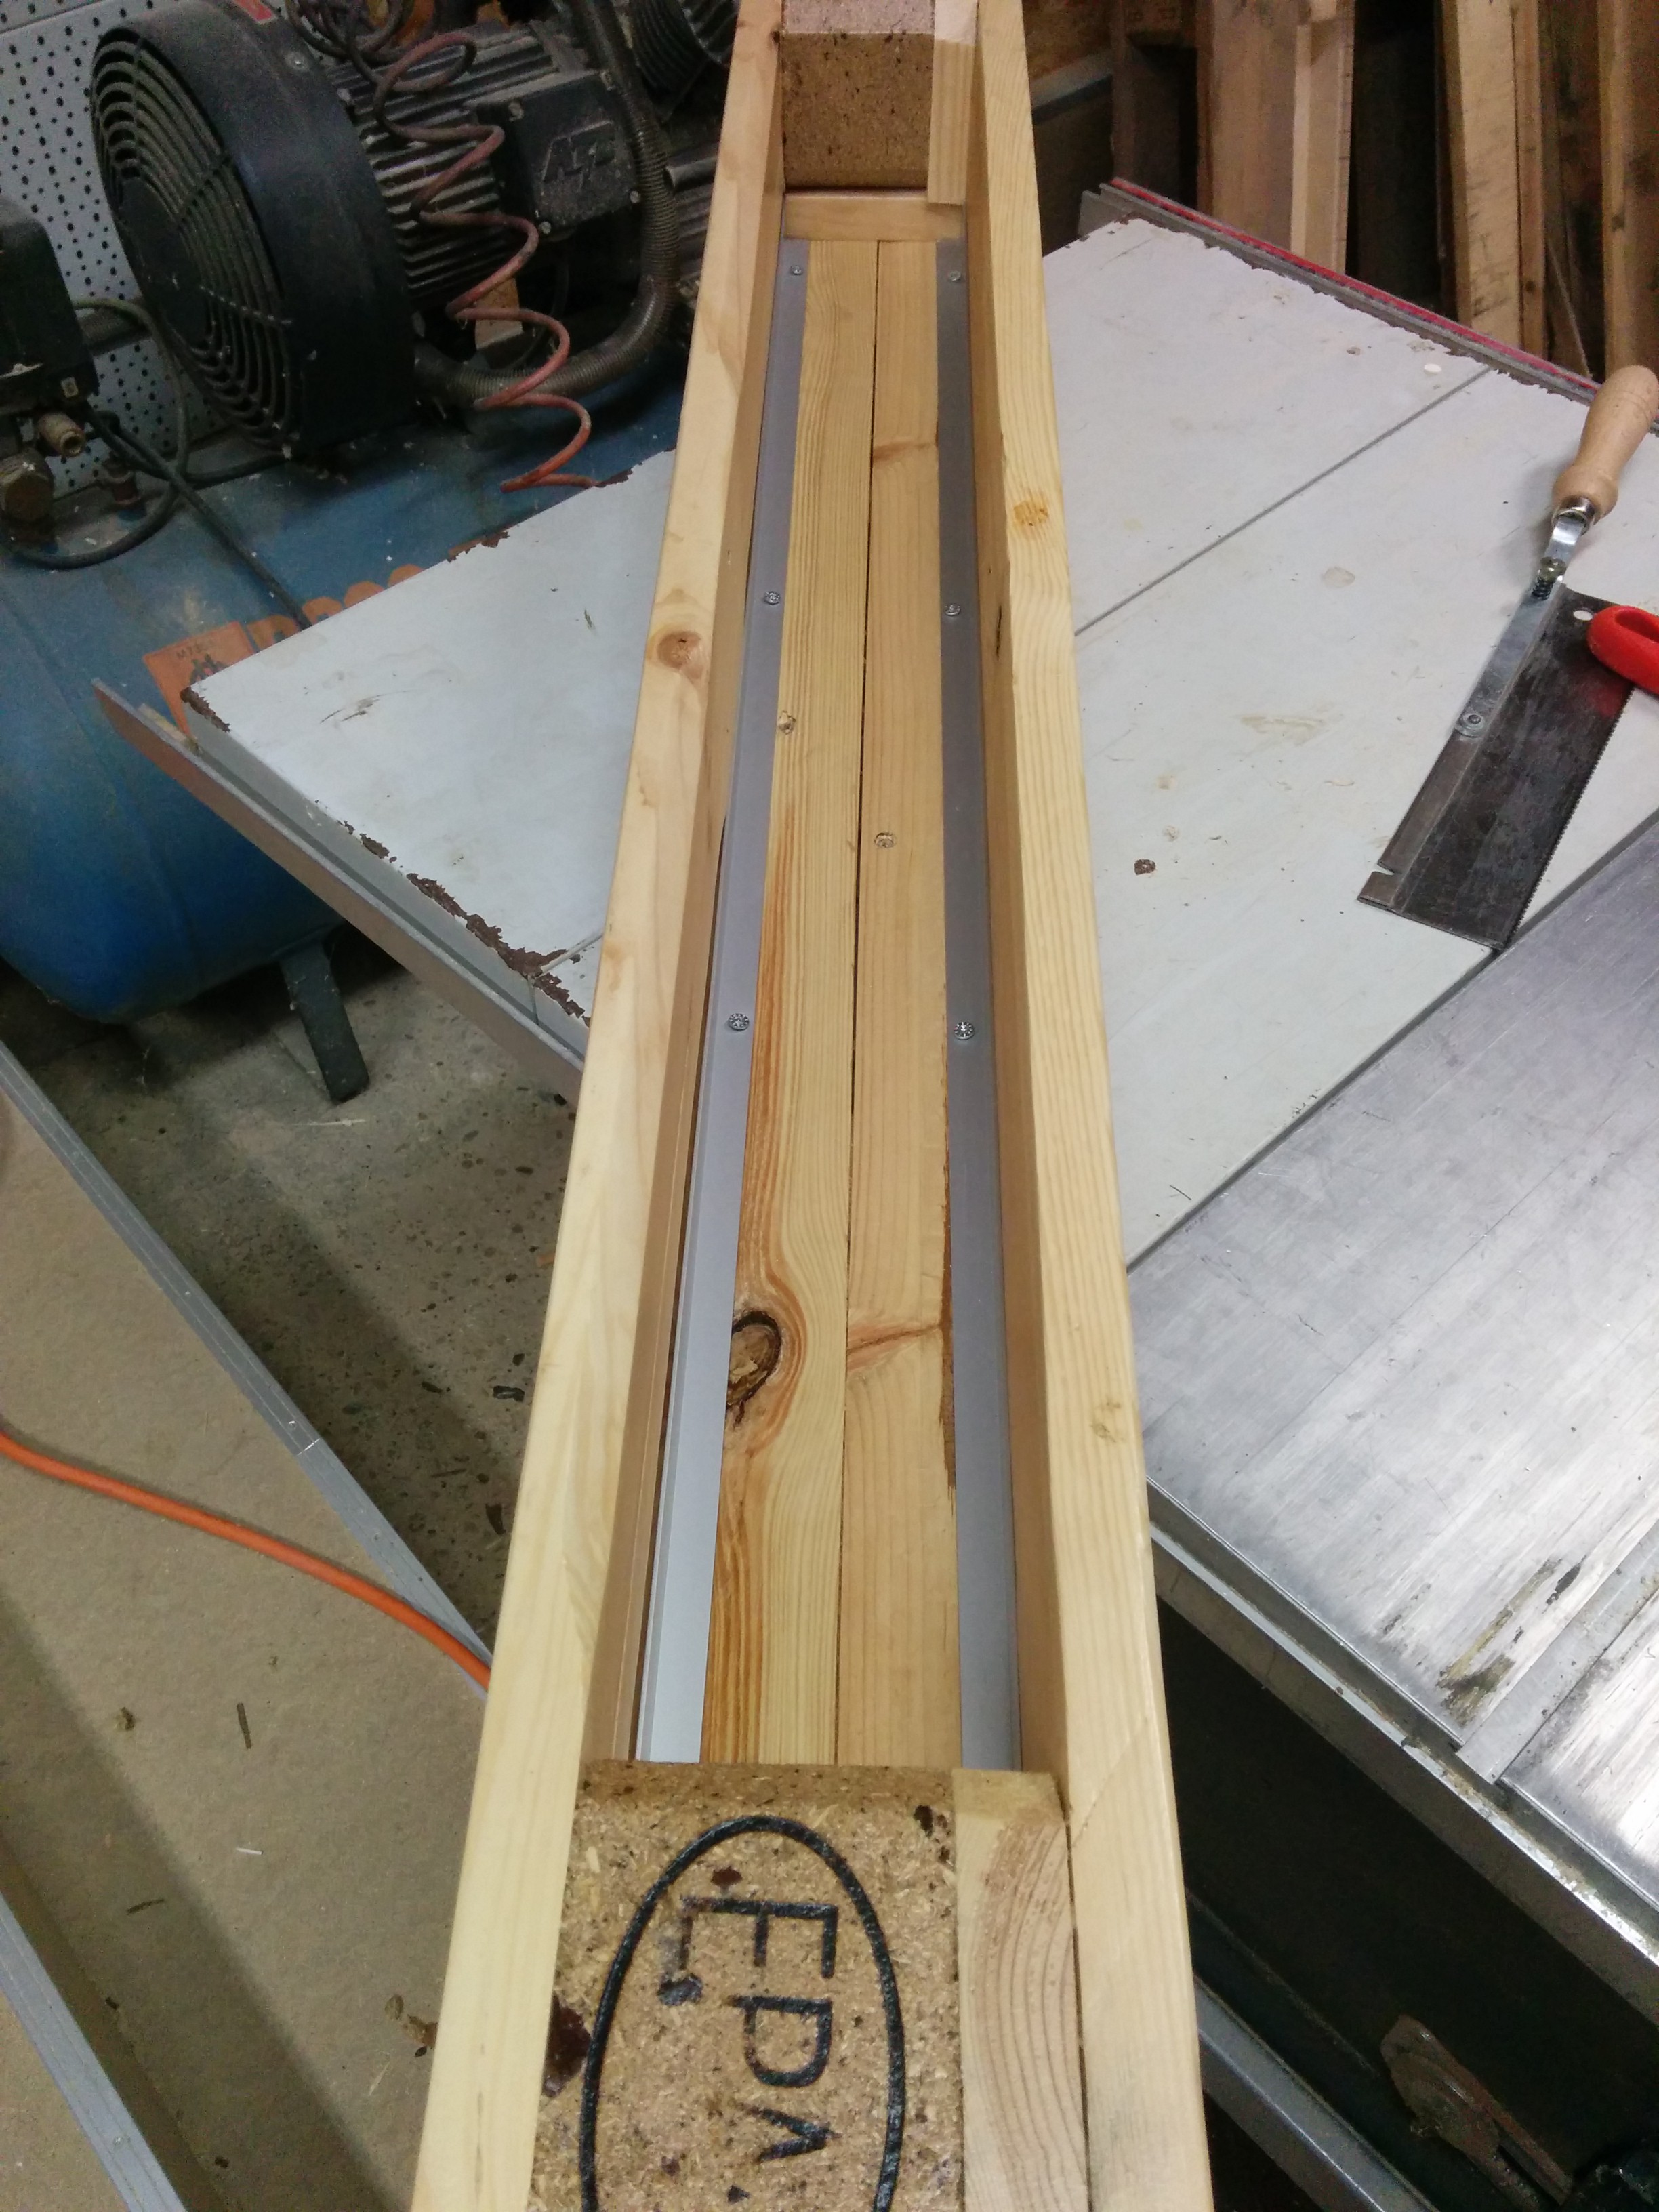 Measured 92,2cm of lenght inside. Sawed off the 25x20mm aluminium profiles. Drilled 4 screwholes on each profile and screwed them down to visually close the gap. Nice side effect: This also somewhat eases up the total look of the box and goes good with the aluminium profiles later to come.
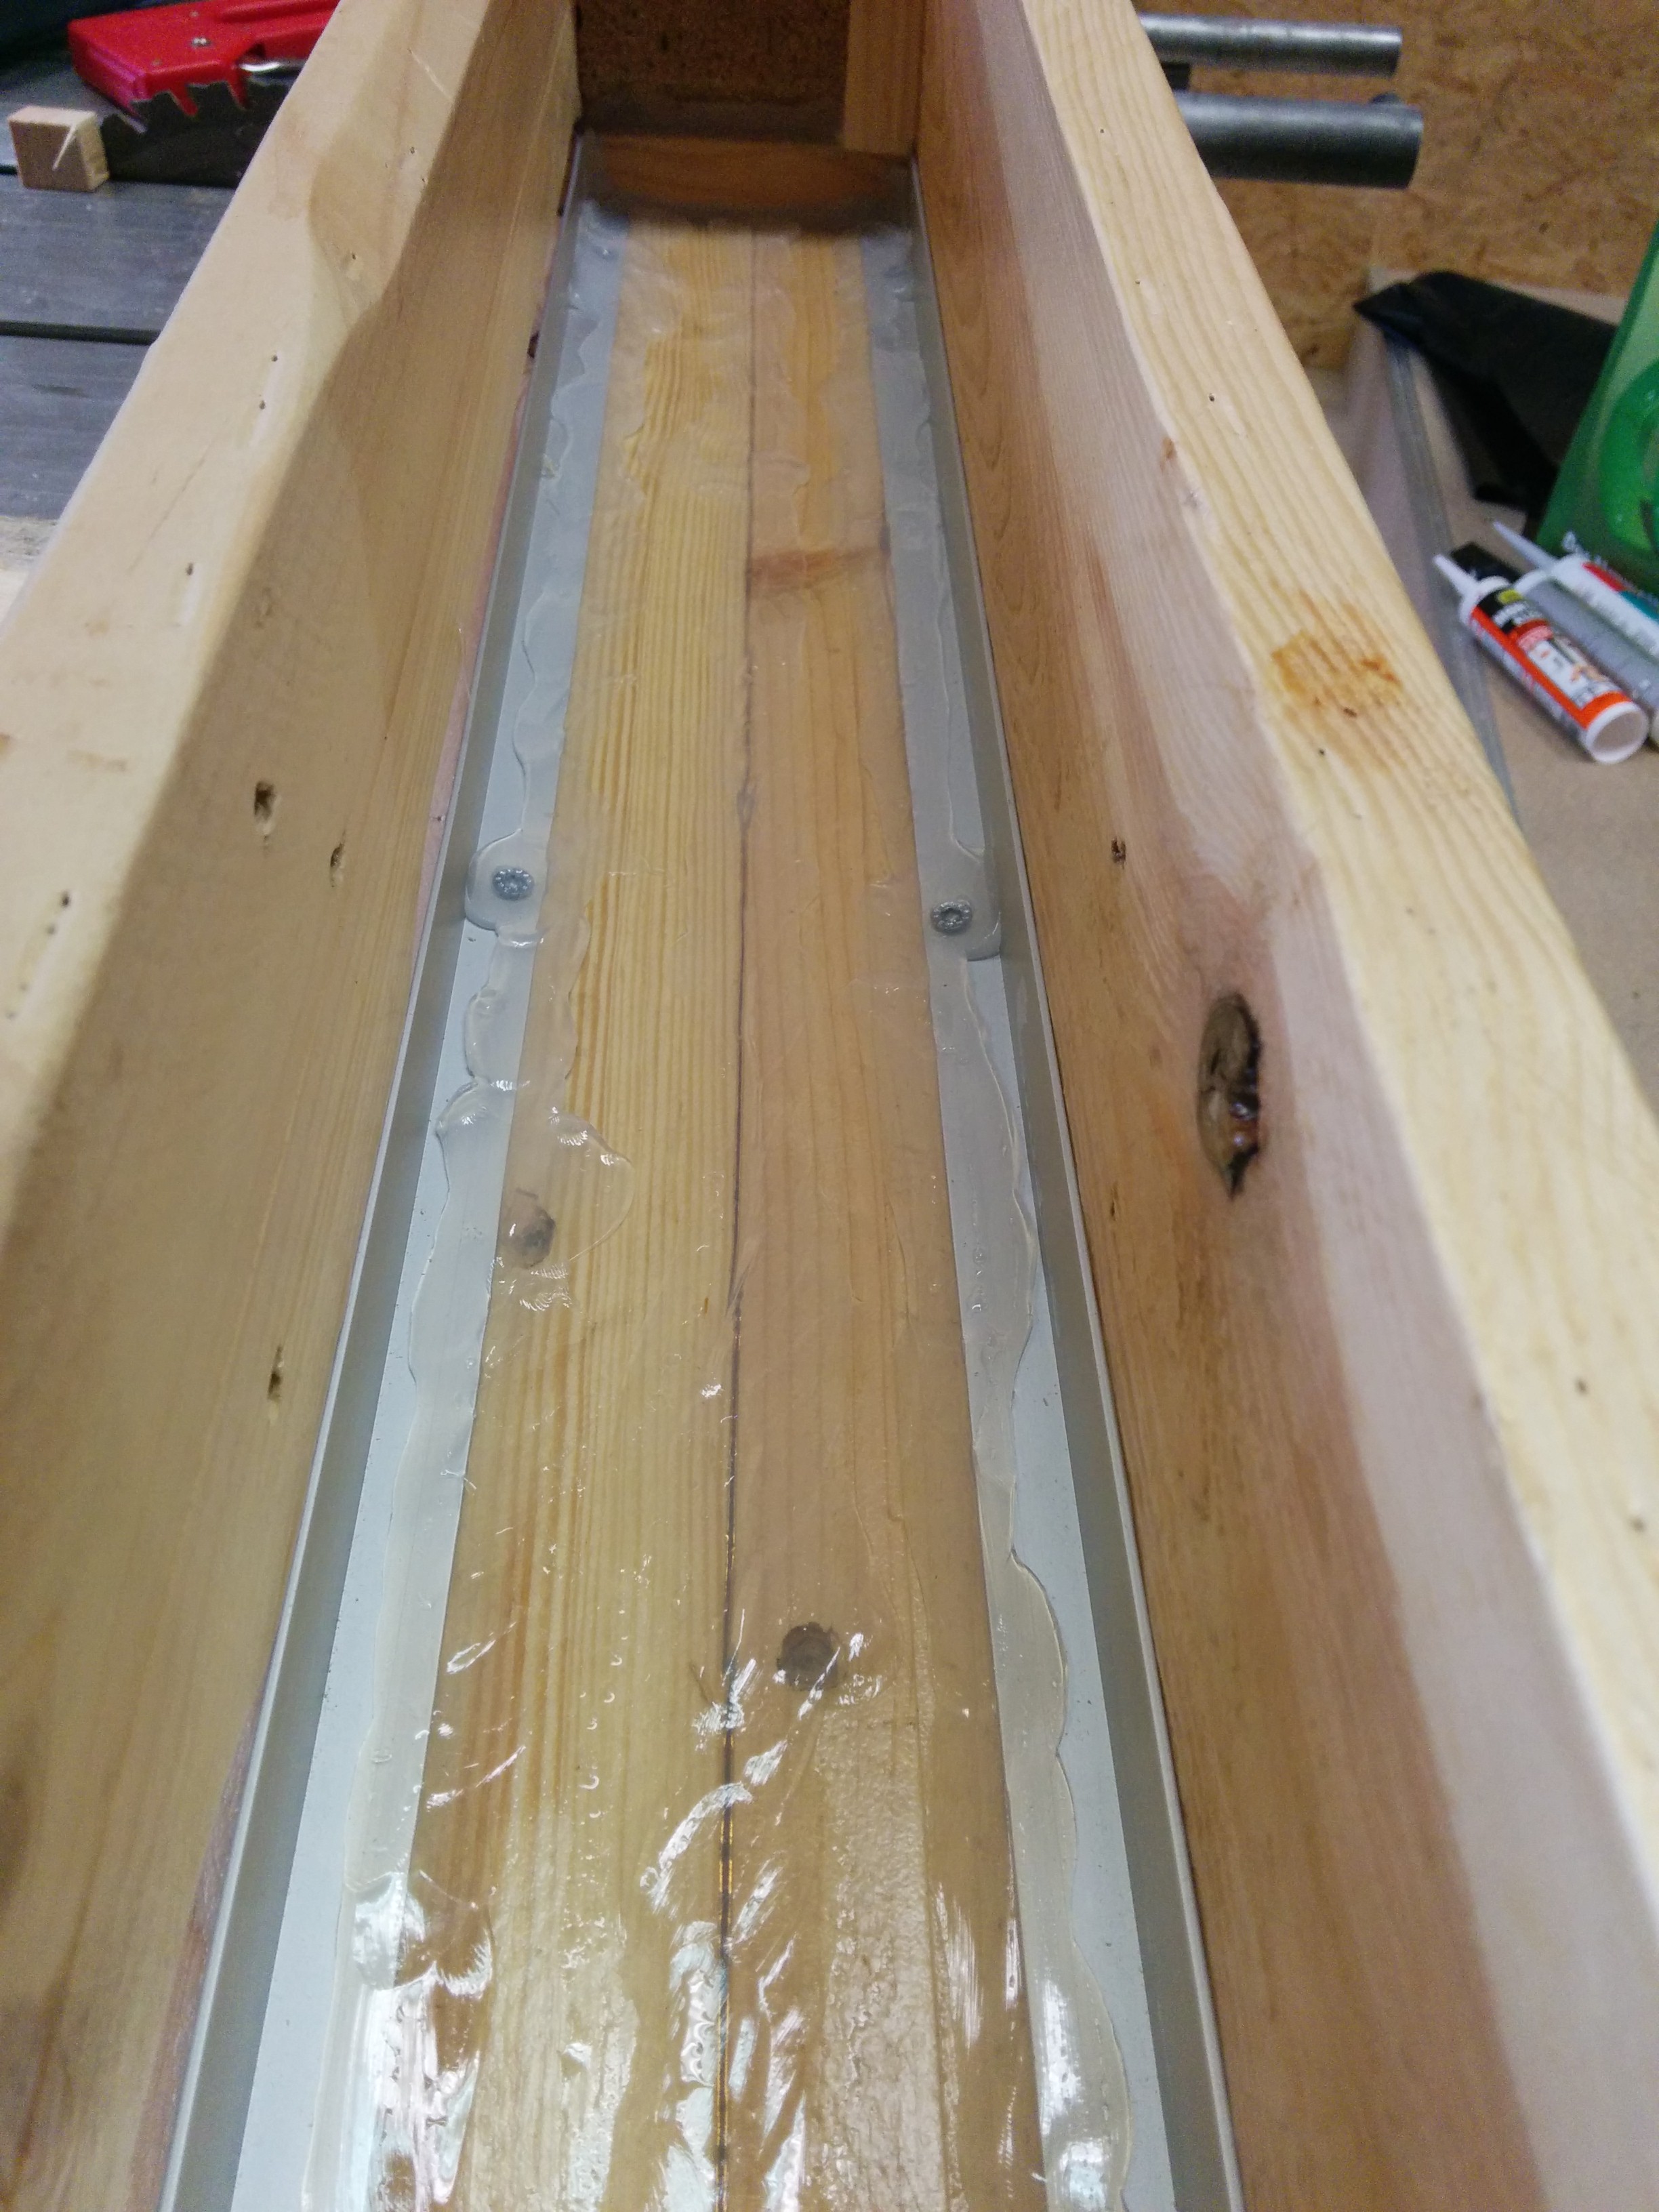 Applied silicone to the base. Just in case....better safe than sorry.
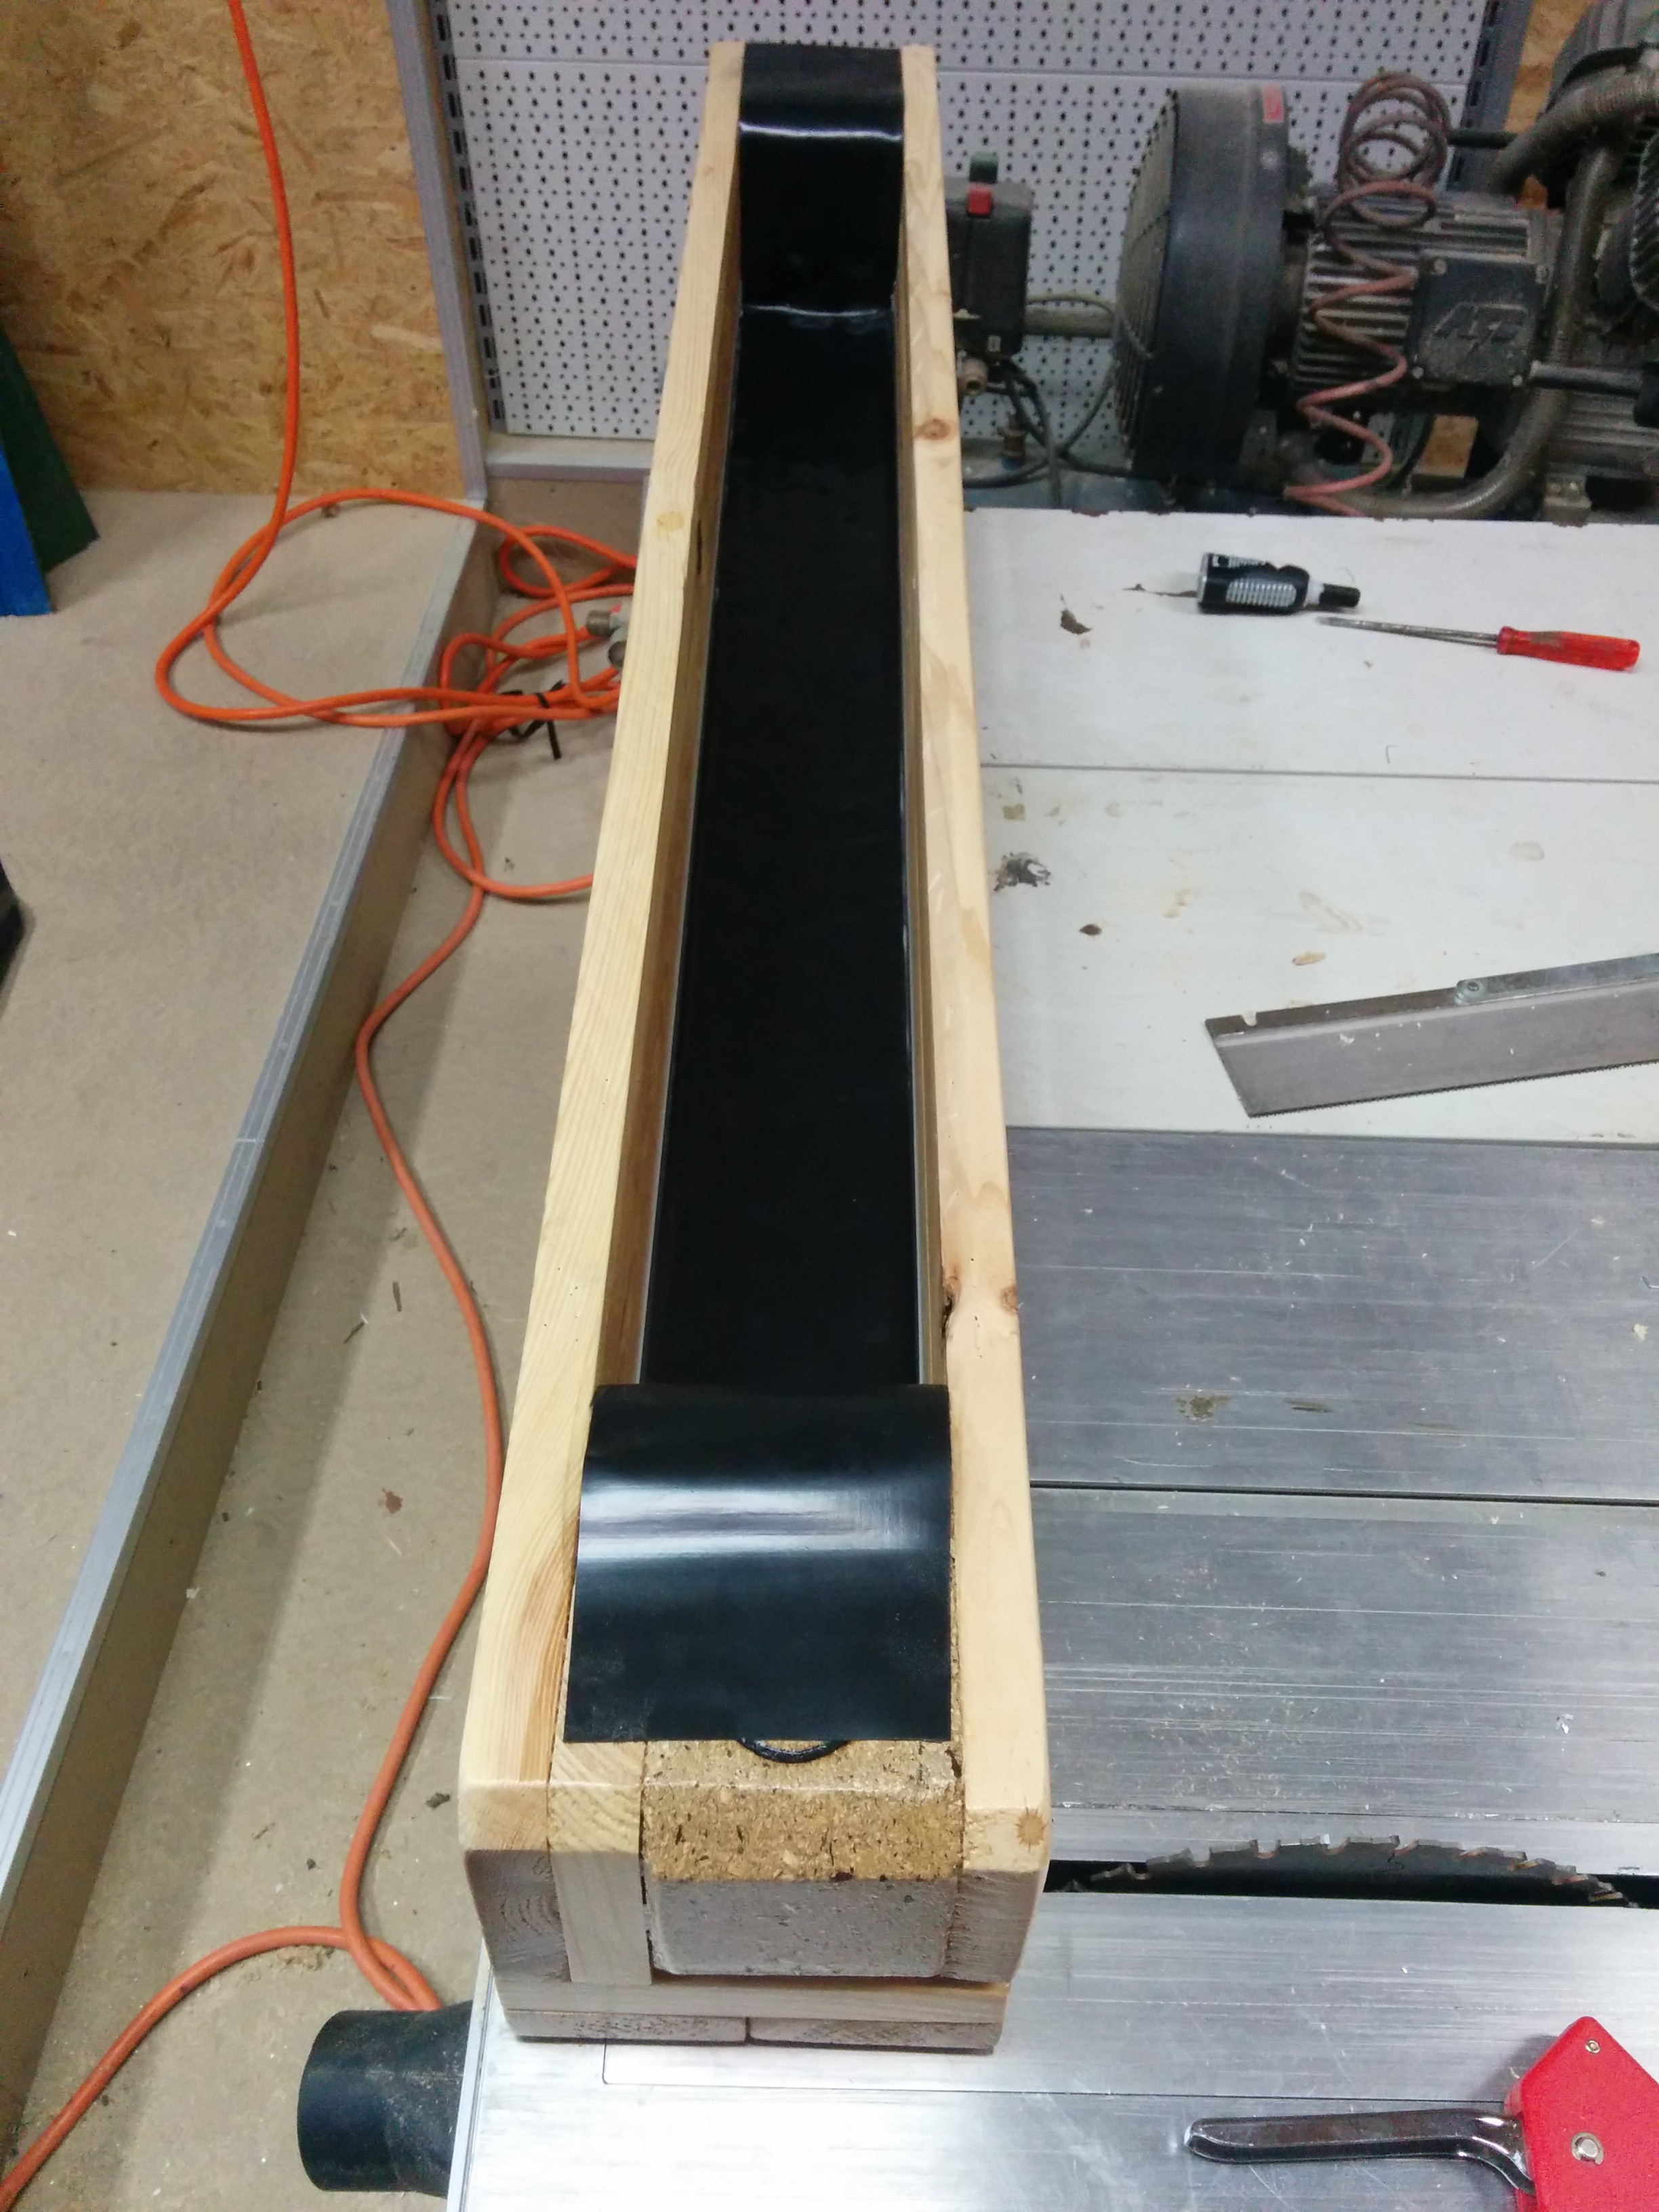
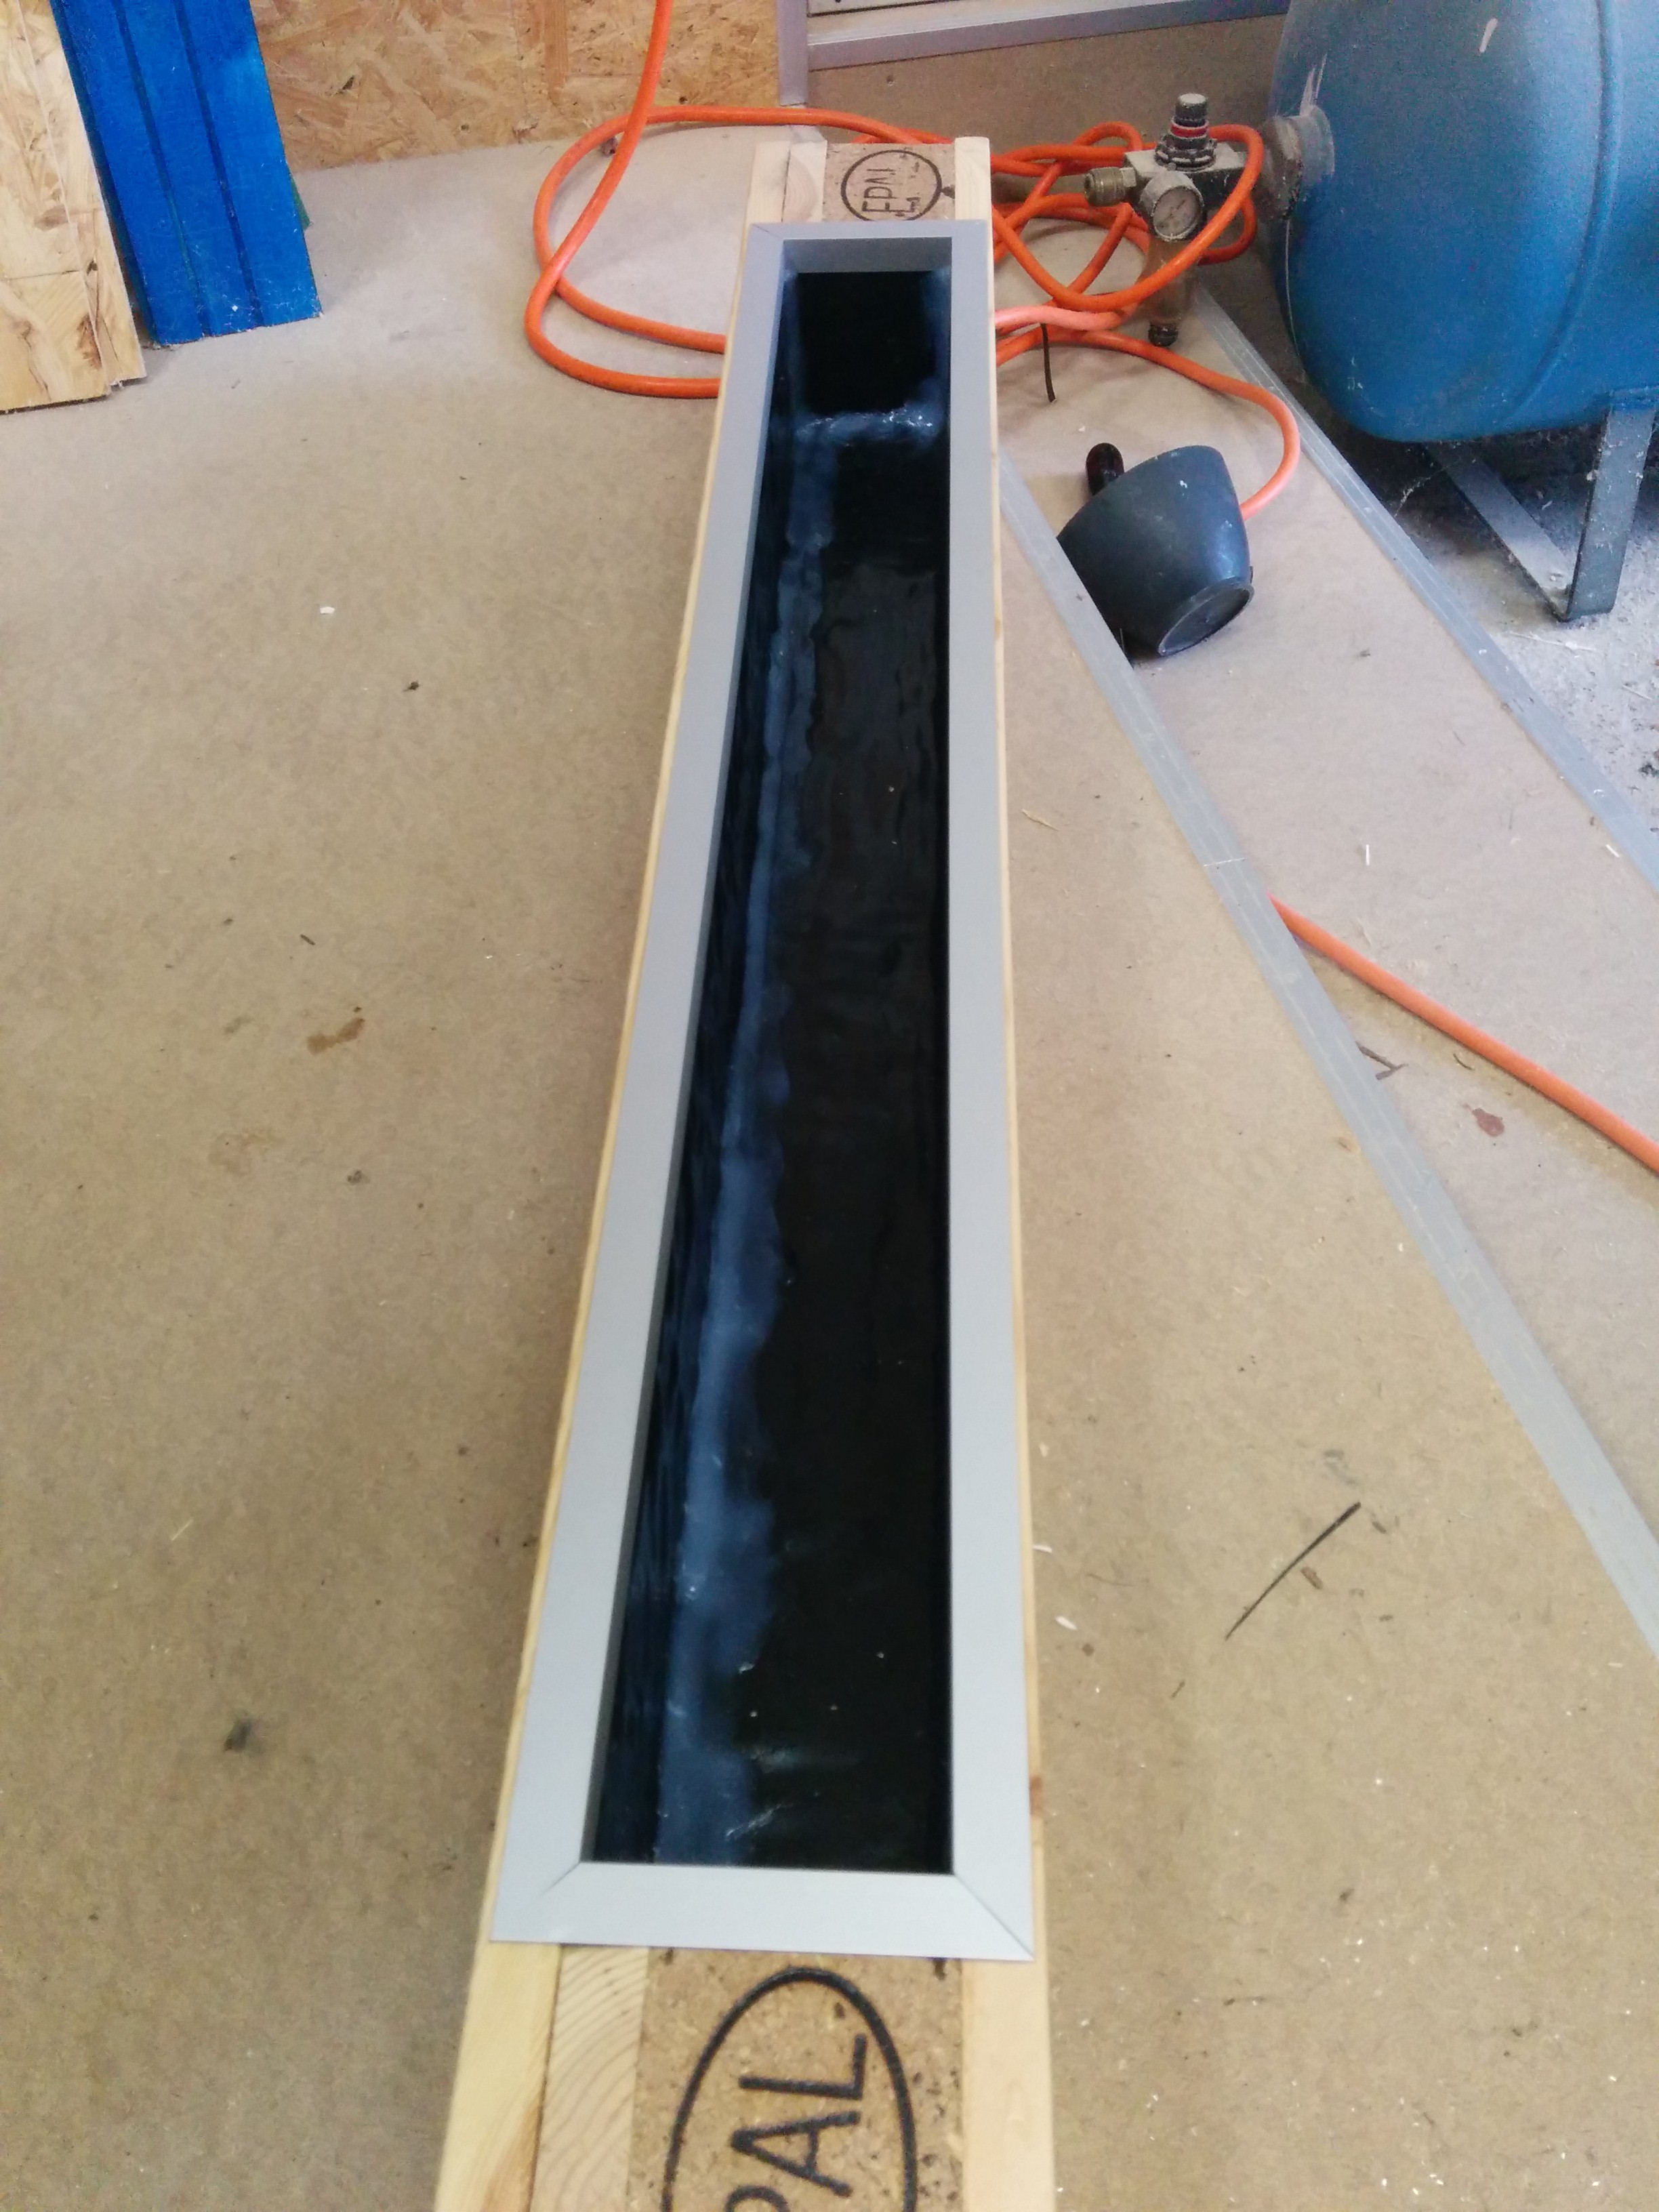
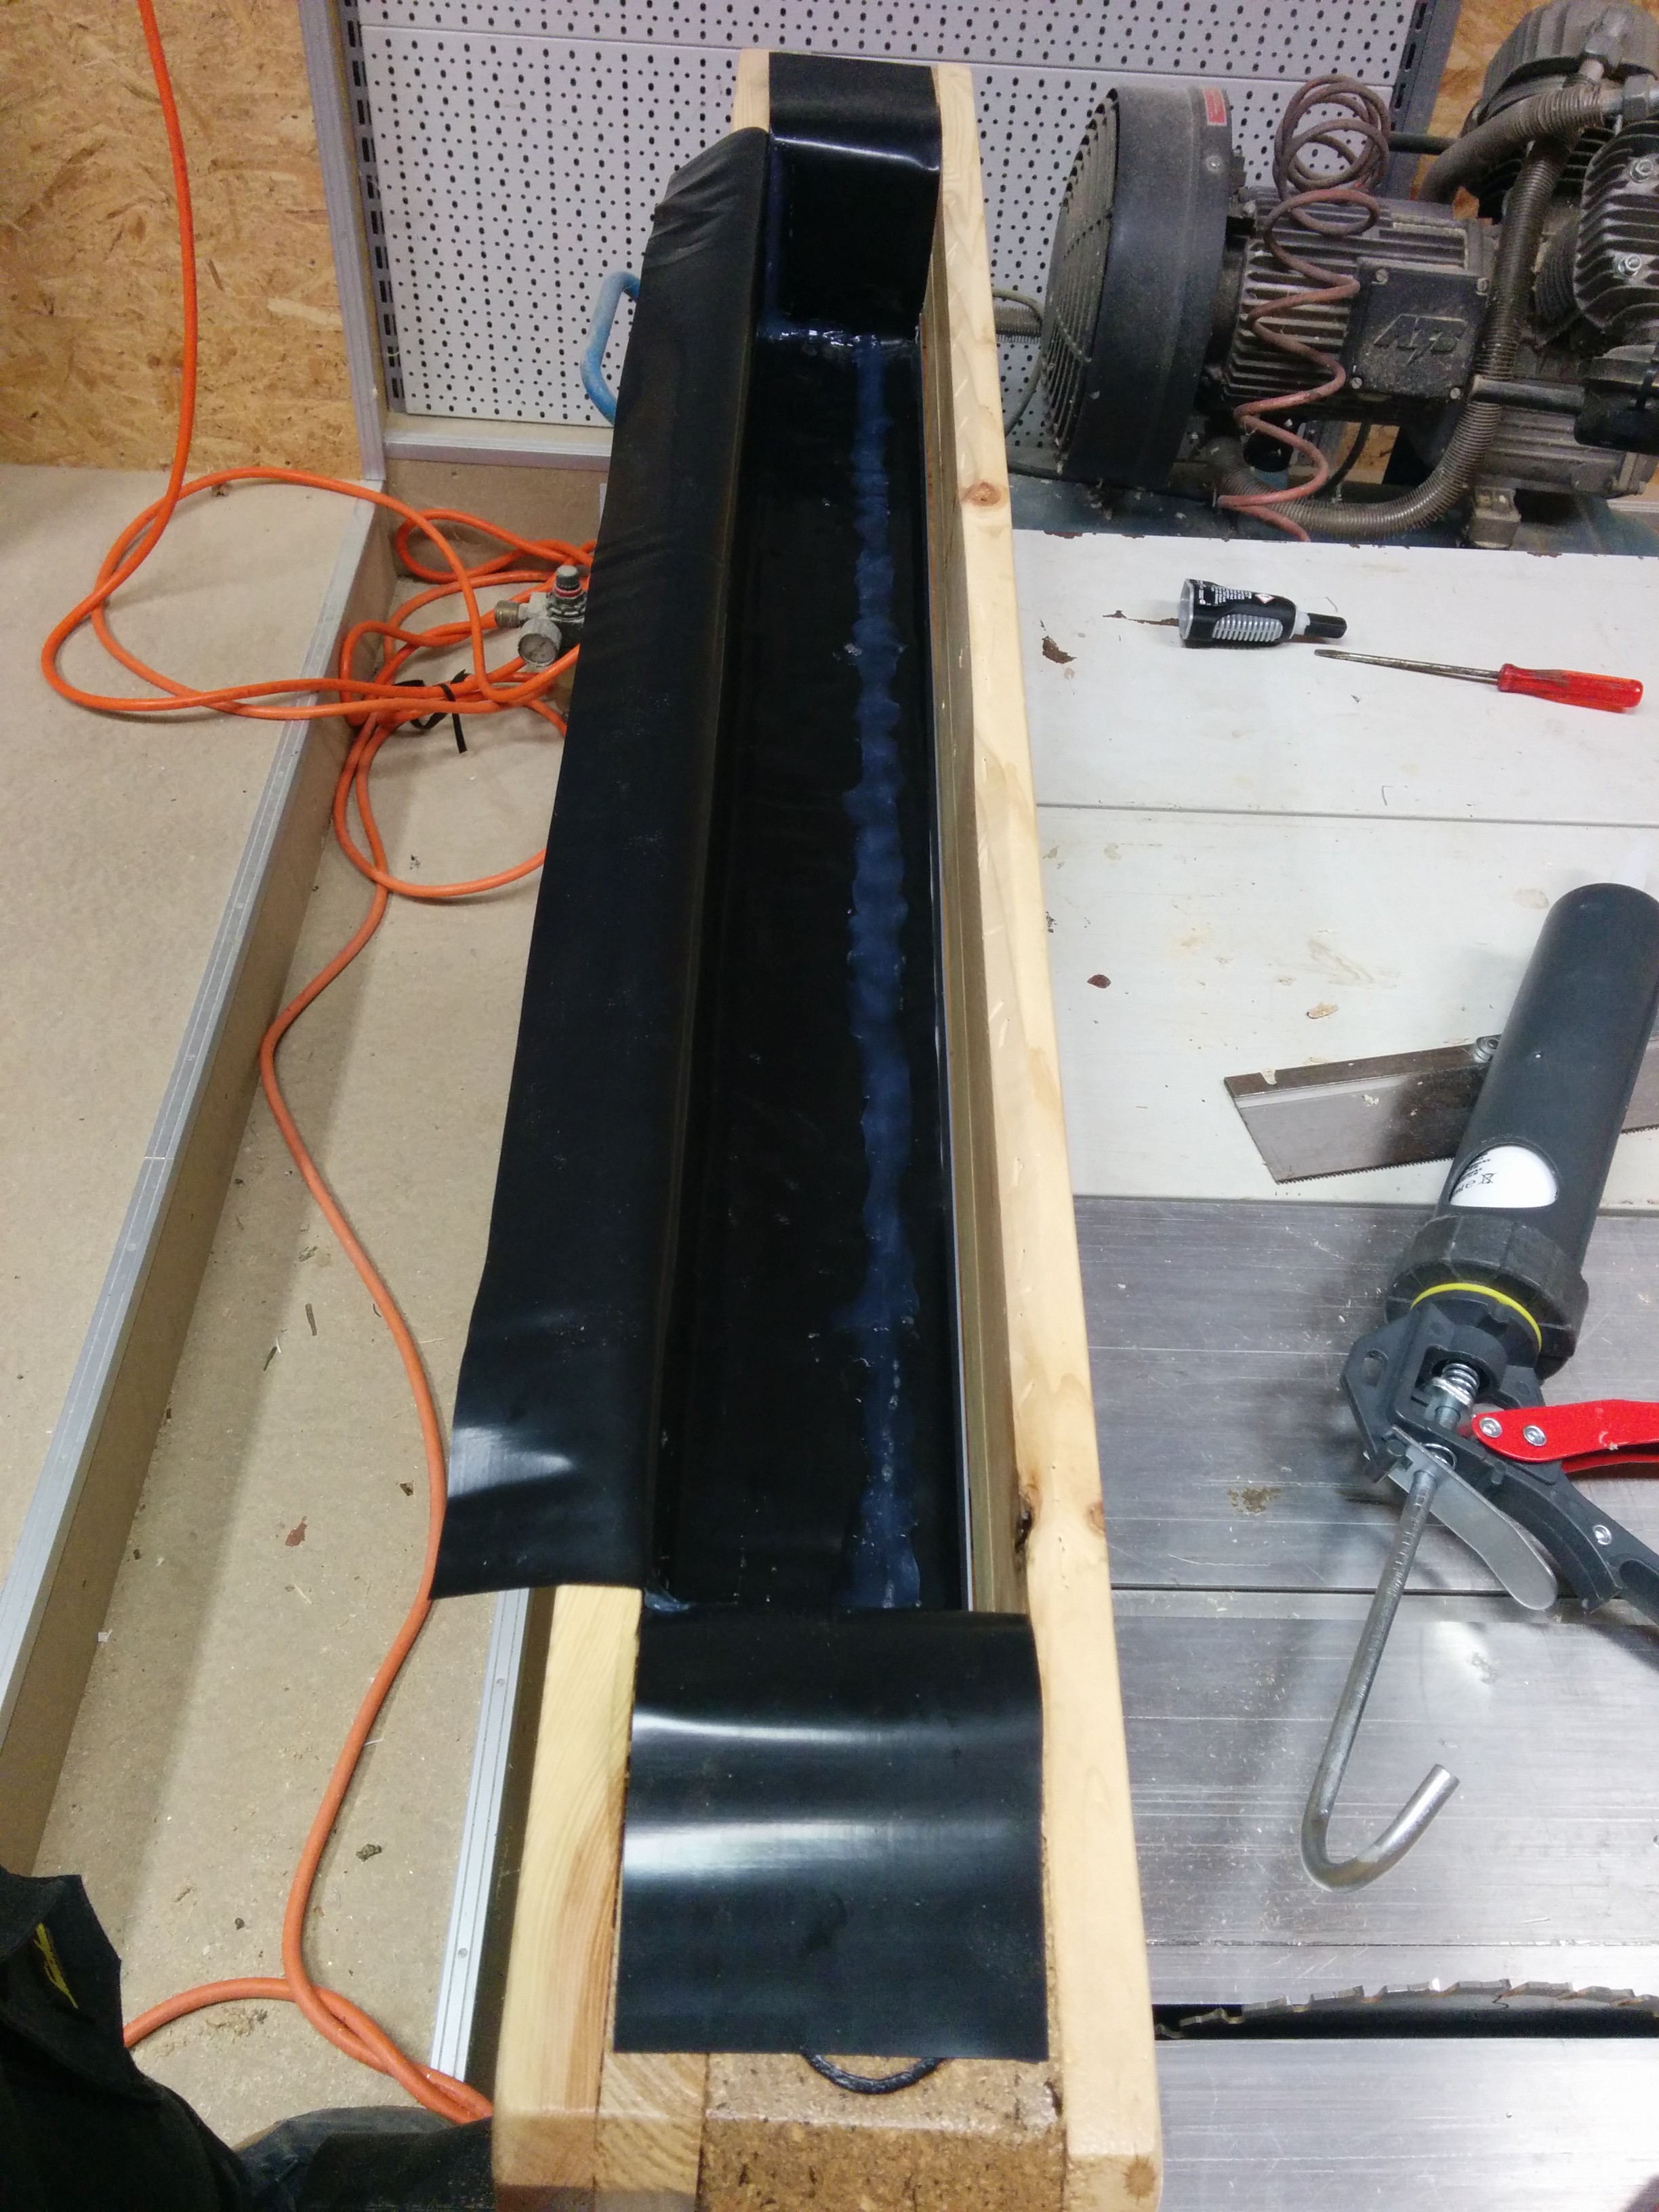 Used 0,5mm thin pond liner.
I tried 2 times to get one big single piece in. It just seemed impossible to get the corners fit nicely. Even heavy use of a heat pistol did not help getting a result i can show to the GF.
Second piece and 3d on the opposite side.
Each layer and corners was sealed with silicone (layer by layer)
Used 0,5mm thin pond liner.
I tried 2 times to get one big single piece in. It just seemed impossible to get the corners fit nicely. Even heavy use of a heat pistol did not help getting a result i can show to the GF.
Second piece and 3d on the opposite side.
Each layer and corners was sealed with silicone (layer by layer)
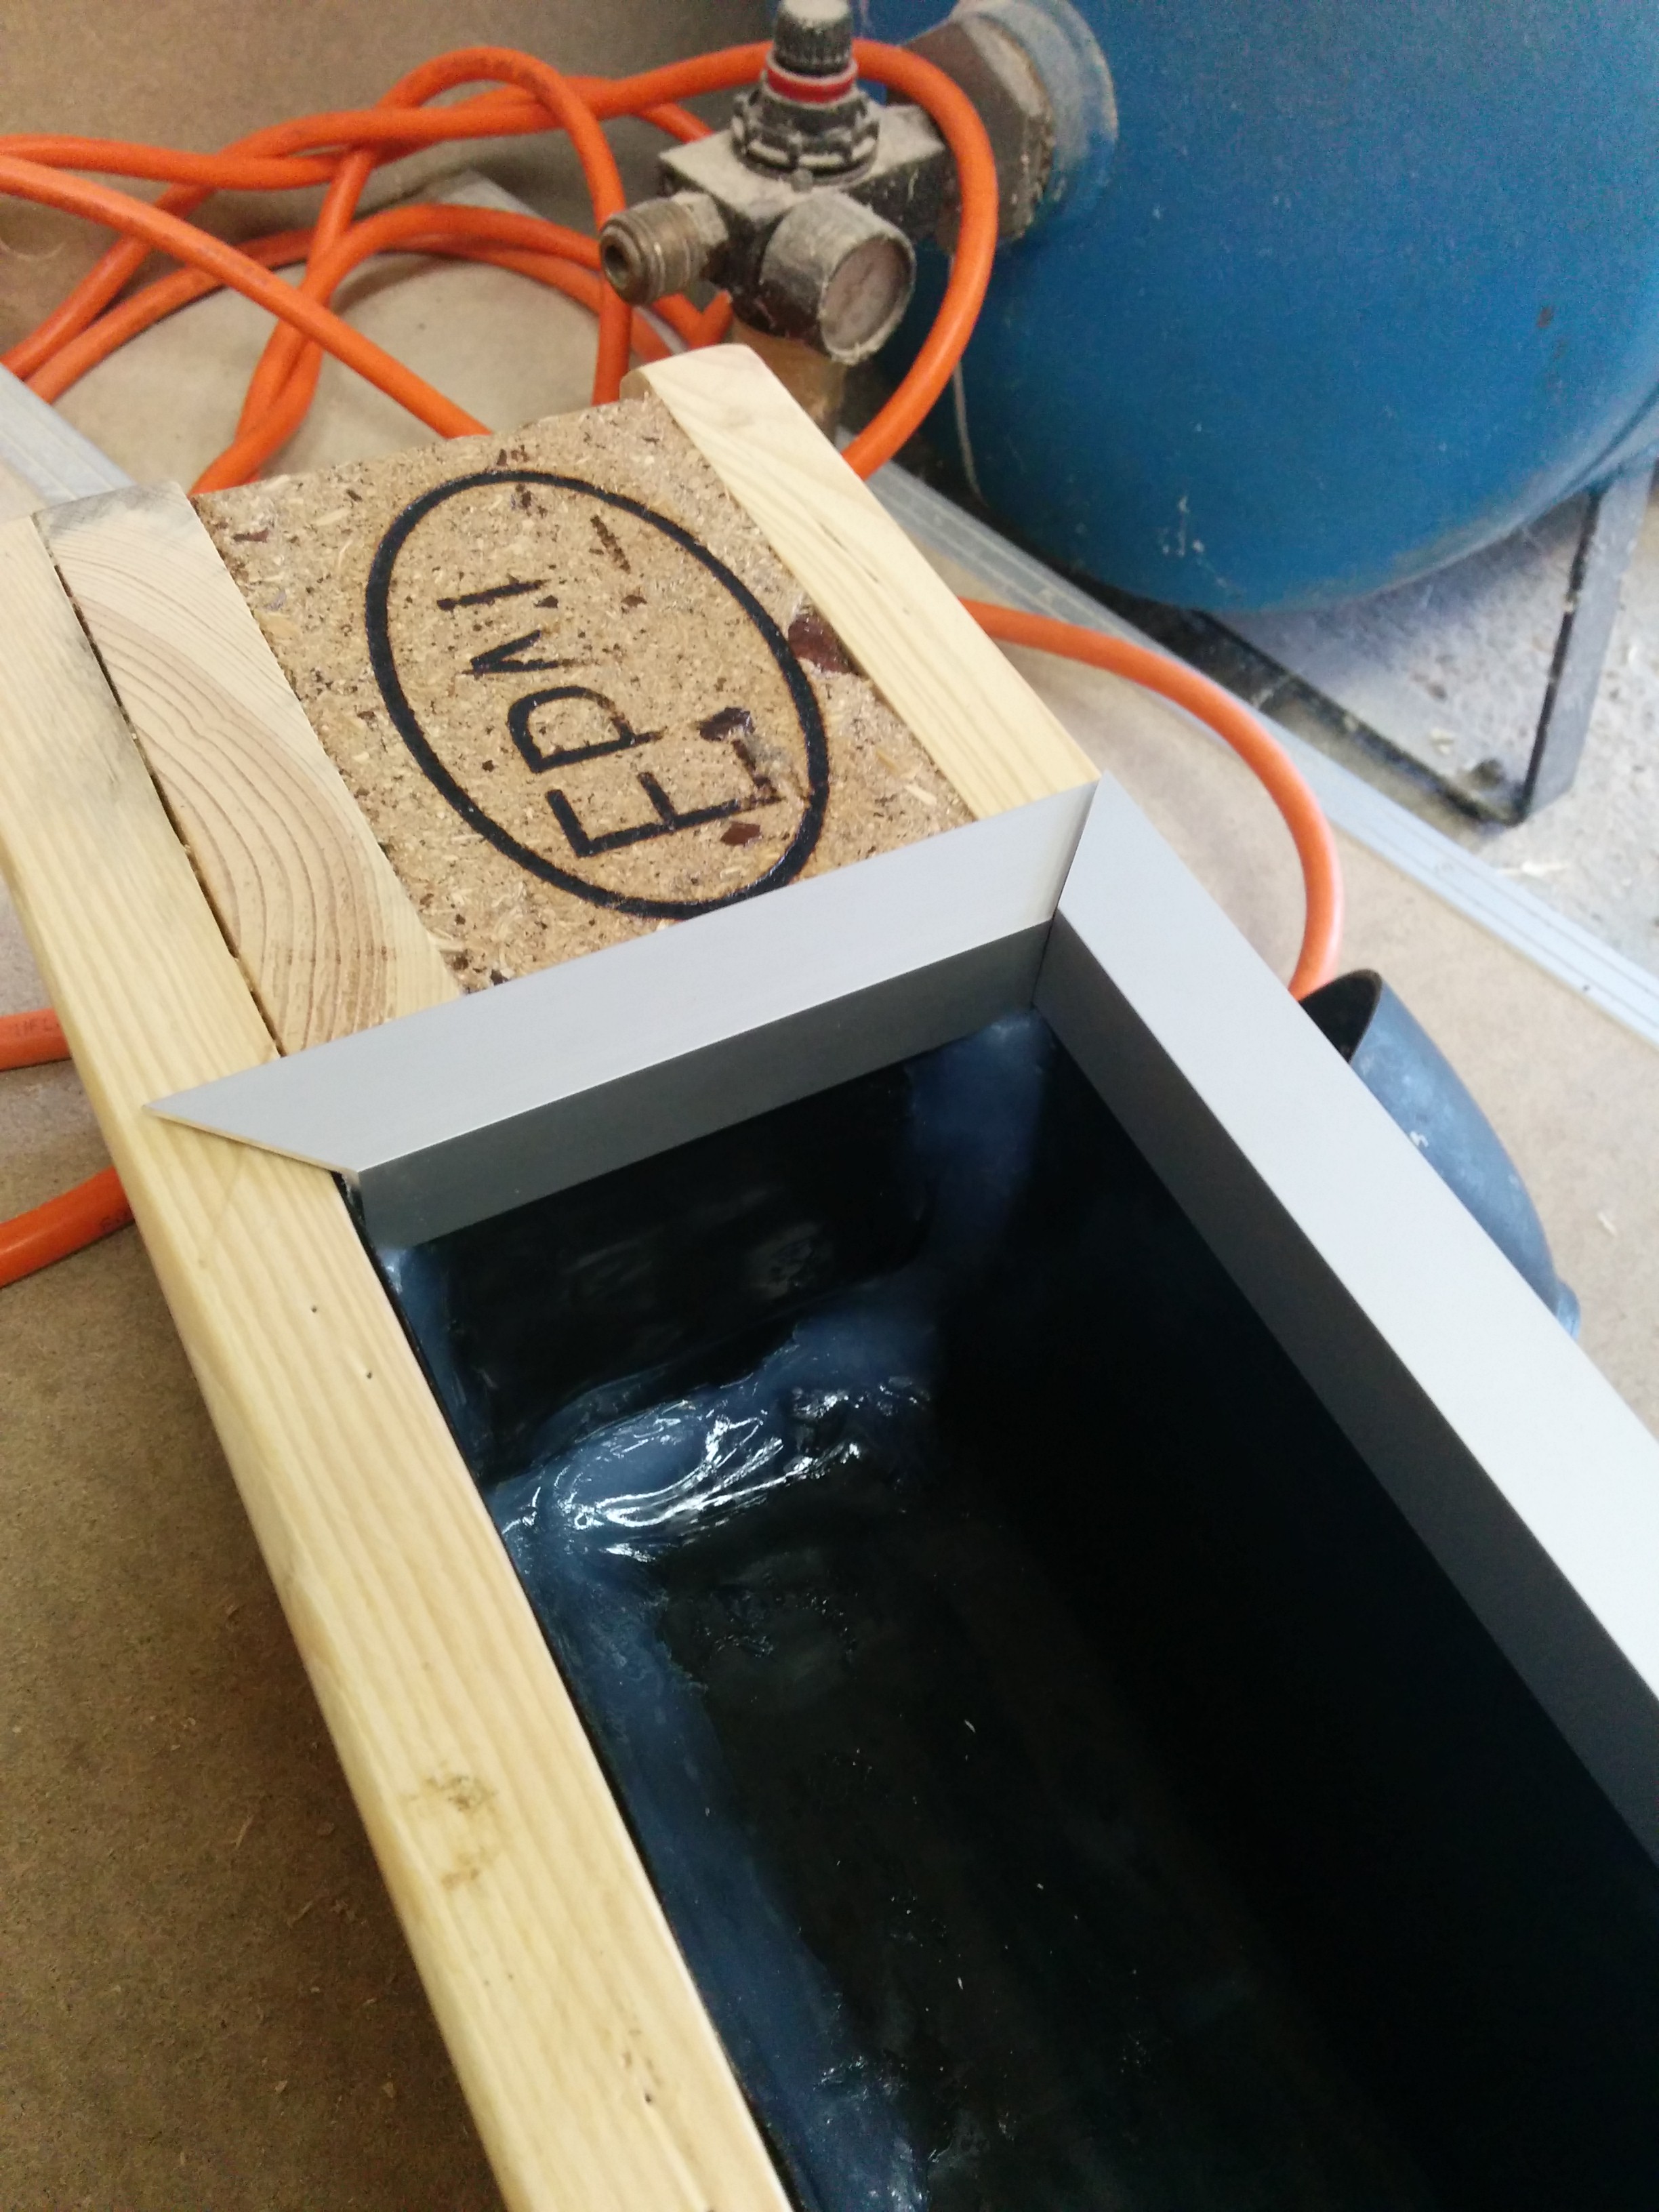 Cuting 20x20mm aluminium profiles 45° to mitre.
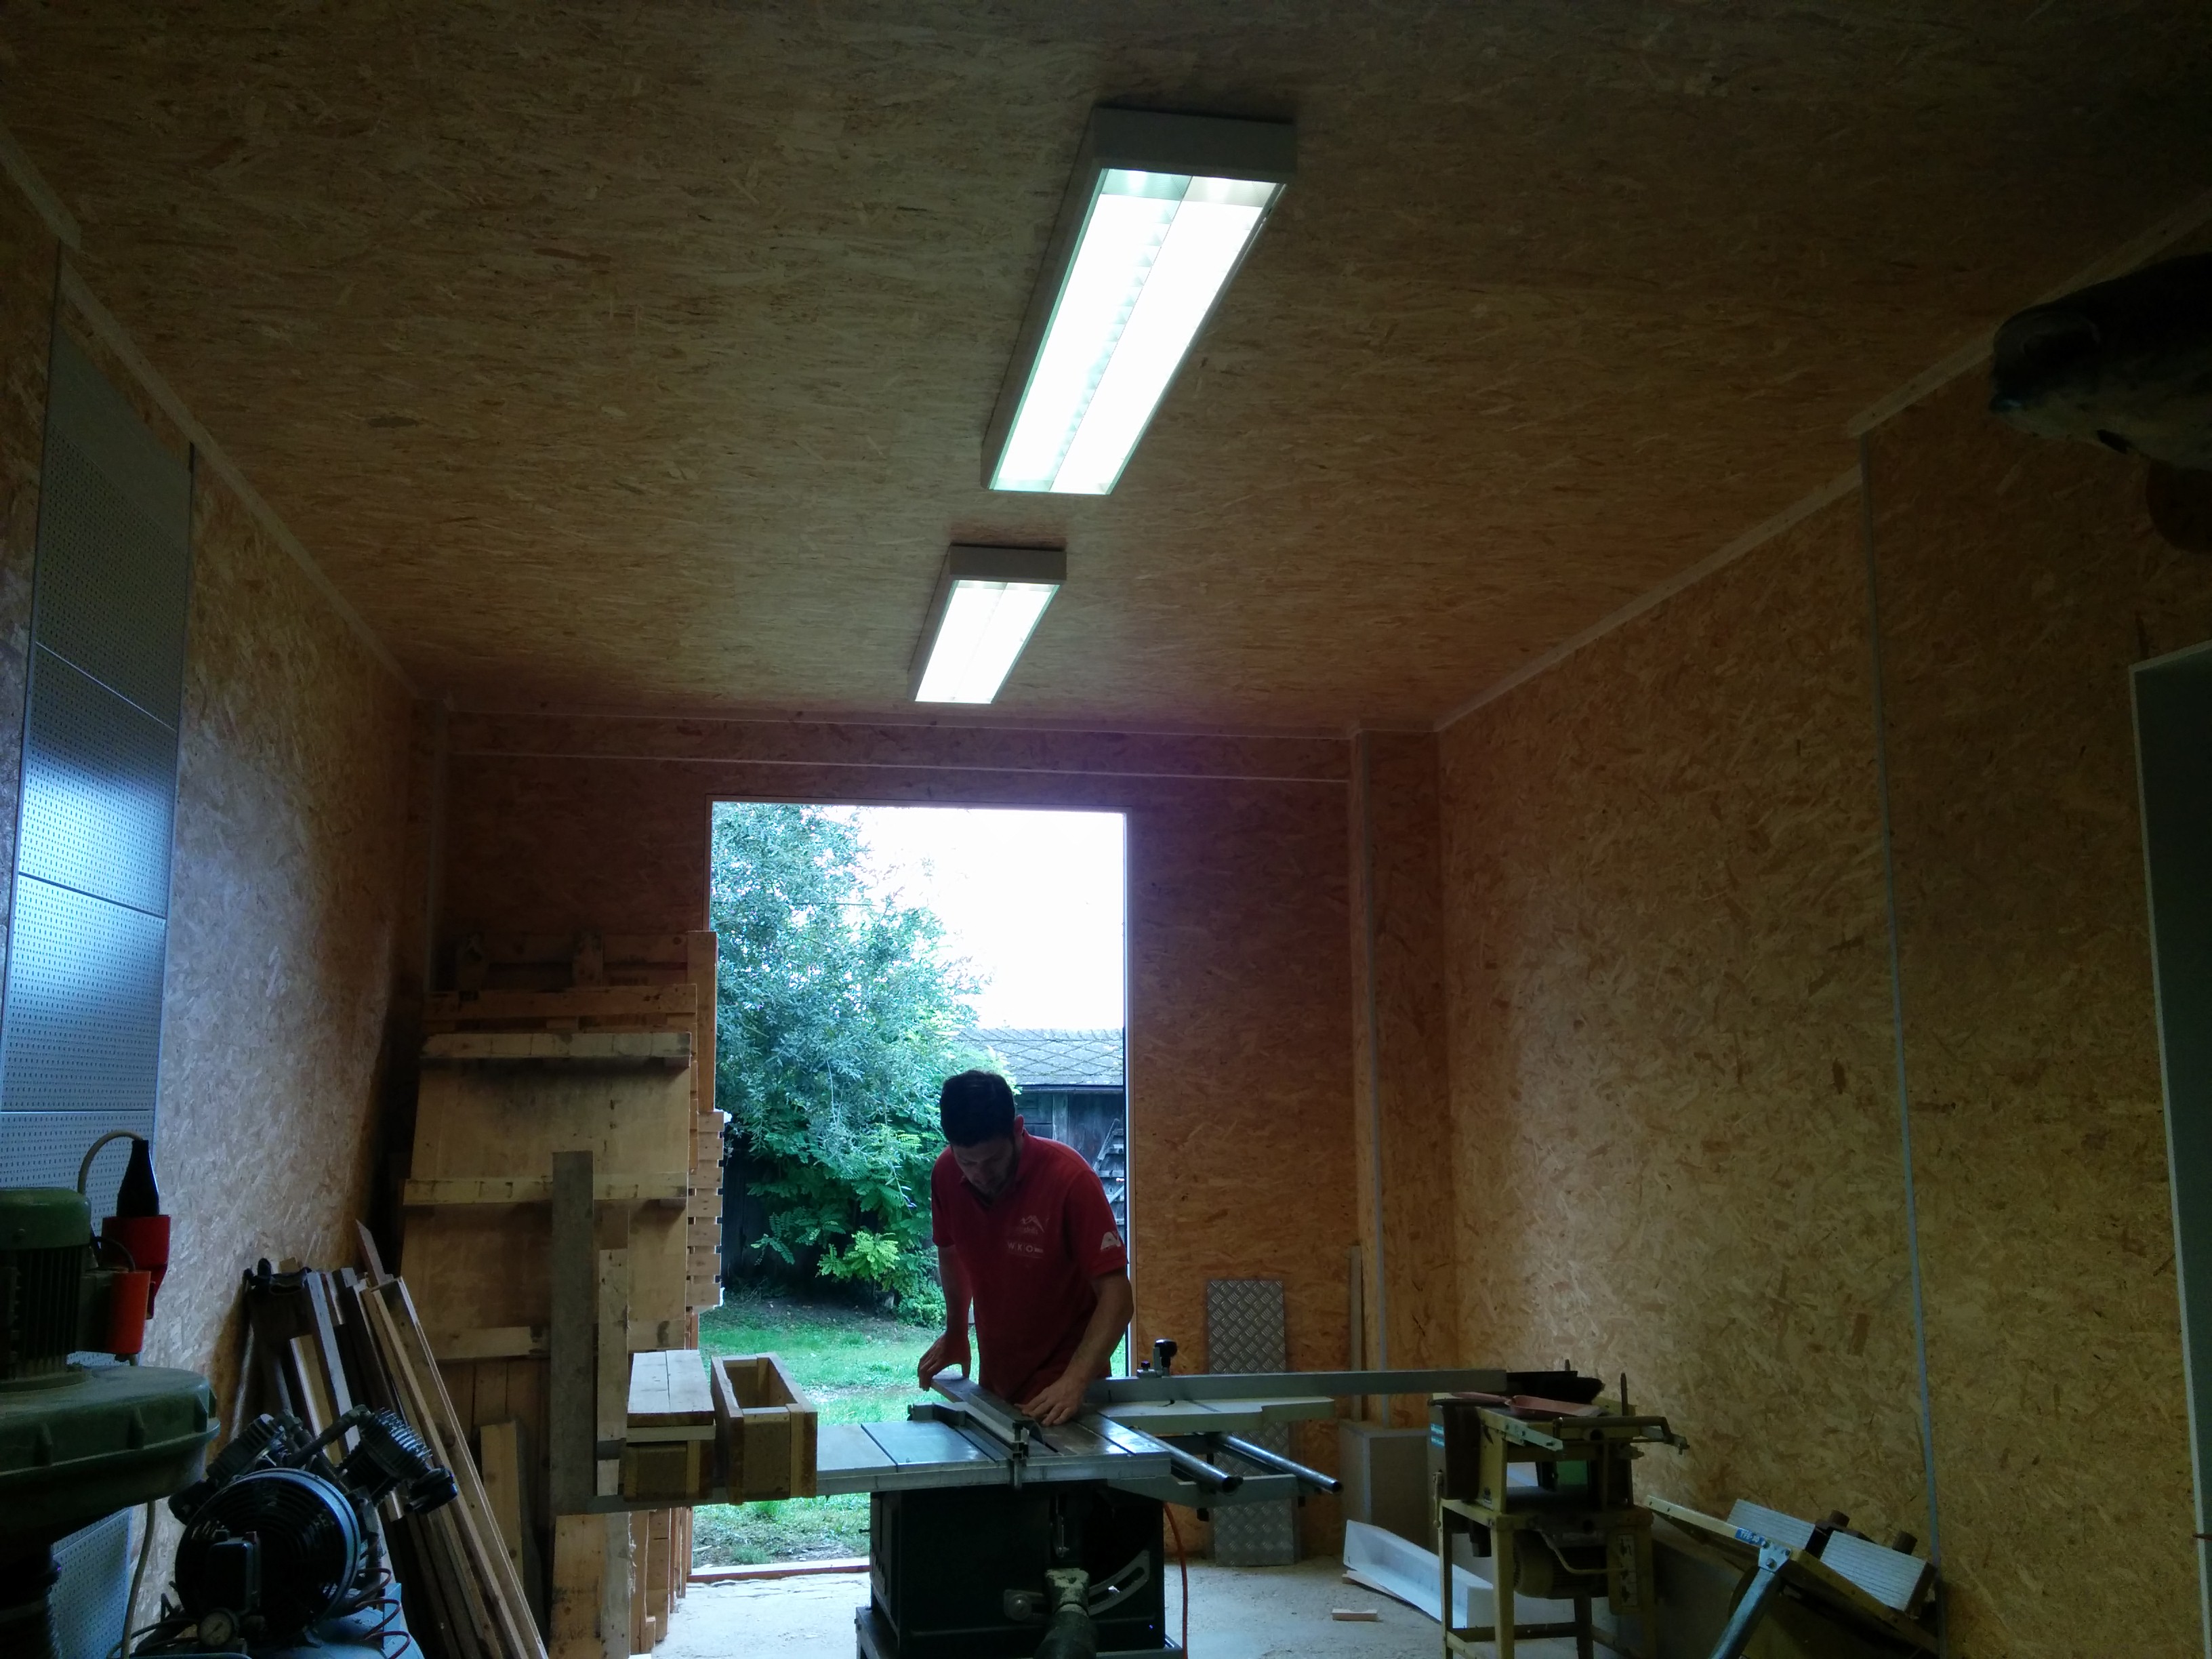
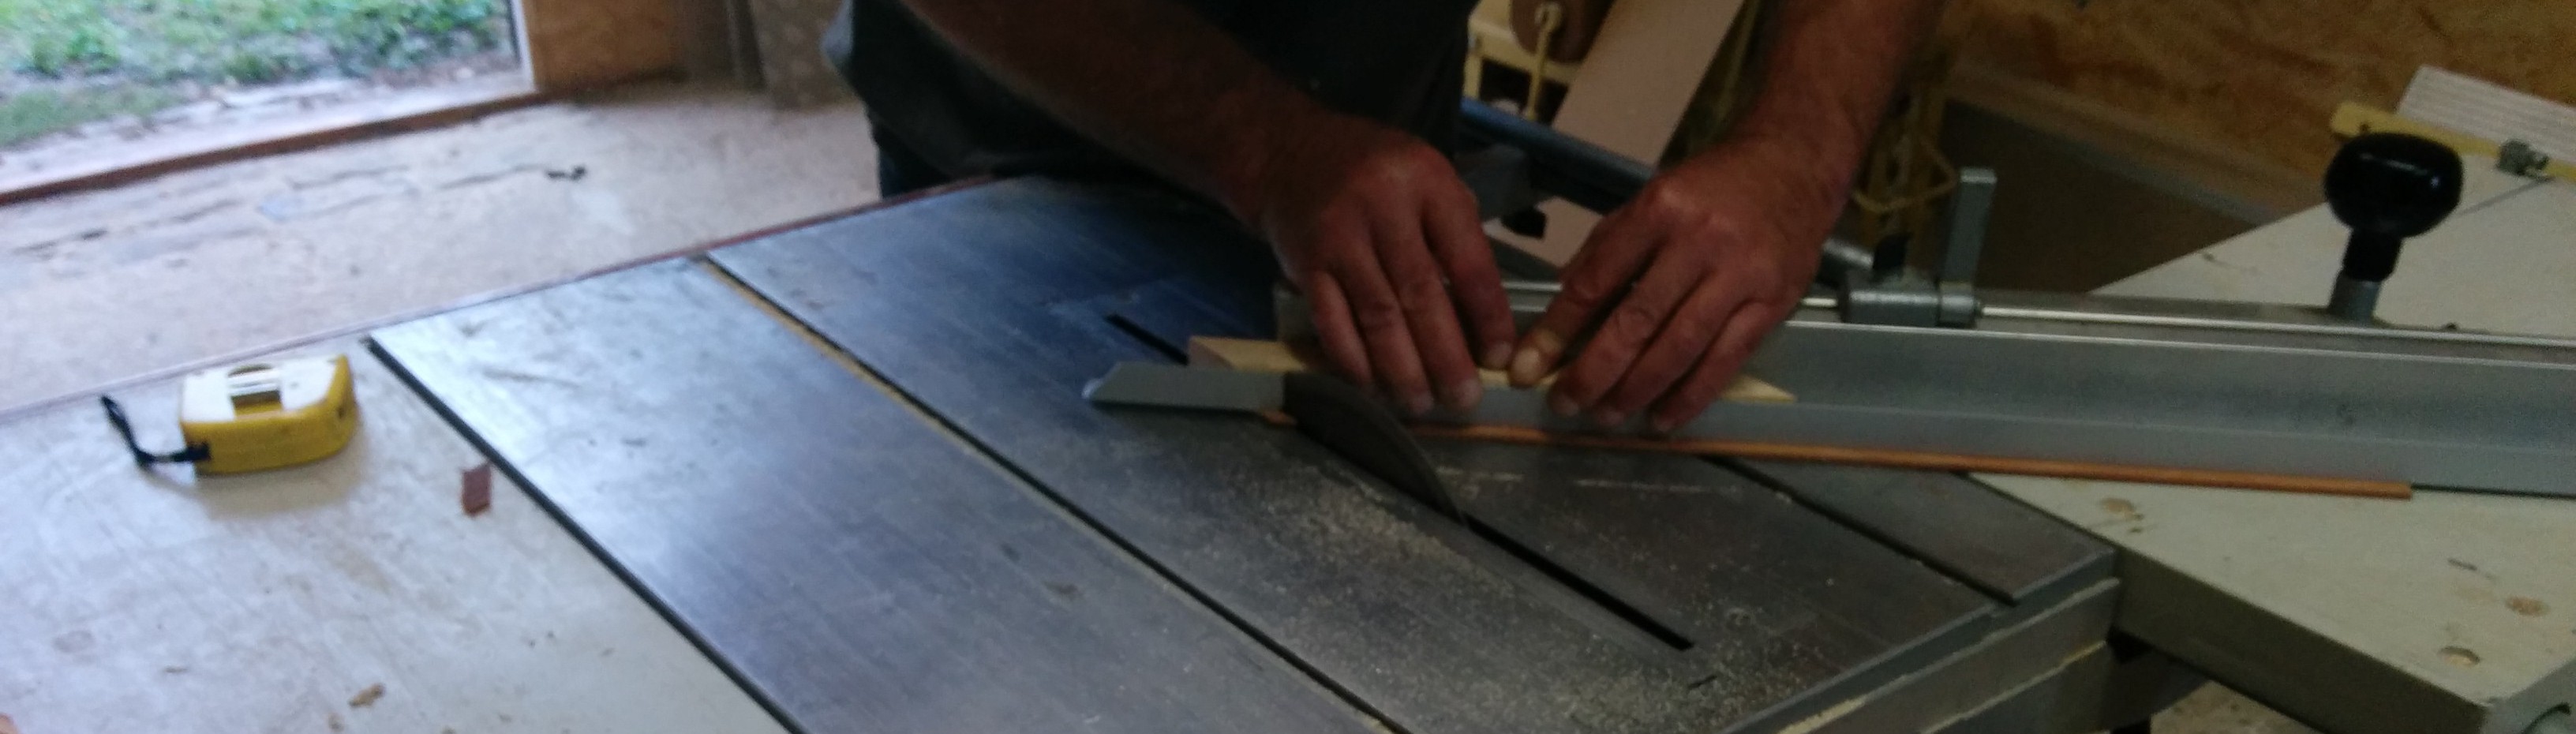 This is the tricky part. Did a few on my own until fortunately the pro came for a visit and helped me out. :O
 Cut off the overlaying pond liner and added construction adhesive all over the edges. (Dont use too much here. Otherwise it will get sqeezed out)
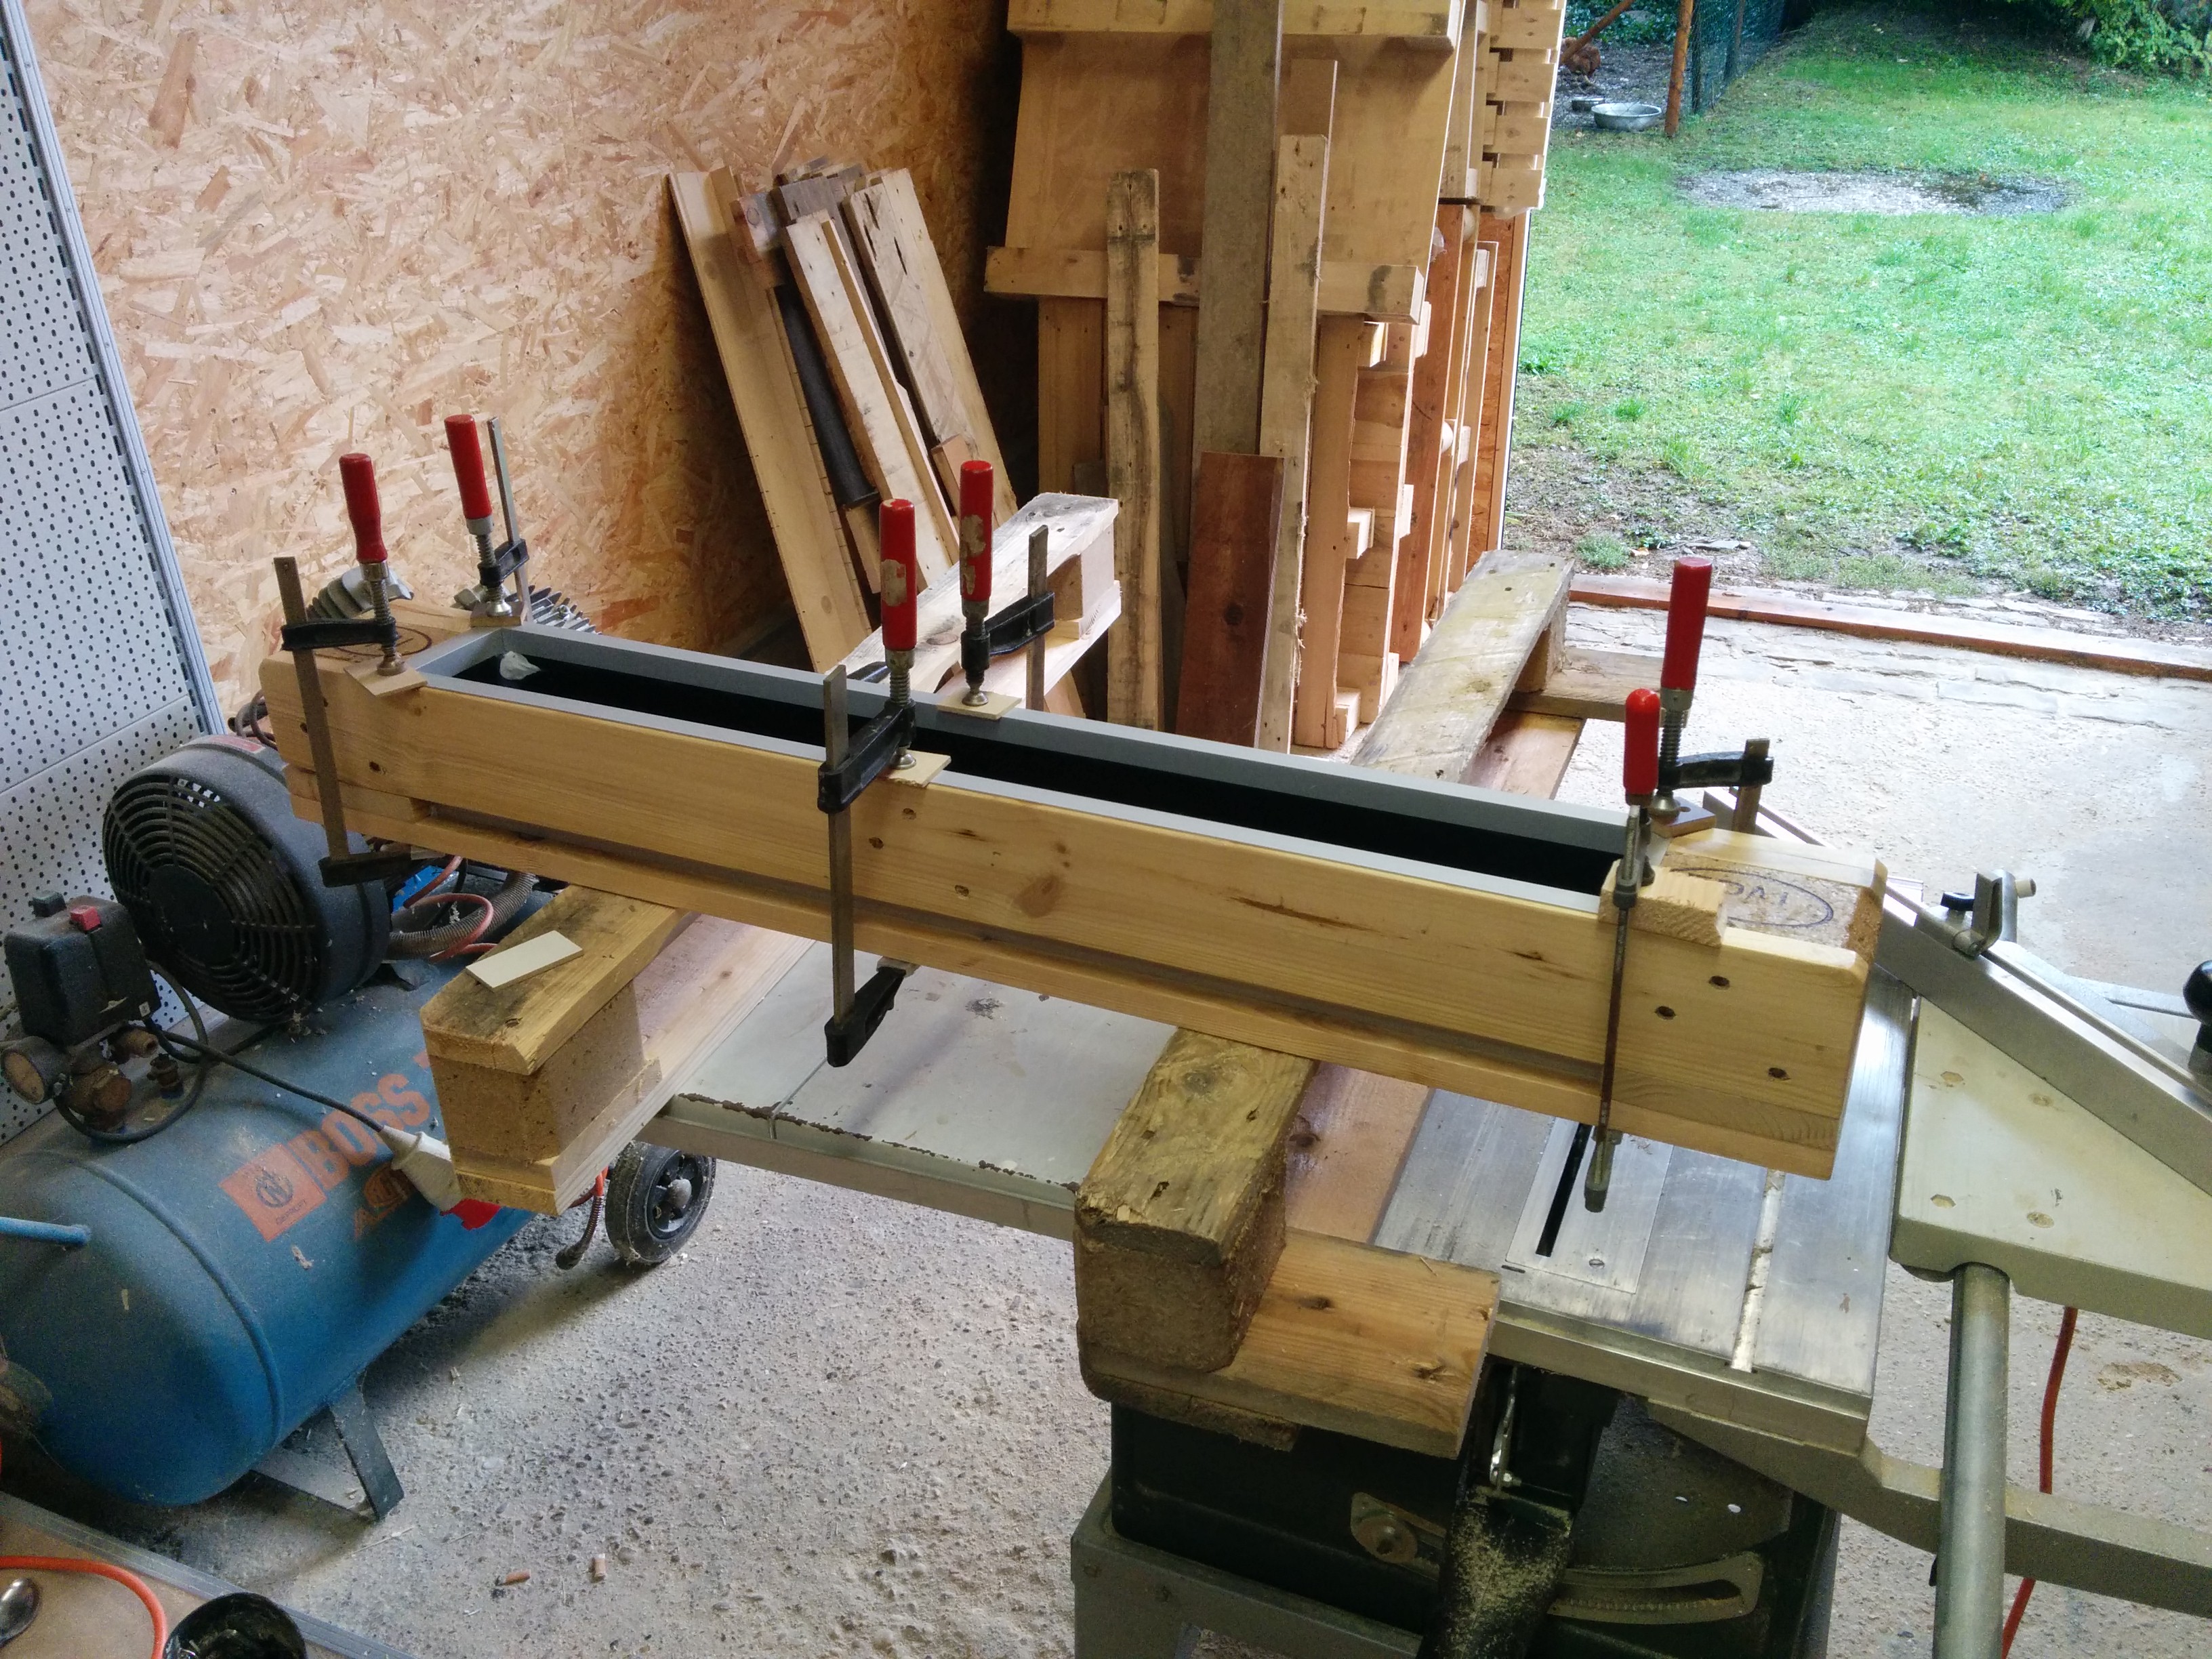 Applied some pressure by fixating it for the next 24h.
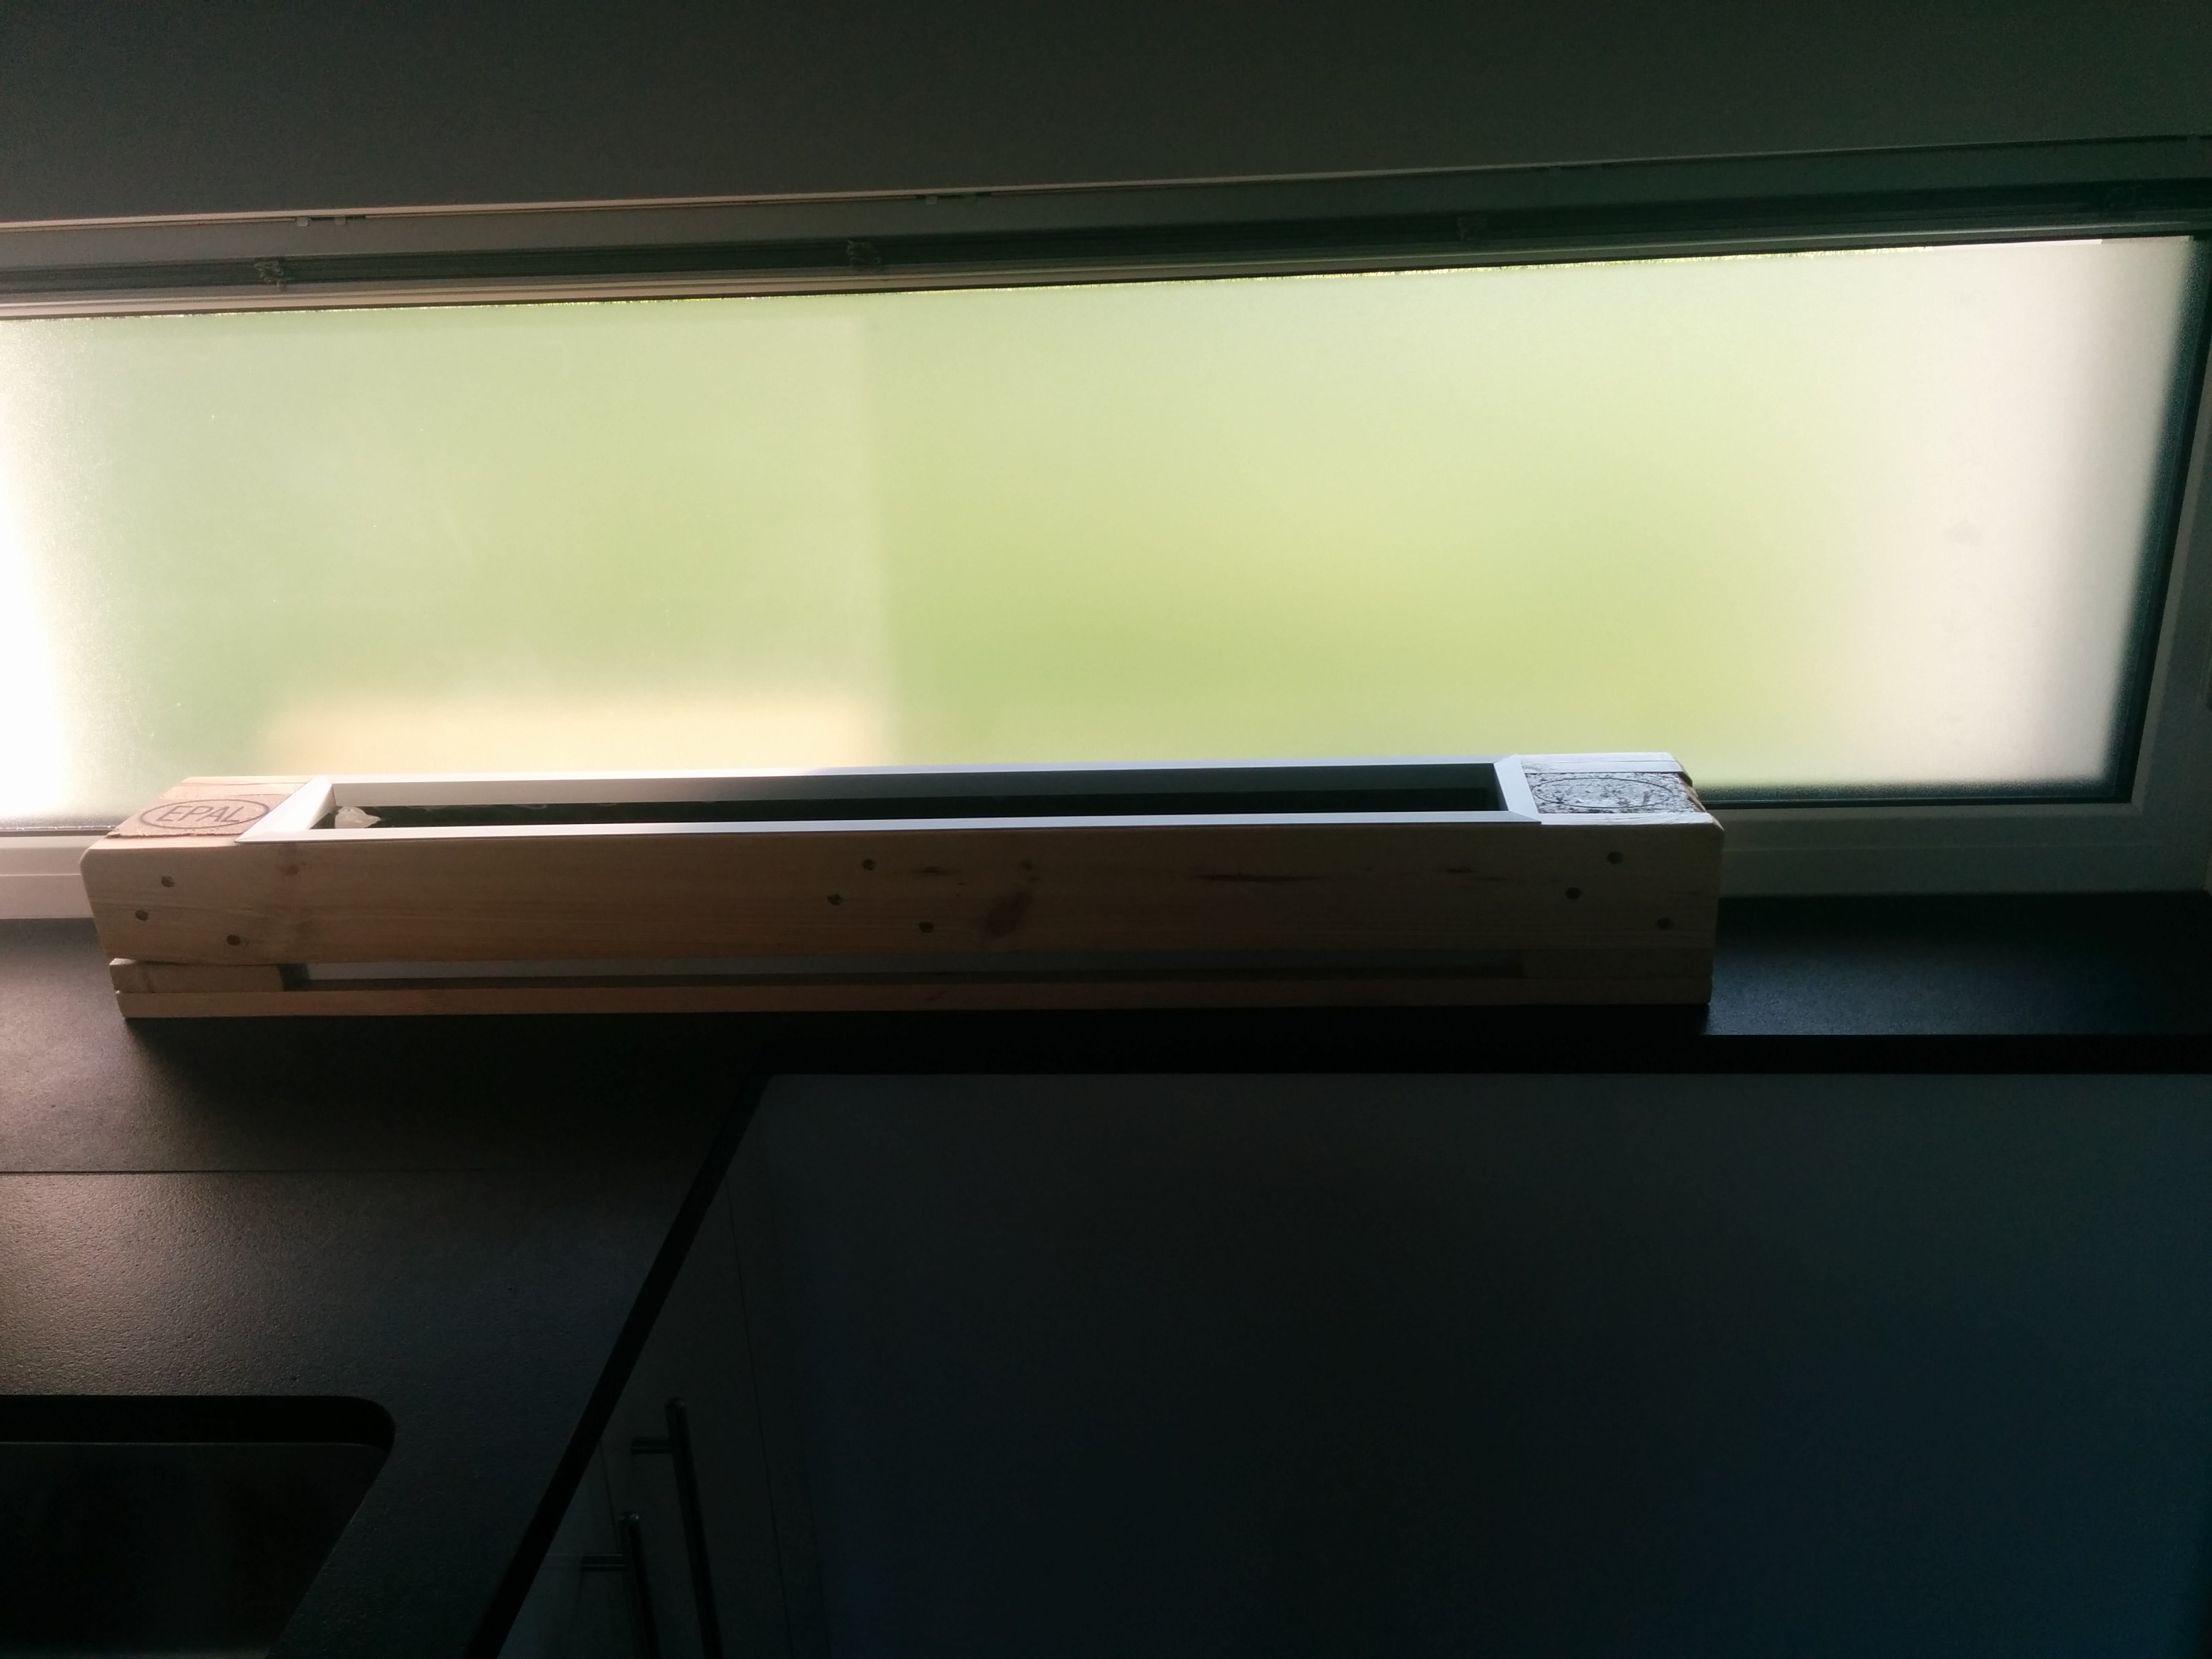
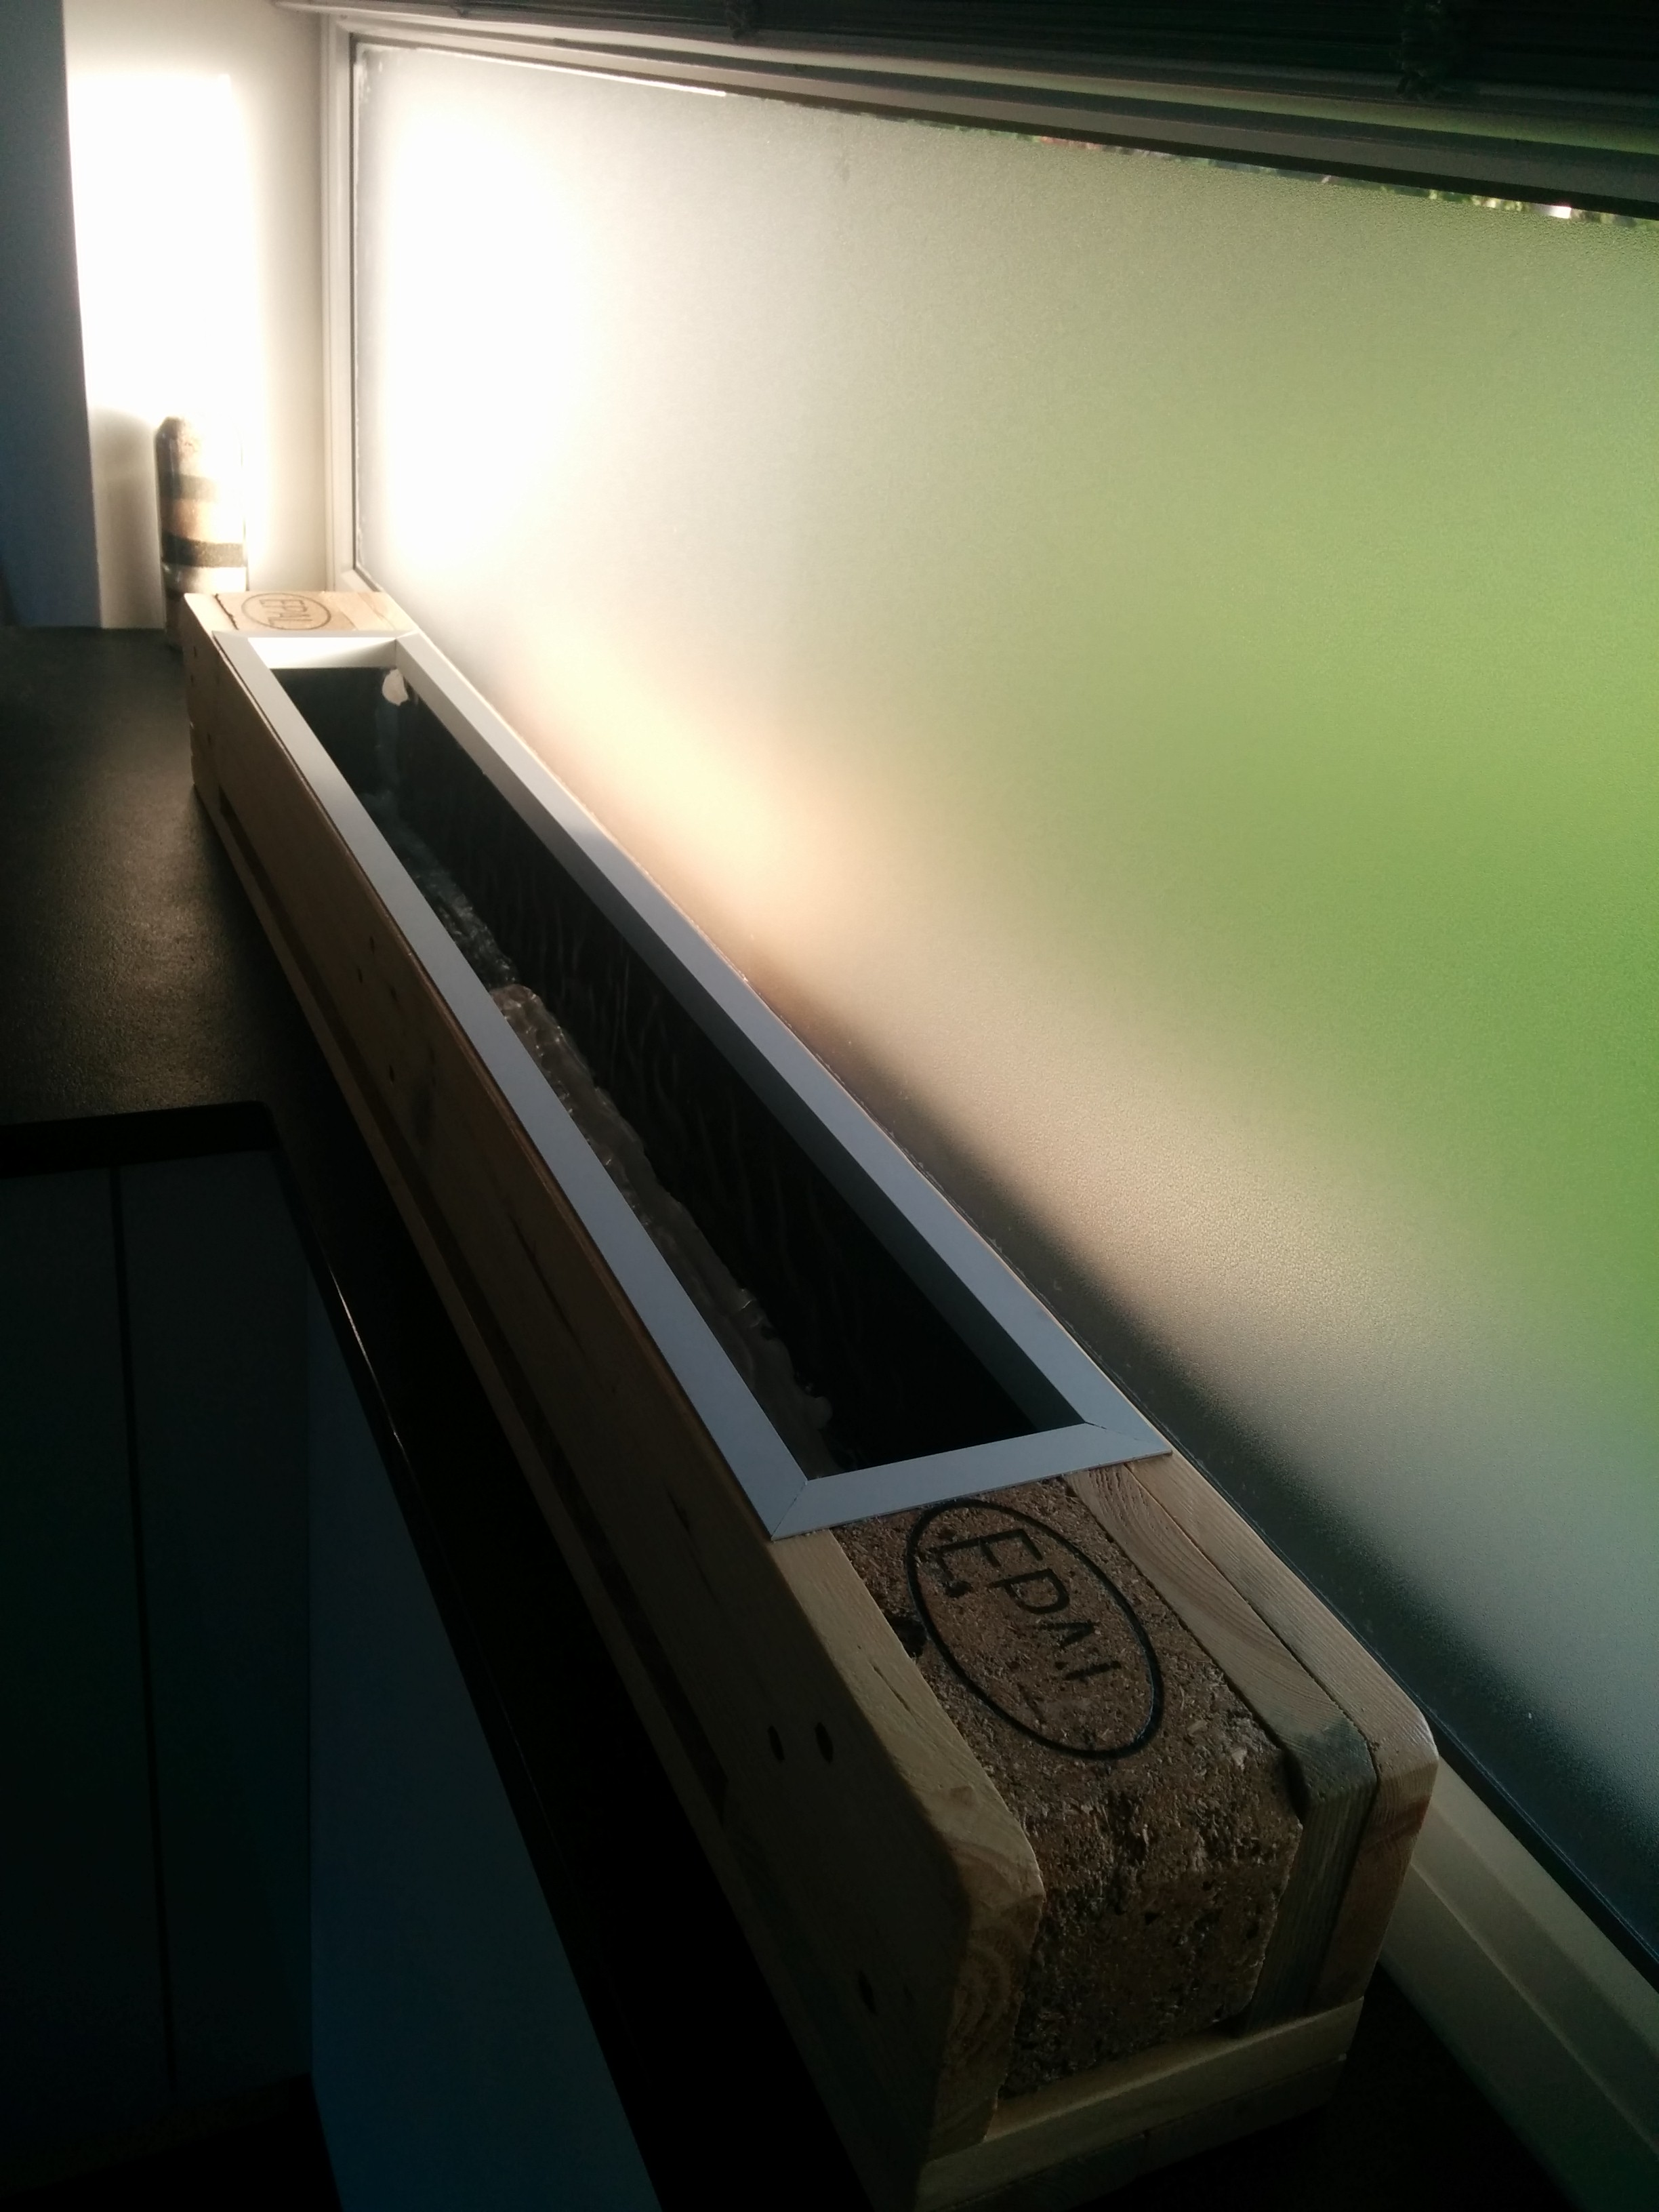
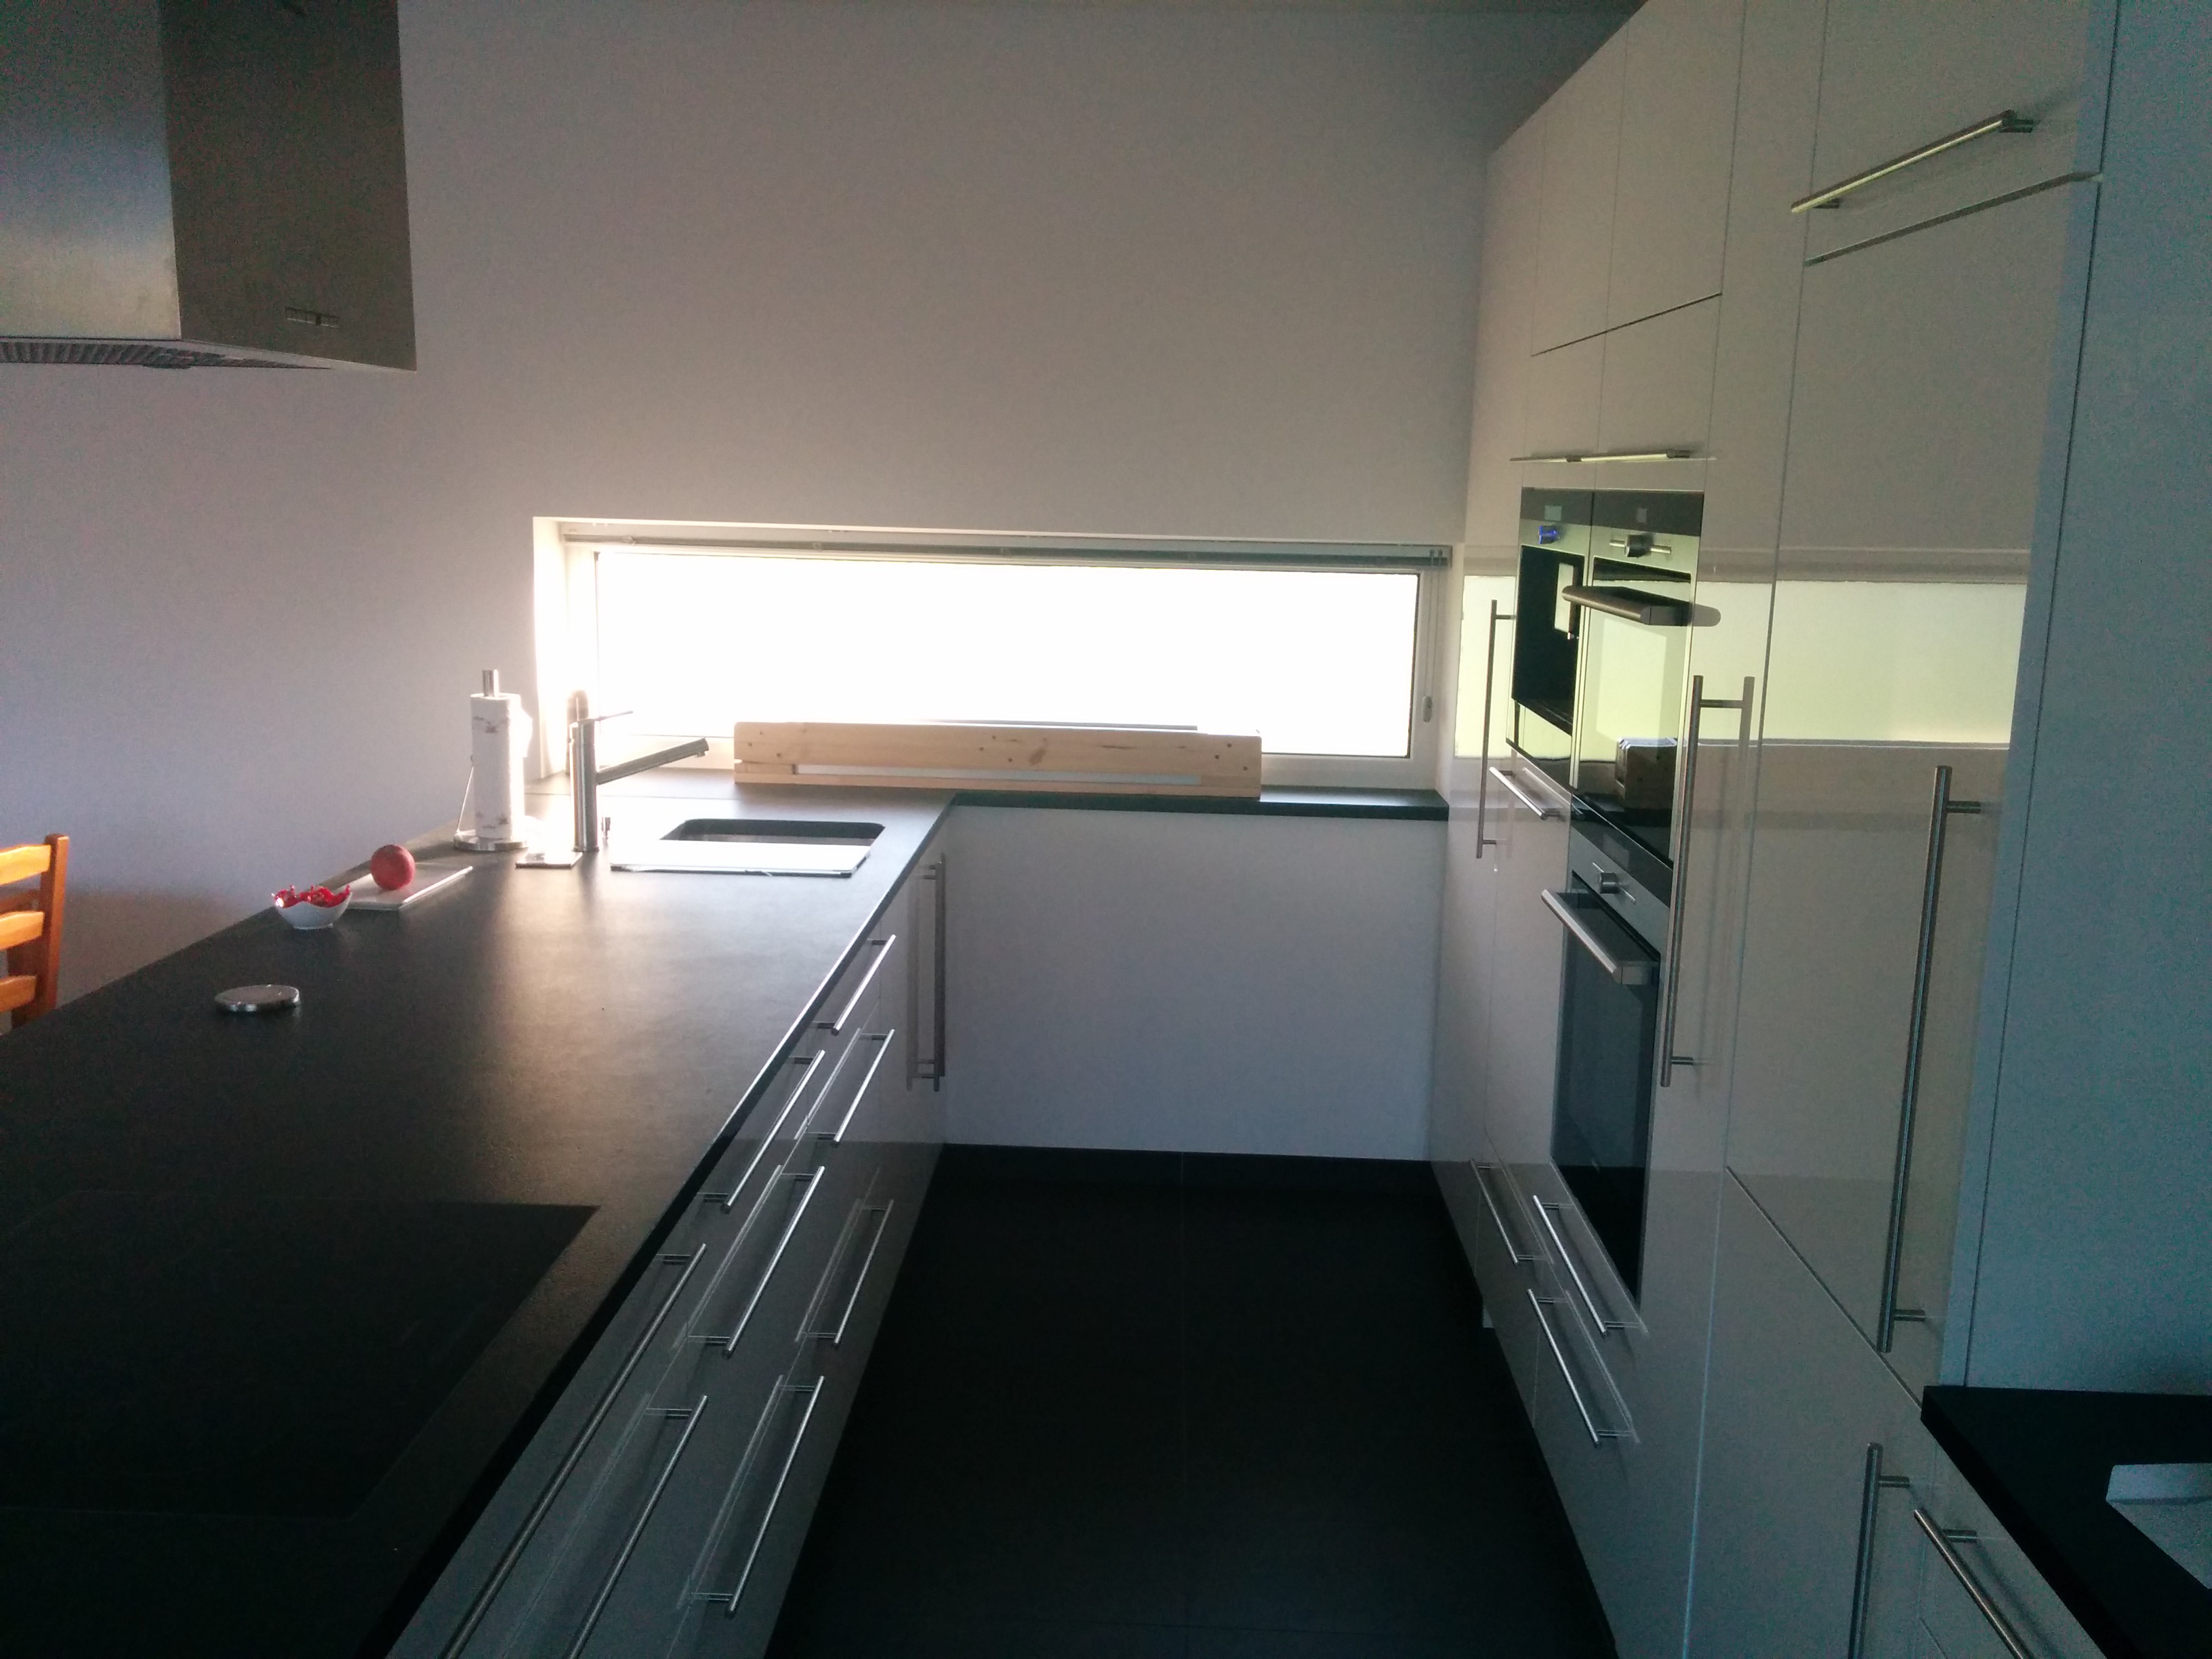 That's the place it should go to.
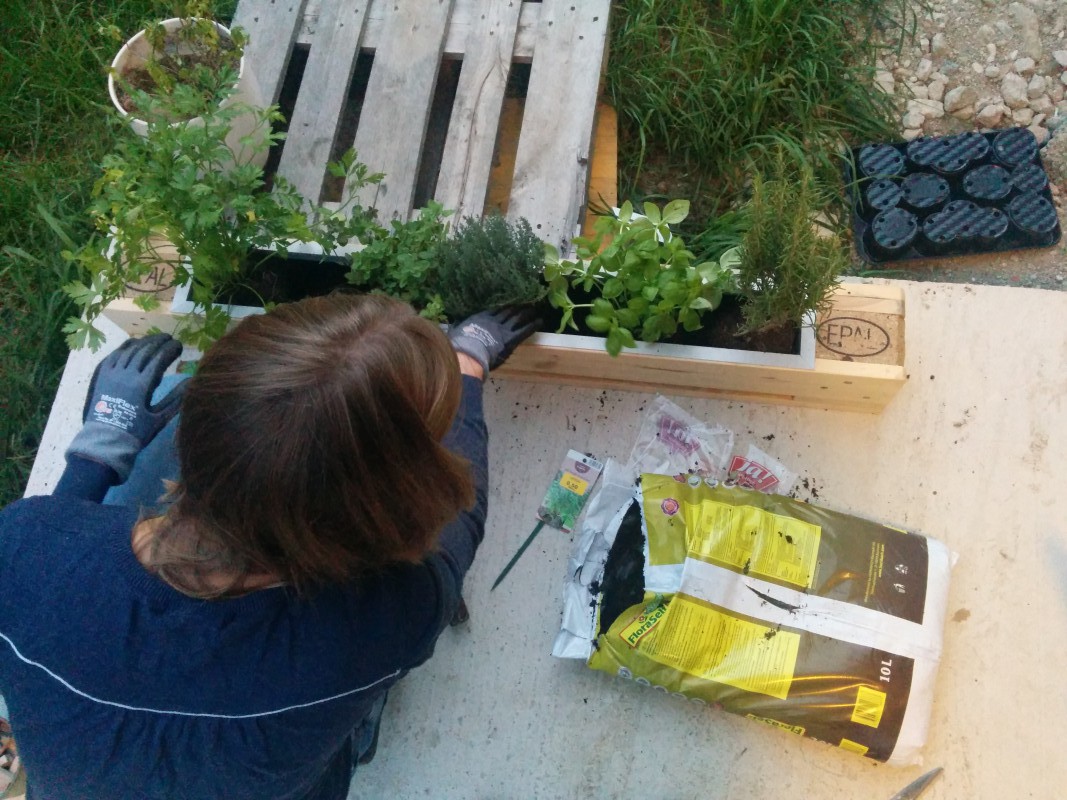 The GF...finally giving purpose to it.
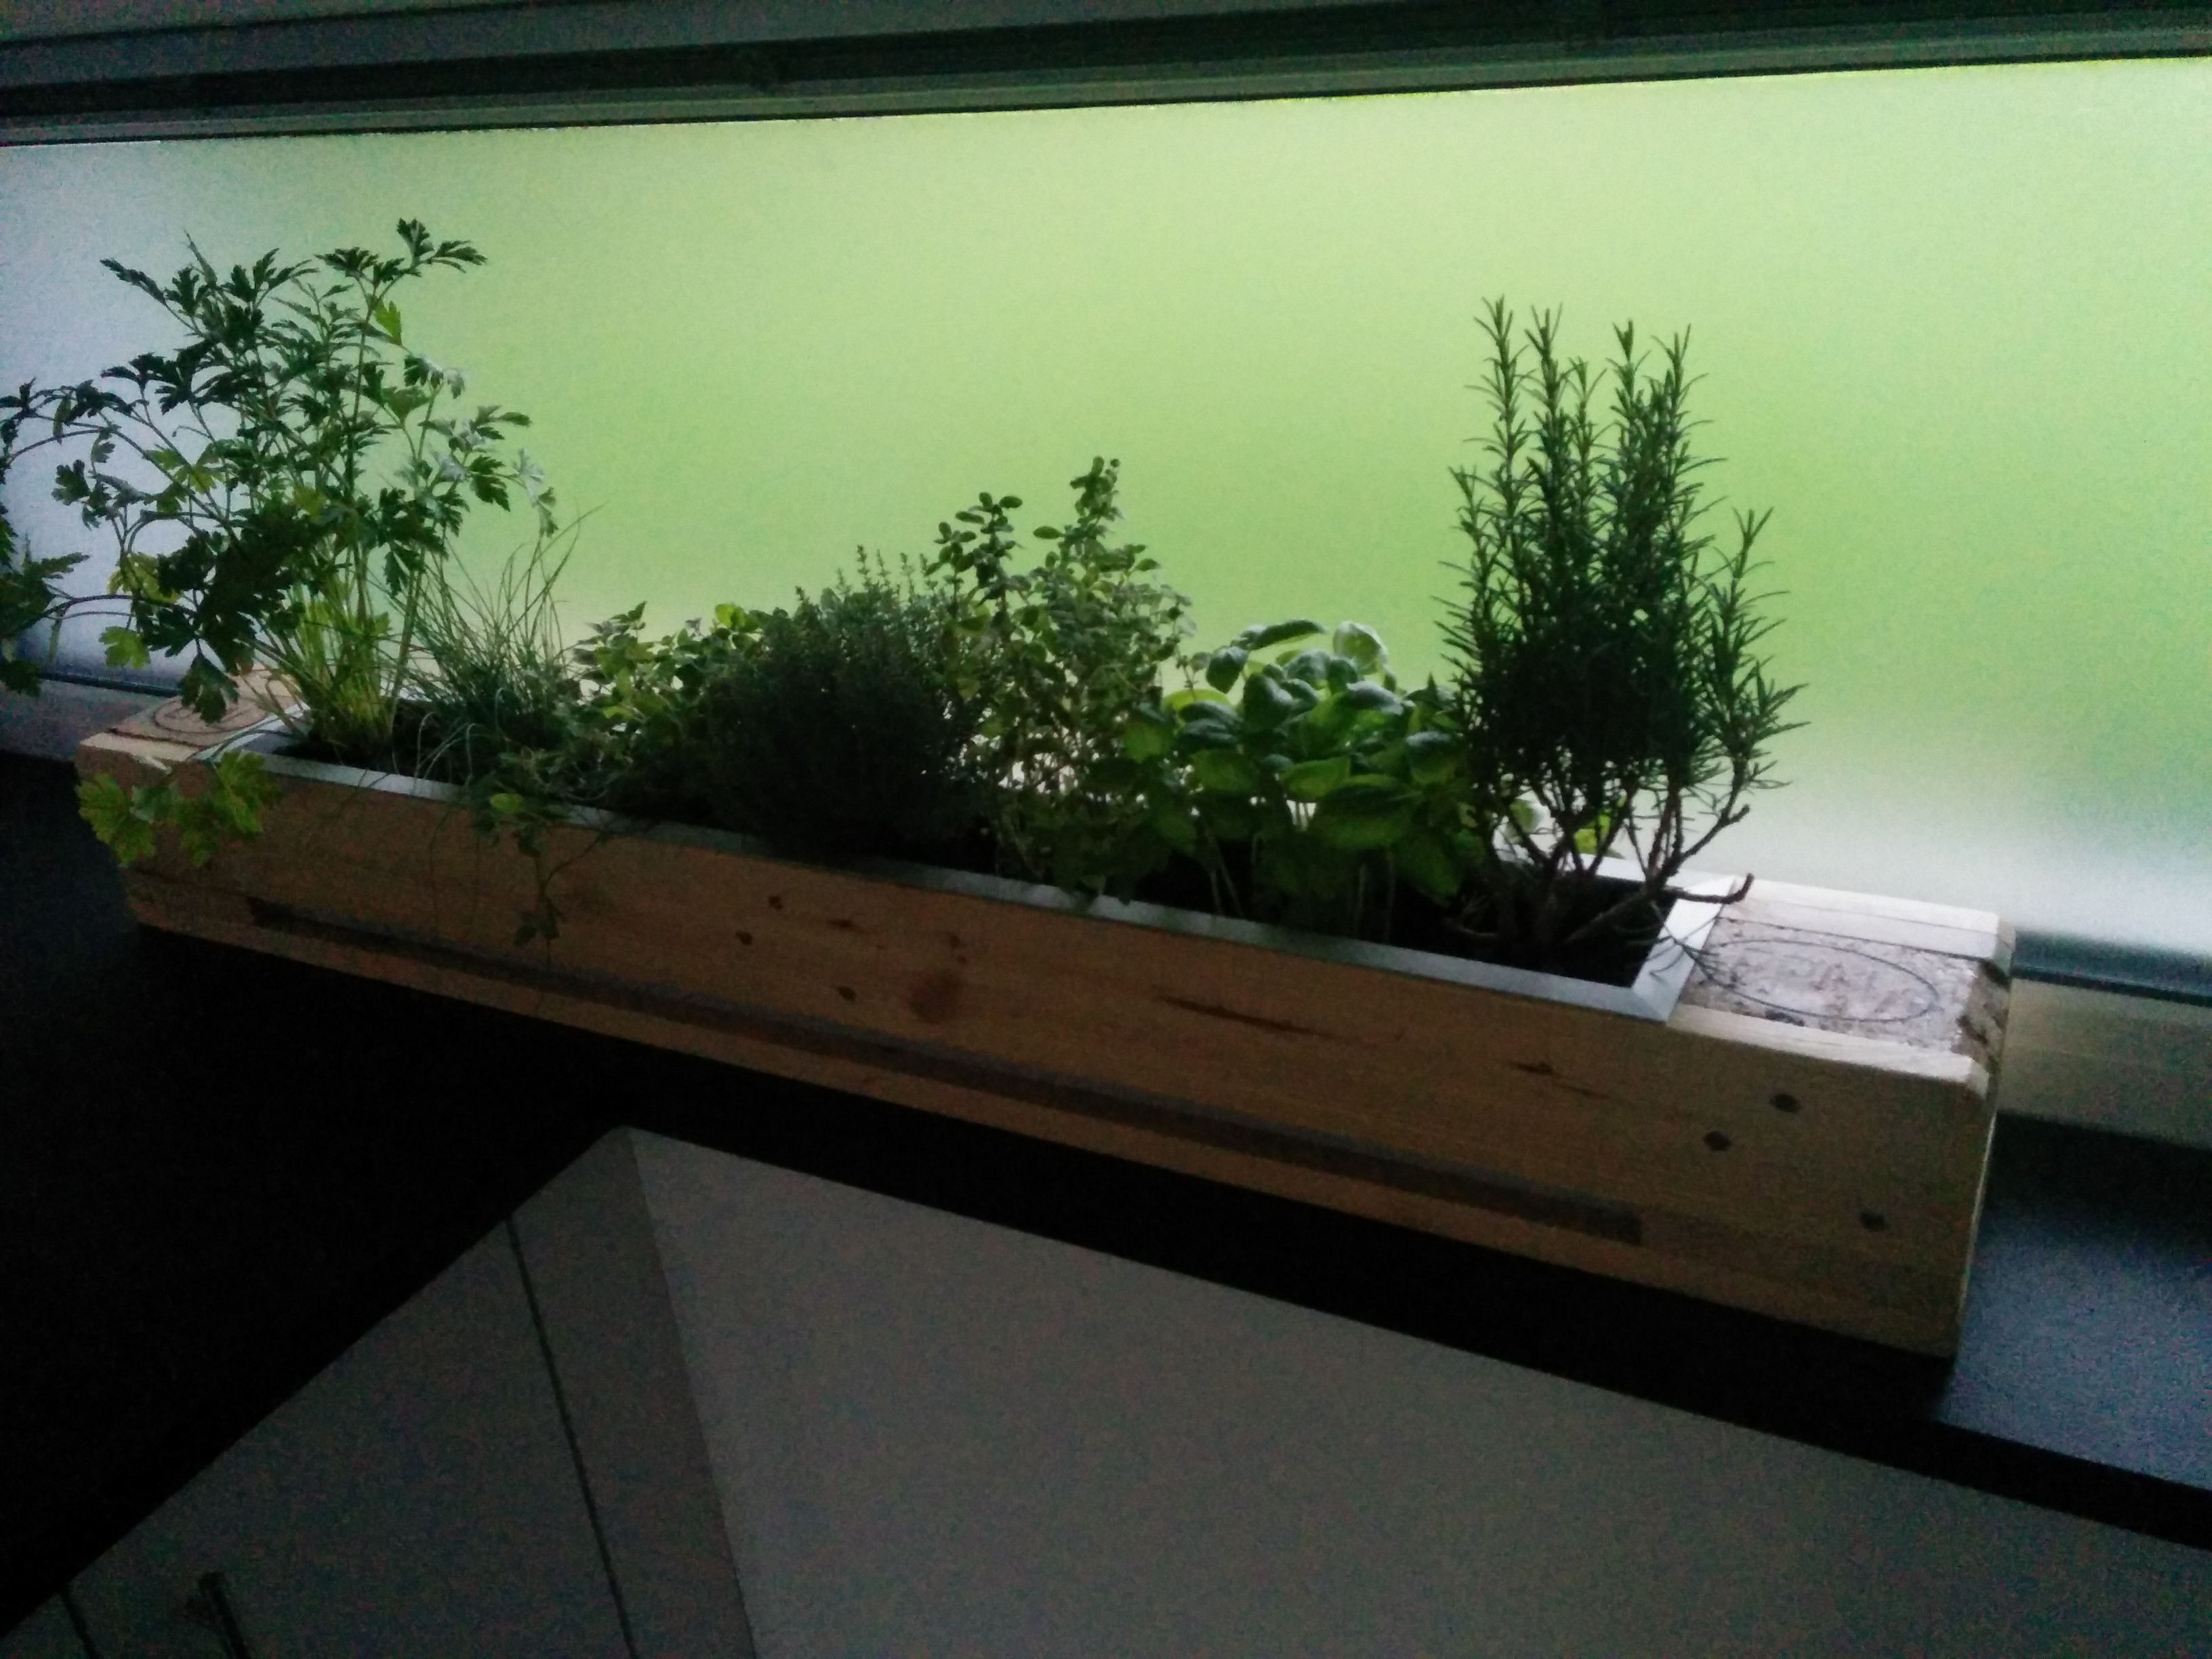
 Thats it. Plants in.
Let's hope they will survive in there. :/
Thats it. Plants in.
Let's hope they will survive in there. :/